
How to Generate Subtitles in iMovie?
Transcribe, Translate & Summarize in Seconds
Subtitles are a vital element of modern video content. They enhance accessibility, improve audience engagement, and ensure comprehension, allowing your videos to reach a broader audience. Whether you're creating content for YouTube, Instagram, or educational purposes, subtitles make your videos more inclusive and professional. They help bridge language barriers, make your content more searchable, and cater to audiences who prefer to watch videos without sound.
Creating captions in iMovie is straightforward and can significantly elevate the quality of your content. This guide offers a detailed explanation of how to generate subtitles in iMovie, tips for customizing captions, and an exploration of tools.
Why Add Subtitles to Your Videos in iMovie?
Here are the reasons why you should add subtitles to your videos in iMovie:
Enhance Accessibility: Make your videos inclusive for individuals with hearing impairments or non-native speakers.
Boost Audience Engagement: Subtitles keep viewers engaged, especially on platforms where sound may be muted.
Improve SEO and Reach: Captioned videos perform better on search engines and social media platforms.
Enhance Accessibility
Subtitles are essential for making videos inclusive to individuals with hearing impairments, ensuring they can fully enjoy and understand your content. They also benefit non-native speakers by providing a textual aid that makes it easier to follow along with the dialogue or narration. By adding subtitles, you are enhancing accessibility with iMovie captions for everyone.
Boost Audience Engagement
Many social media platforms, such as Instagram and Facebook, autoplay videos without sound. Subtitles ensure your message gets across even in these scenarios, helping you capture and retain your audience's attention. Furthermore, subtitles provide a visual element that complements the audio, keeping viewers engaged for longer. This can lead to higher watch times, increased shares, and better audience retention, all of which are key metrics for video success.
Improve SEO and Reach
Videos with subtitles tend to perform better in terms of SEO. Search engines like Google and platforms like YouTube index the text in your captions, making your content more discoverable to users searching for relevant topics. On social media, captioned videos are more likely to be shared and engaged with, which can amplify your reach. By including subtitles, you also improve the chances of your content being watched in various environments, such as noisy public spaces or quiet settings, further increasing its effectiveness.
Step-by-Step Guide: How to Generate Subtitles in iMovie
Here is a step-by-step guide on how to generate subtitles in iMovie:
Open Your Project in iMovie
Use the Text Tool for Subtitles
Add Subtitles to Your Timeline
Customize Your Subtitles
Sync Subtitles with Video
Export Your Final Video
Step 1: Open Your Project in iMovie
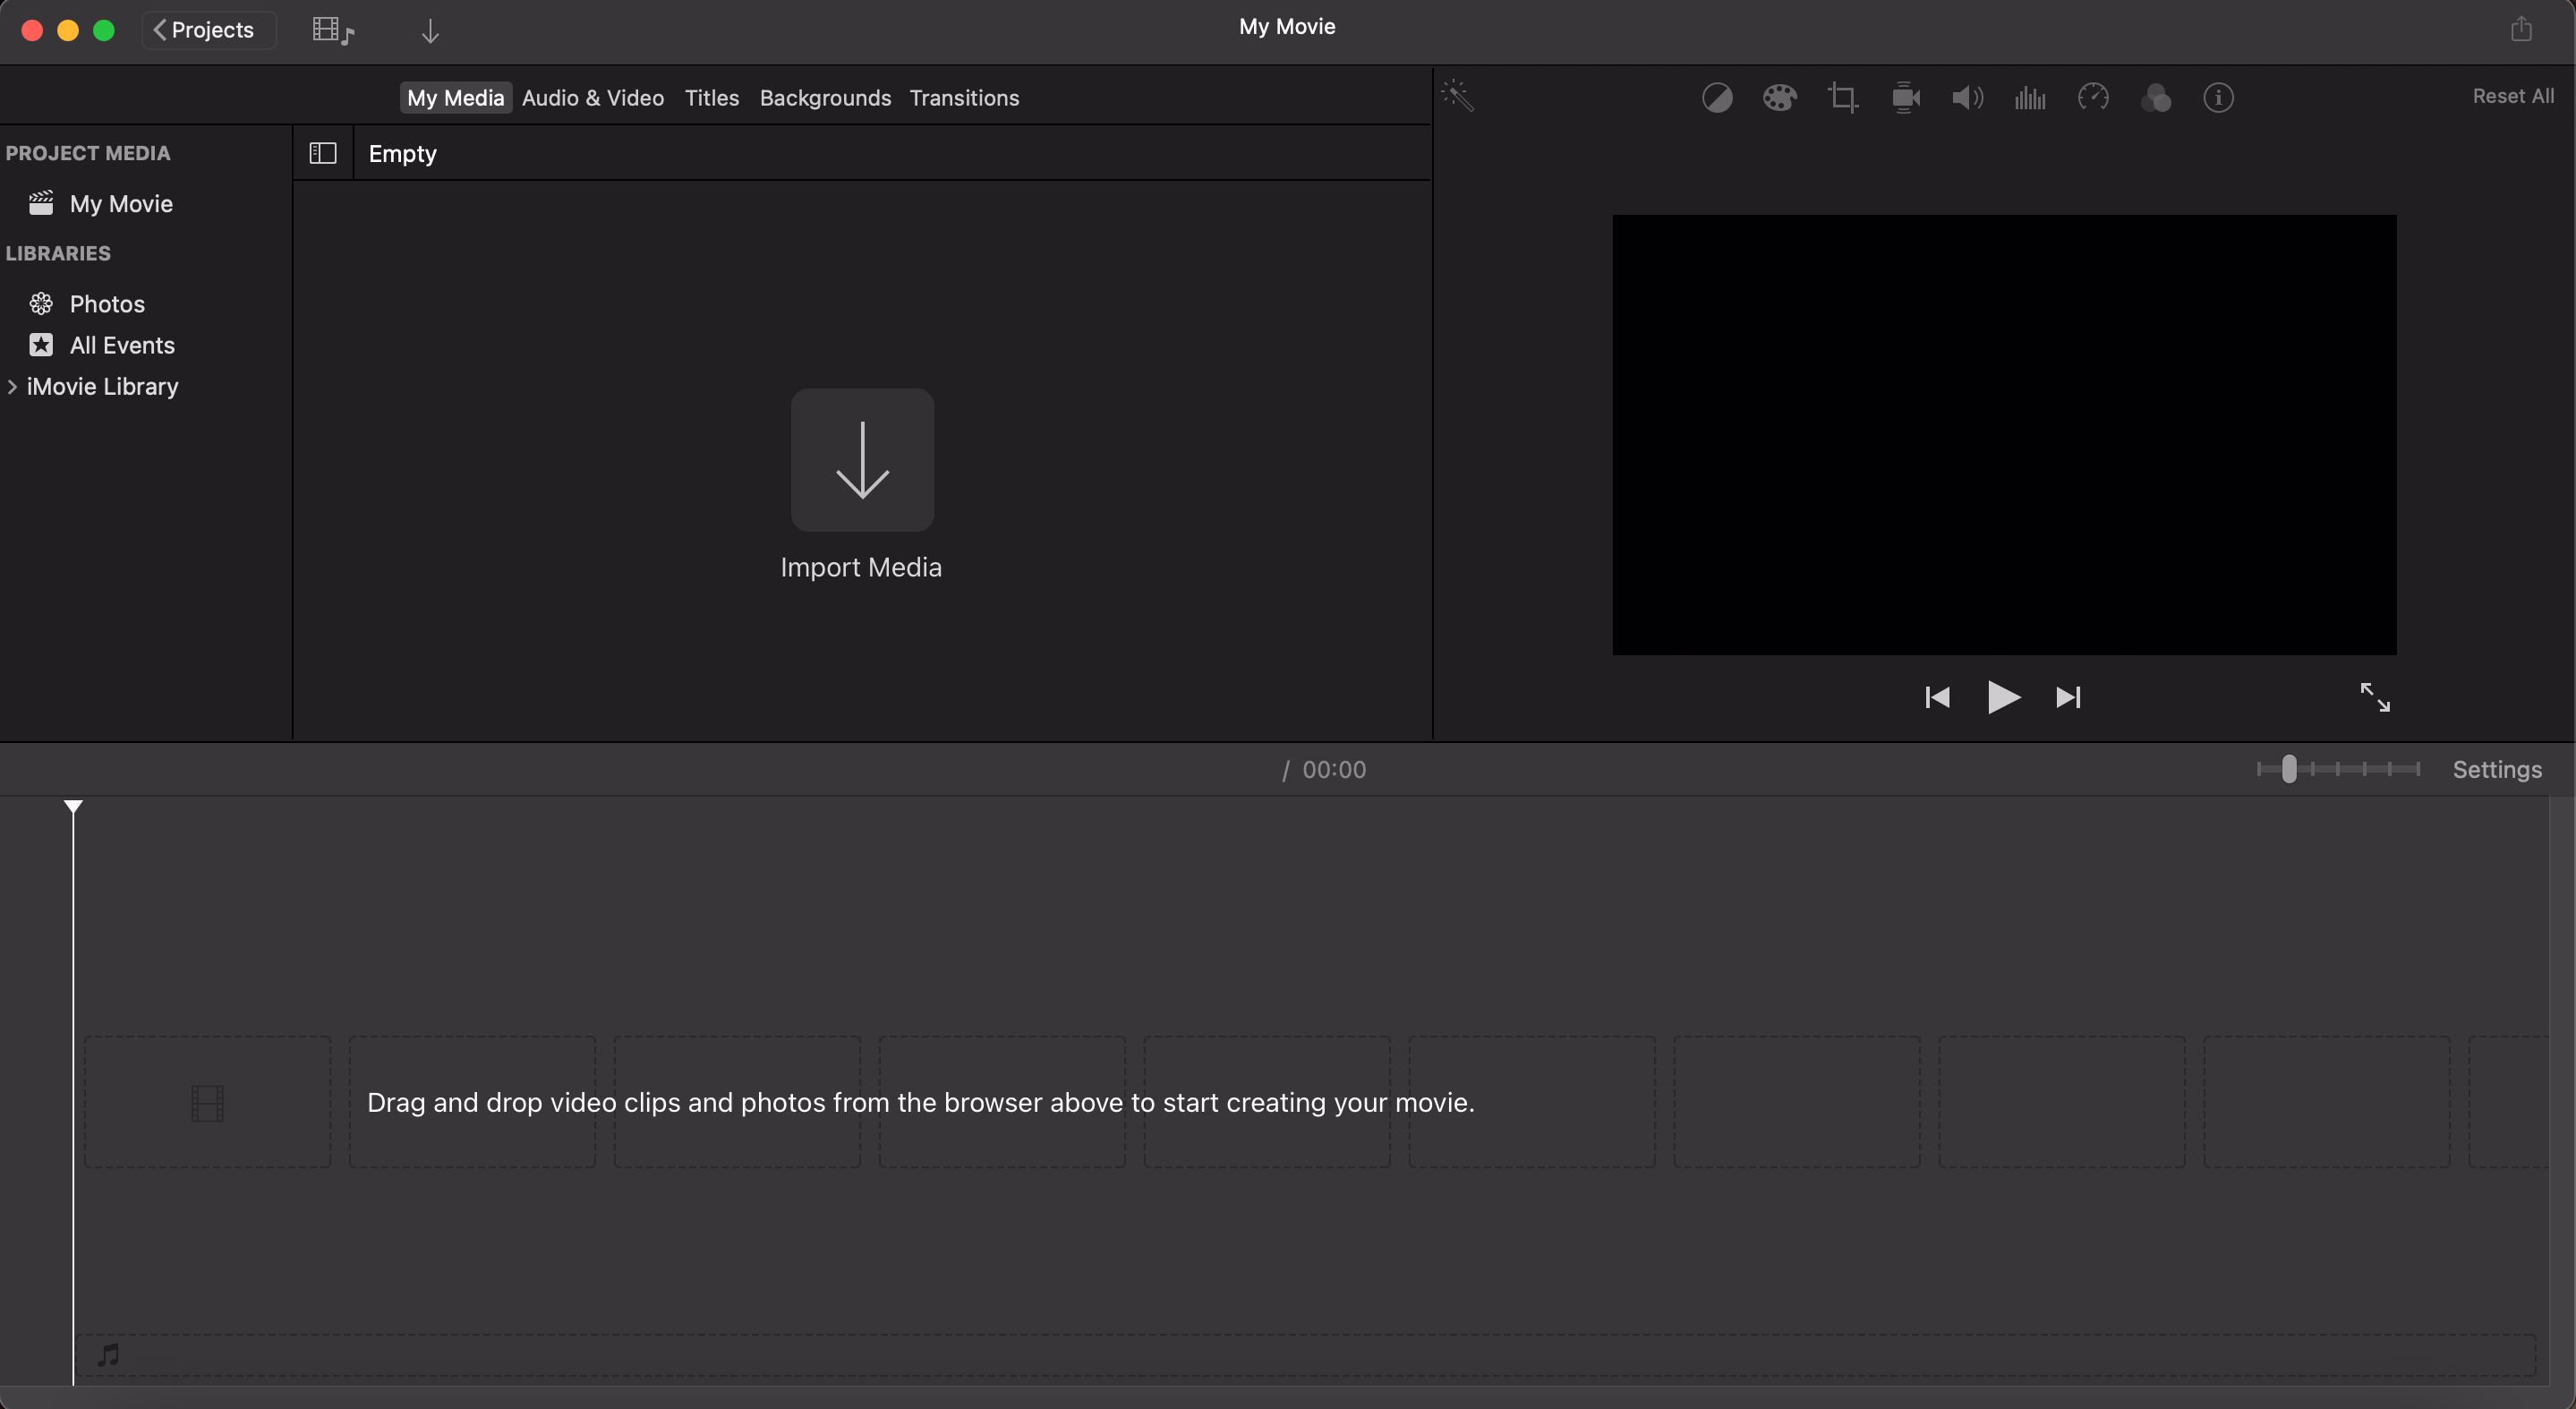
Begin by launching iMovie and locating your video project. Once you’ve selected the project, open it in the editor. This is the first step in ensuring your subtitles are seamlessly integrated into the video. If you’re starting a new project, import your video file into iMovie by selecting “Import Media” and navigating to the file you want to edit. Ensure your project timeline is organized and ready for captioning.
Step 2: Use the Text Tool for Subtitles
Navigate to the “Titles” menu located in the iMovie toolbar. This menu contains various text overlay styles you can use for your subtitles. Choose a style that is simple and unobtrusive, such as “Lower Third” or “Standard.” These styles work well for subtitles because they’re easy to read and don’t distract from the main content of your video. Experiment with the different options if you’re unsure which one fits best with your video’s aesthetic.
Step 3: Add Subtitles to Your Timeline
Once you’ve chosen a text style, drag it down to the timeline and position it over the section of your video where you want the subtitle to appear. This creates a text overlay that will display on the screen during playback. Automated subtitle generation in iMovie is not possible; thus, repeat this process for each segment of dialogue or narration in your video. Take your time to ensure the text is properly aligned with the corresponding audio. The timeline allows for precise control, so don’t hesitate to zoom in for finer adjustments.
Step 4: Customize Your Subtitles
Click on the text overlay in the timeline to customize its content. Video editing with subtitles in iMovie ensures accuracy and clarity. Use a legible font, such as Arial or Helvetica, and choose a size that is easily readable on all devices, from smartphones to larger screens. For color, ensure there’s enough contrast between the text and the background; for example, white text with a black outline works well on most video backgrounds. Adding a subtle shadow or semi-transparent box behind the text can further improve visibility.
Step 5: Sync Subtitles with Video
Play back your video and adjust the timing of each subtitle to ensure it aligns perfectly with the audio. This step is critical for creating a smooth viewing experience. Use the timeline to fine-tune the start and end times of each text overlay. If the subtitles appear too early or linger too long, make the necessary adjustments. Repeat this process for all subtitles in your video, checking for synchronization and flow.
Step 6: Export Your Final Video
Once you’ve reviewed your subtitles and are satisfied with the results, export your video. Go to “File > Share” and choose the appropriate settings for your desired platform, such as YouTube, Vimeo, or social media. Ensure you select a high-resolution format to maintain the quality of your video. Your video is now complete with professional subtitles and ready to captivate your audience.
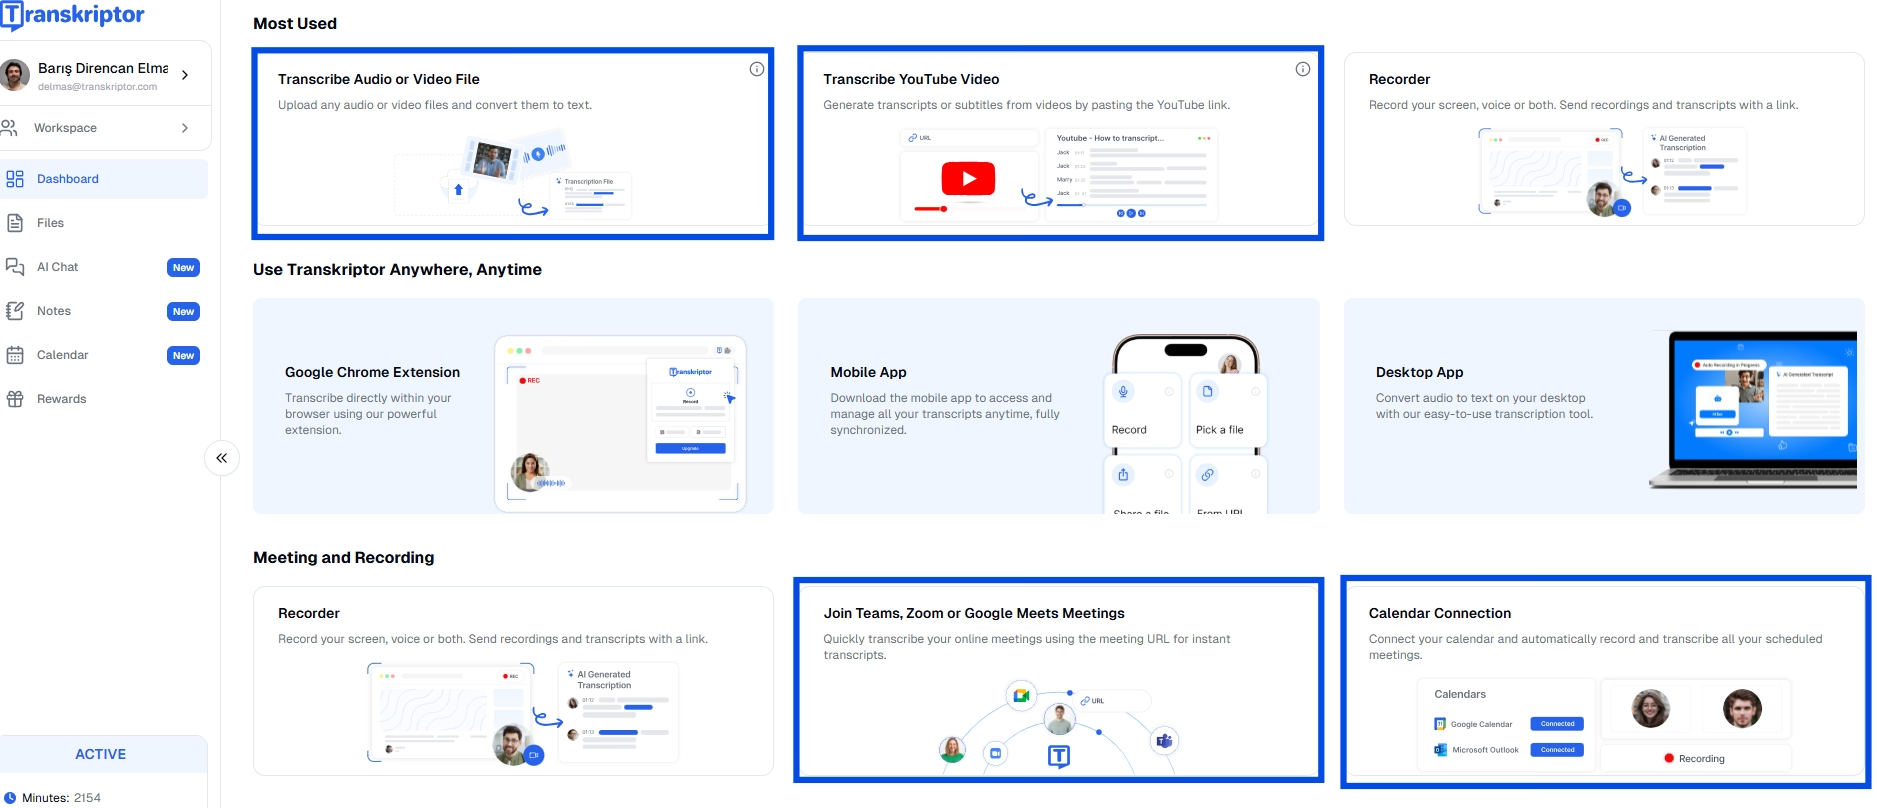
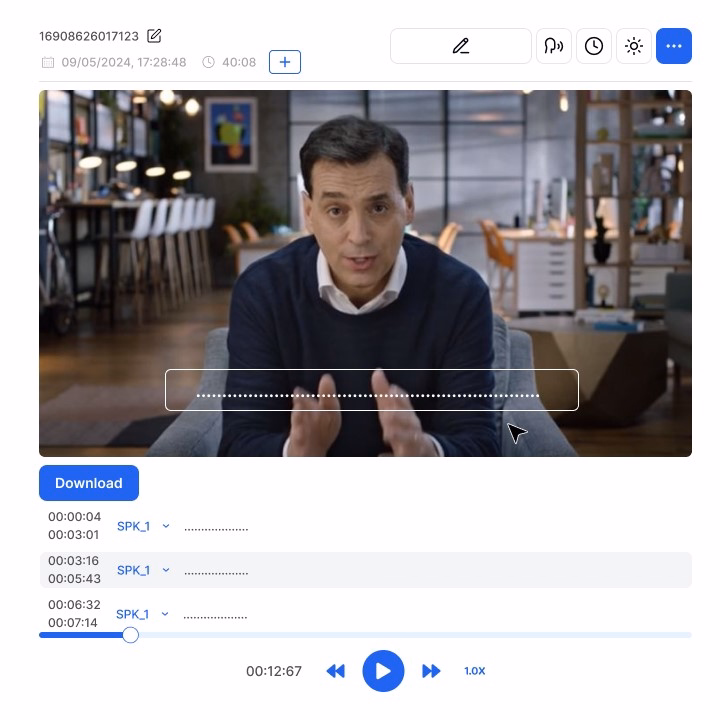
How to Generate Subtitles with Transkriptor for iMovie
It is a good option to use subtitle tools for iMovie. Transkriptor simplifies the subtitle creation process with its automated speech-to-text technology. Here’s how to use it:
Upload Your Video to Transkriptor
Generate Automated Subtitles
Edit and Customize the Subtitles
Export Subtitles in SRT Format
Import Subtitles into iMovie
Step 1: Upload Your Video to Transkriptor
Start by exporting the audio from your iMovie project. To do this, go to “File > Export Audio Only,” save the audio file in a compatible format, and upload it to Transkriptor. This step ensures that the tool has a clear audio file to analyze for generating subtitles.
Step 2: Generate Automated Subtitles
Once your audio is uploaded, Transkriptor will use advanced AI algorithms to transcribe the audio and generate subtitles. This process is quick, often taking just a few minutes for most videos. The generated subtitles will include time codes, ensuring they are synced with your video’s audio.

Step 3: Edit and Customize the Subtitles
After the initial transcription, review the subtitles in Transkriptor’s editor. Correct any errors in the text, adjust the timing as needed, and format the captions to match your video’s style. This editing step is important to ensure accuracy and professionalism in your final product.
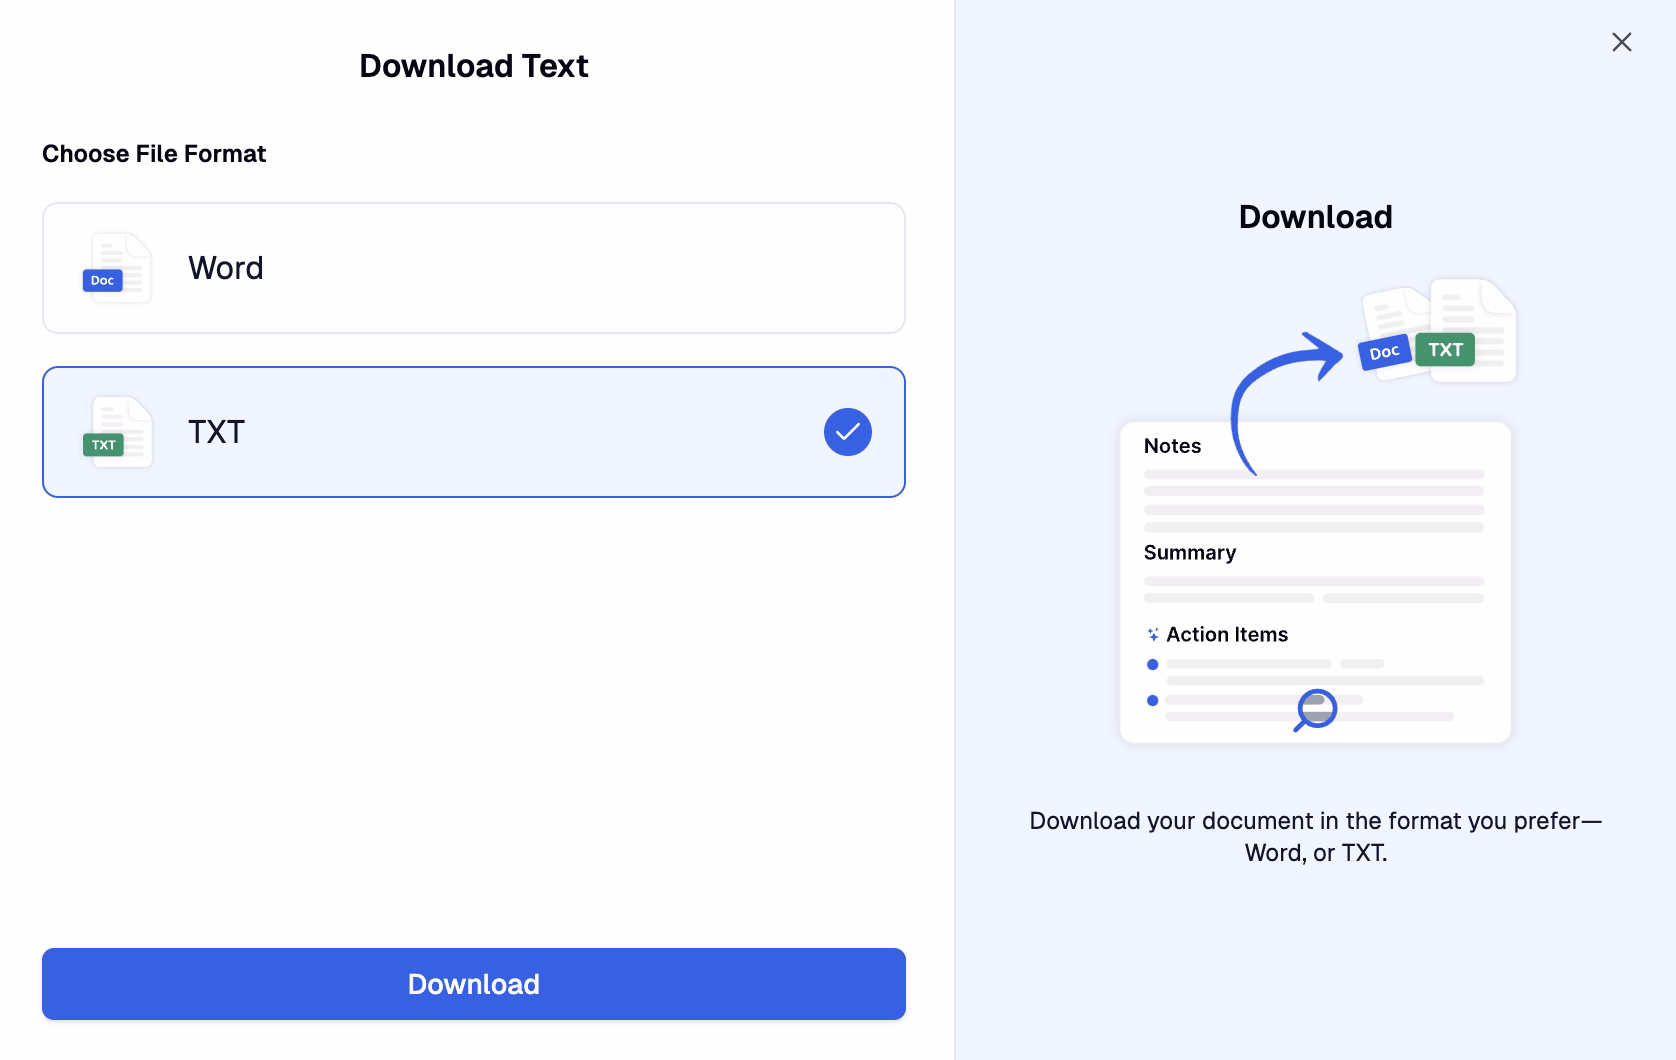
Step 4: Export Subtitles in SRT Format
Once you’re satisfied with the edited subtitles, export them as an SRT file. This format is widely supported and can be used with various video editing tools. The SRT file contains both the text and the time codes, making it easy to integrate into your video project.
Step 5: Import Subtitles into iMovie
iMovie doesn’t natively support SRT files, but you can still use the subtitles by copying the text from the SRT file and manually adding it to iMovie’s text editor. Alternatively, use a third-party SRT integration tool to streamline this process. Either way, the time codes provided by Transkriptor will make it easier to sync the subtitles with your video.
Tips for Creating Professional Subtitles in iMovie
Here are some tips for creating professional subtitles in iMovie:
Prioritize Readability: Use simple fonts, avoid overly decorative styles, and ensure text contrasts well with the background.
Use Consistent Timing: Keep each subtitle on screen long enough for viewers to read comfortably, typically 1–5 seconds per caption.
Test Across Devices: Preview your video on different devices to ensure subtitles are clear and properly aligned.
Prioritize Readability
Always prioritize readability when designing your subtitles. Use a clear and simple font, such as Arial or Helvetica, and avoid overly decorative styles that may be hard to read. Ensure that the text color contrasts well with the video background.
Use Consistent Timing
Consistency in timing is crucial for subtitles. Ensure that each caption stays on screen long enough for viewers to read comfortably. Typically, subtitles include 160 to 180 words per minute. Avoid overcrowding the screen with too much text at once, and split longer sentences into shorter, more digestible segments.
Test Across Devices
Before finalizing your video, test it on multiple devices, including smartphones, tablets, and desktop screens. This ensures your subtitles are clear, properly aligned, and legible across different screen sizes. Adjust font size and placement as needed to optimize the viewing experience for all audiences.
Conclusion
Adding subtitles in iMovie is a powerful way to enhance the quality, accessibility, and professionalism of your videos. Whether you choose to create captions manually using iMovie’s text tools or streamline the process with automated solutions like Transkriptor, subtitles ensure your content resonates with a wider audience.
These tools improve engagement, make your videos more inclusive, and increase their discoverability on search engines and social media platforms. Start captioning your videos today to elevate your video editing game and deliver content that connects deeply with viewers.