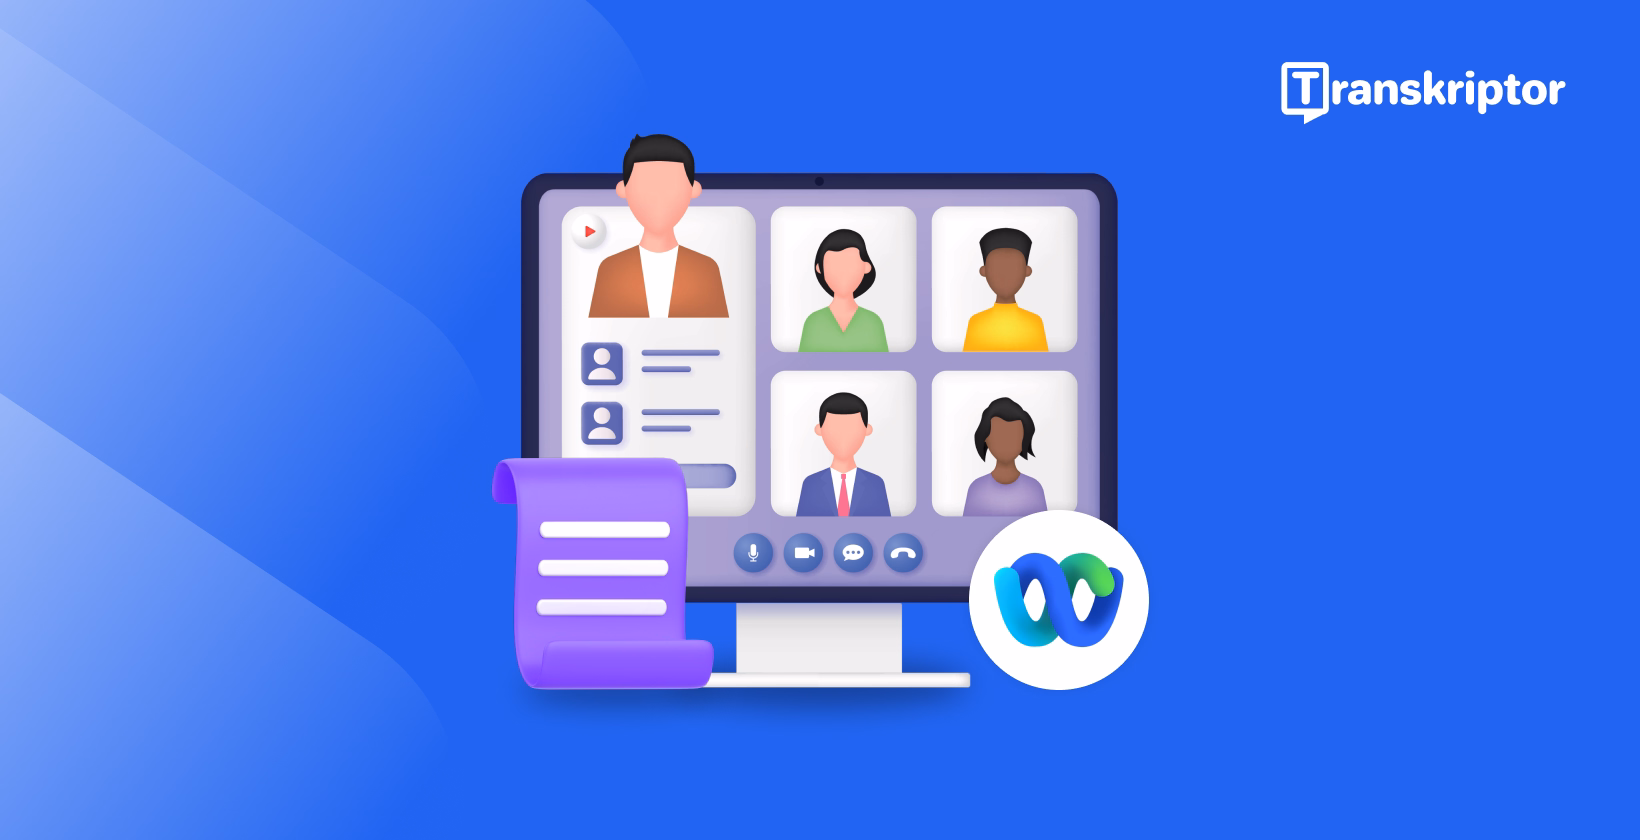
How to Transcribe Webex Meetings?
Table of Contents
- Why Is Webex Meeting Transcription Important?
- How To Use Native Webex Transcription Features?
- How Do Meeting Transcription Tools Process Webex Recordings?
- Which Tools Best Transcribe Webex Meetings?
- How To Transcribe Webex Recordings Step By Step With Transkriptor?
- What Tips Improve Webex Transcription Results?
- Conclusion
Transcribe, Translate & Summarize in Seconds
Transcribing Webex meetings provides professionals with accurate text records of important discussions, saving valuable time and boosting productivity, much like how you can transcribe Zoom meetings. Webex meeting transcription transforms spoken content into searchable text documents, allowing teams to reference key points without rewatching entire recordings, much like knowing how to transcribe audio efficiently. The transcription process converts Webex recordings to text automatically, eliminating manual note-taking and creating comprehensive meeting documentation.
AI transcription for Webex delivers effective methods to transcribe Webex calls with specialized meeting transcription tools designed for optimal accuracy. Webex recording to text technology enables efficient Webex meeting notes automation, allowing seamless integration of transcription into existing workflows.
Why Is Webex Meeting Transcription Important?
Webex meeting transcription delivers significant benefits when organizations dedicate substantial time to virtual collaboration, similar to when they need to transcribe lecture sessions. According to Calendly research, 85% of UK workers spend more than 3 hours weekly in meetings, compared to 78% of U.S. workers. Automatic transcription software generates considerable time savings compared to manual transcription methods.
Transcribing Webex meetings creates shareable documentation for absent team members instead of distributing lengthy recordings. Meeting participants access key points and action items quickly through transcript review, maintaining project alignment. Webex meeting transcription facilitates simple distribution among stakeholders. The transcription process establishes searchable meeting archives for future reference, supporting organizational knowledge management.
How To Use Native Webex Transcription Features?
Webex includes built-in transcription capabilities for MP4 meeting recordings. The platform offers specific features, activation requirements, and pricing considerations for organizations seeking to transcribe Webex calls through native tools.
Built-in Webex Transcription Features
The Webex transcription feature converts Webex recordings to text automatically, streamlining meeting documentation. The system transcribes recorded meetings, webinars, and events using advanced speech recognition technology. Administrators control transcription access, enabling the feature for specific users or all meeting hosts.
Transcripts display alongside recording playback, allowing content verification through searchable text. The native Webex meeting transcription functionality presents several limitations:
- Transcription supports English language exclusively
- MP4 recording format requirement for processing
- Processing times typically double the meeting duration or extend to 24 hours
- Audio quality and non-English terminology affect transcription accuracy
Activating Webex transcription requires confirmation of transcription service inclusion in the current Webex subscription plan. Administrative controls enable transcription through Webex Site Administration or Control Hub interfaces. The system processes recordings over 12-24 hours before transcript availability. Completed transcripts appear with recording playback, supporting search functionality for speaker verification.
Webex Transcription Pricing Considerations
Webex provides transcription functionality exclusively with paid subscription tiers including Webex Starter, Business, or Enterprise plans. Transcription capability supports English language content only across these subscription levels. Premium subscriptions include live captioning functionality displaying speaker content during active meetings. The live captioning feature supports multiple languages including English, French, German, and Spanish for real-time communication assistance.
How Do Meeting Transcription Tools Process Webex Recordings?
Automatic meeting transcription tools employ sophisticated technologies to transcribe Webex meetings efficiently:
AI and Machine Learning Foundations
Automatic meeting transcription software utilizes artificial intelligence and machine learning algorithms for speech pattern recognition. The technology identifies individual speakers while converting spoken dialogue into written text. Machine learning systems improve transcription accuracy continuously through expanded data processing and pattern recognition refinements.
From Audio to Accurate Text
Transcription platforms process audio through multiple technical stages including noise reduction algorithms and speech recognition systems. Speaker identification technology attributes dialogue correctly to specific meeting participants. Transcription accuracy depends on several factors including recording audio quality, language support capabilities, and environmental conditions during the original recording.
Which Tools Best Transcribe Webex Meetings?
Grand View Research shows an increasing growth in transcription tools in the U.S. at a CAGR of 5.2% from 2025 to 2030. The market expansion demonstrates increasing demand and practical applications for automated transcription solutions. Virtual meeting dependency continues growing across business sectors, making efficient transcription technology essential for modern workflows.
Meeting transcription software addresses this expanding requirement effectively. Essential capabilities include robust team collaboration features and precise speaker identification functionality. Effective solutions balance competitive pricing with intuitive interface design. The following options represent leading solutions to transcribe Webex calls:
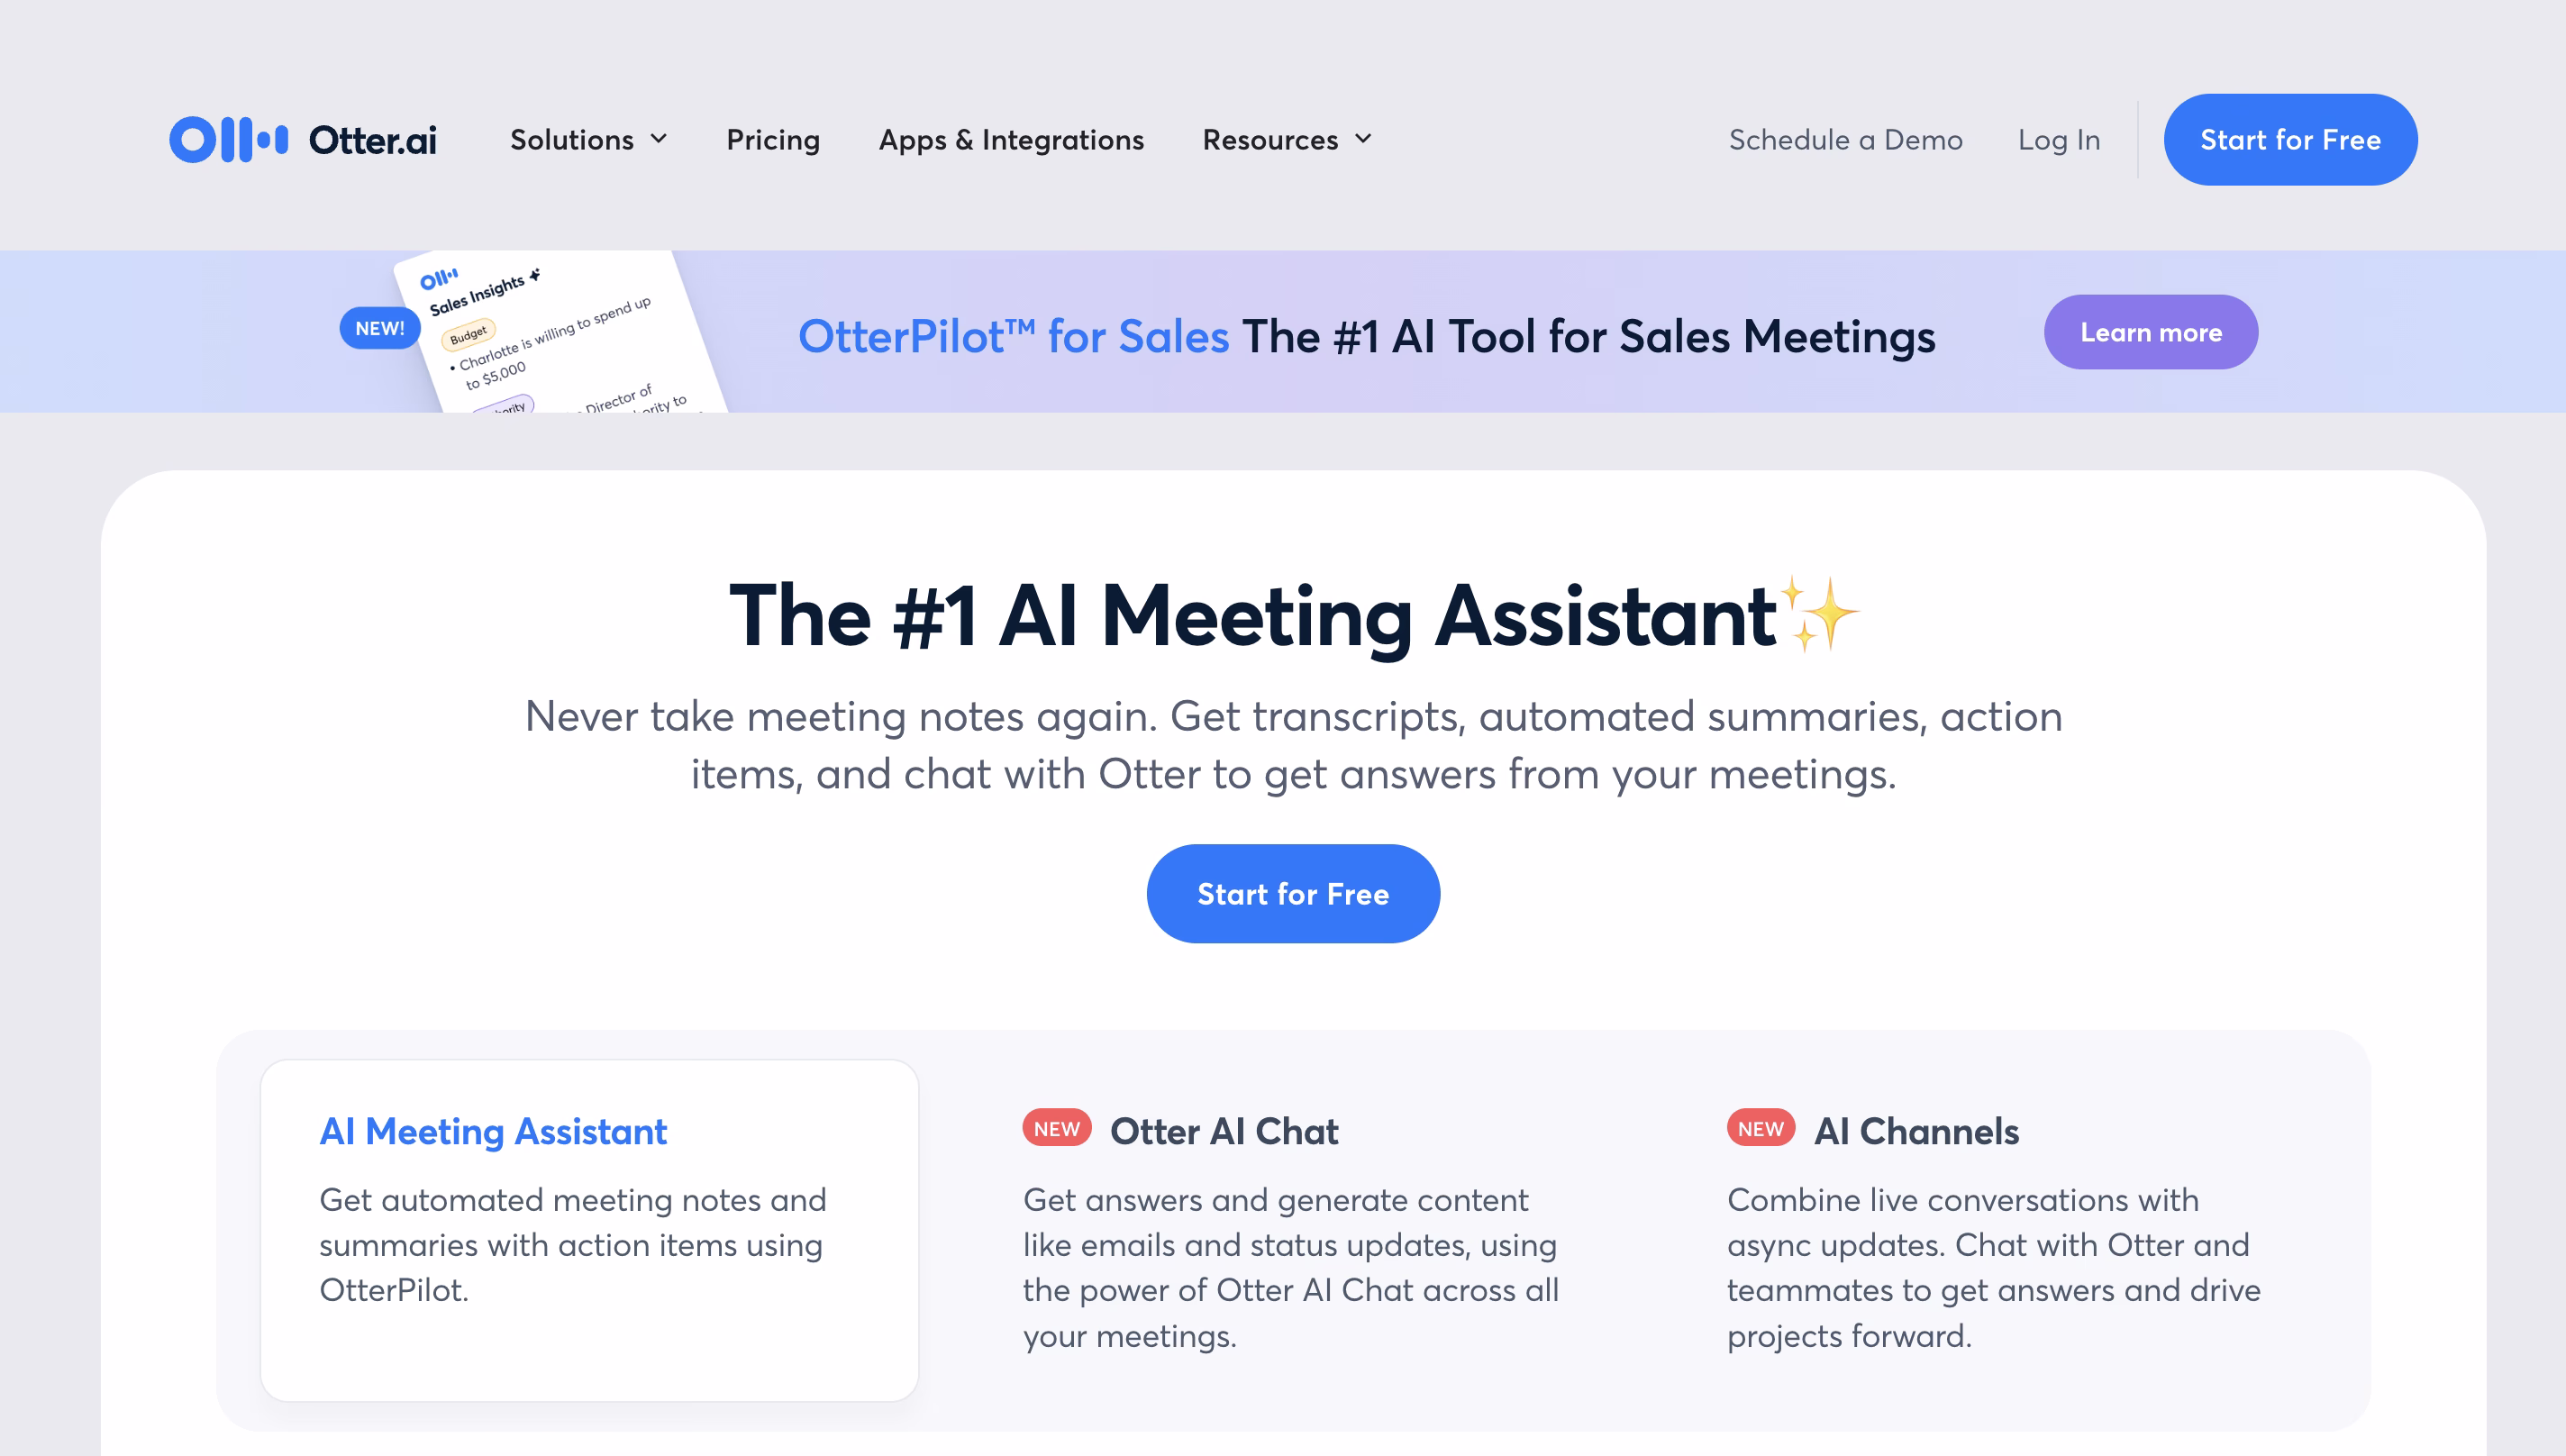
- Transkriptor: Transcribes Webex meetings with speaker identification, AI summaries, and extensive language support
- Otter.ai: Versatile, affordable transcription with collaboration features but limited performance in noisy environments
- Rev: Combined AI and human transcription service with premium pricing for small businesses
- Trint: Content creator-focused transcription platform with broad language support requiring manual editing
- Descript: Video editing platform with integrated transcription capabilities for content creators with occasional speaker identification limitations

1. Transkriptor
Transkriptor provides AI-powered audio-to-text conversion streamlining Webex meeting transcription through user-friendly workflows. The platform supports direct file uploads and cloud storage integration. Transkriptor delivers advanced functionality beyond basic transcription, including speaker identification with tone analysis, talk time metrics, and AI-generated summaries. The system supports over 100 languages, simplifying documentation for multilingual meetings.
Pros:
- Supports over 100 languages for global team transcription needs
- AI-powered summaries extract key points automatically
- Speaker identification with tone analysis provides meeting insights
- Secure sharing with team collaboration features
Cons:
- Premium features may increase subscription costs
- Processing time varies based on recording length
- Limited free trial period for evaluation
Transkriptor emphasizes team collaboration through secure transcript sharing capabilities. Zapier integration enables automated Webex meeting notes automation workflows. Comment functionality facilitates team communication regarding specific transcript segments. Transkriptor offers free trial access for feature evaluation before subscription commitment.
Key Features
AI Chat: Generates key remarks, action items, and conversation summaries for comprehensive meeting overviews
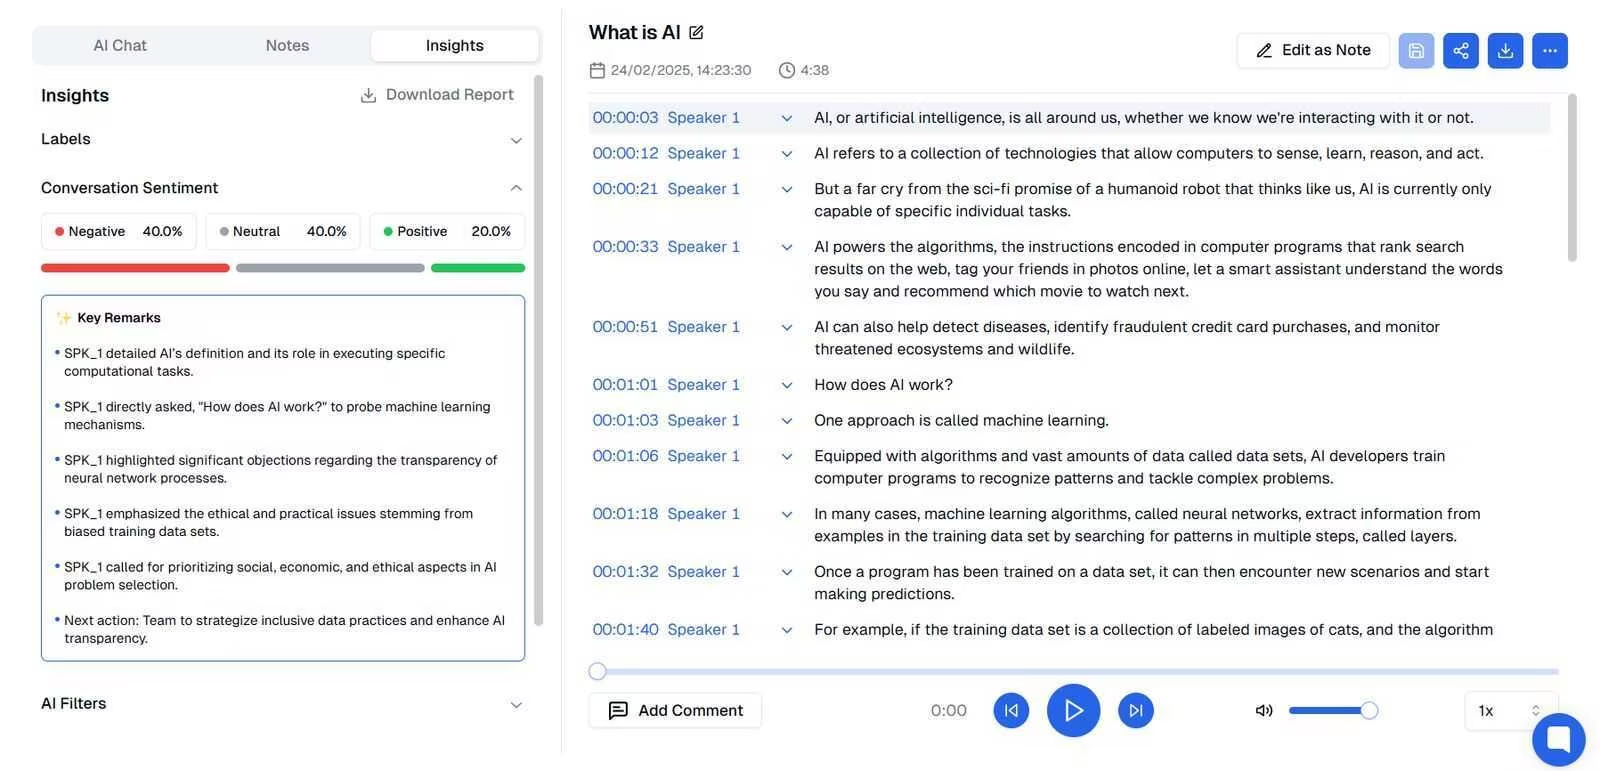
Speaker Tone and Talk Time: Analyzes participant sentiment and speaking duration during meeting sessions
Speaker Identification: Accurately identifies individual speakers for enhanced transcript clarity and reference
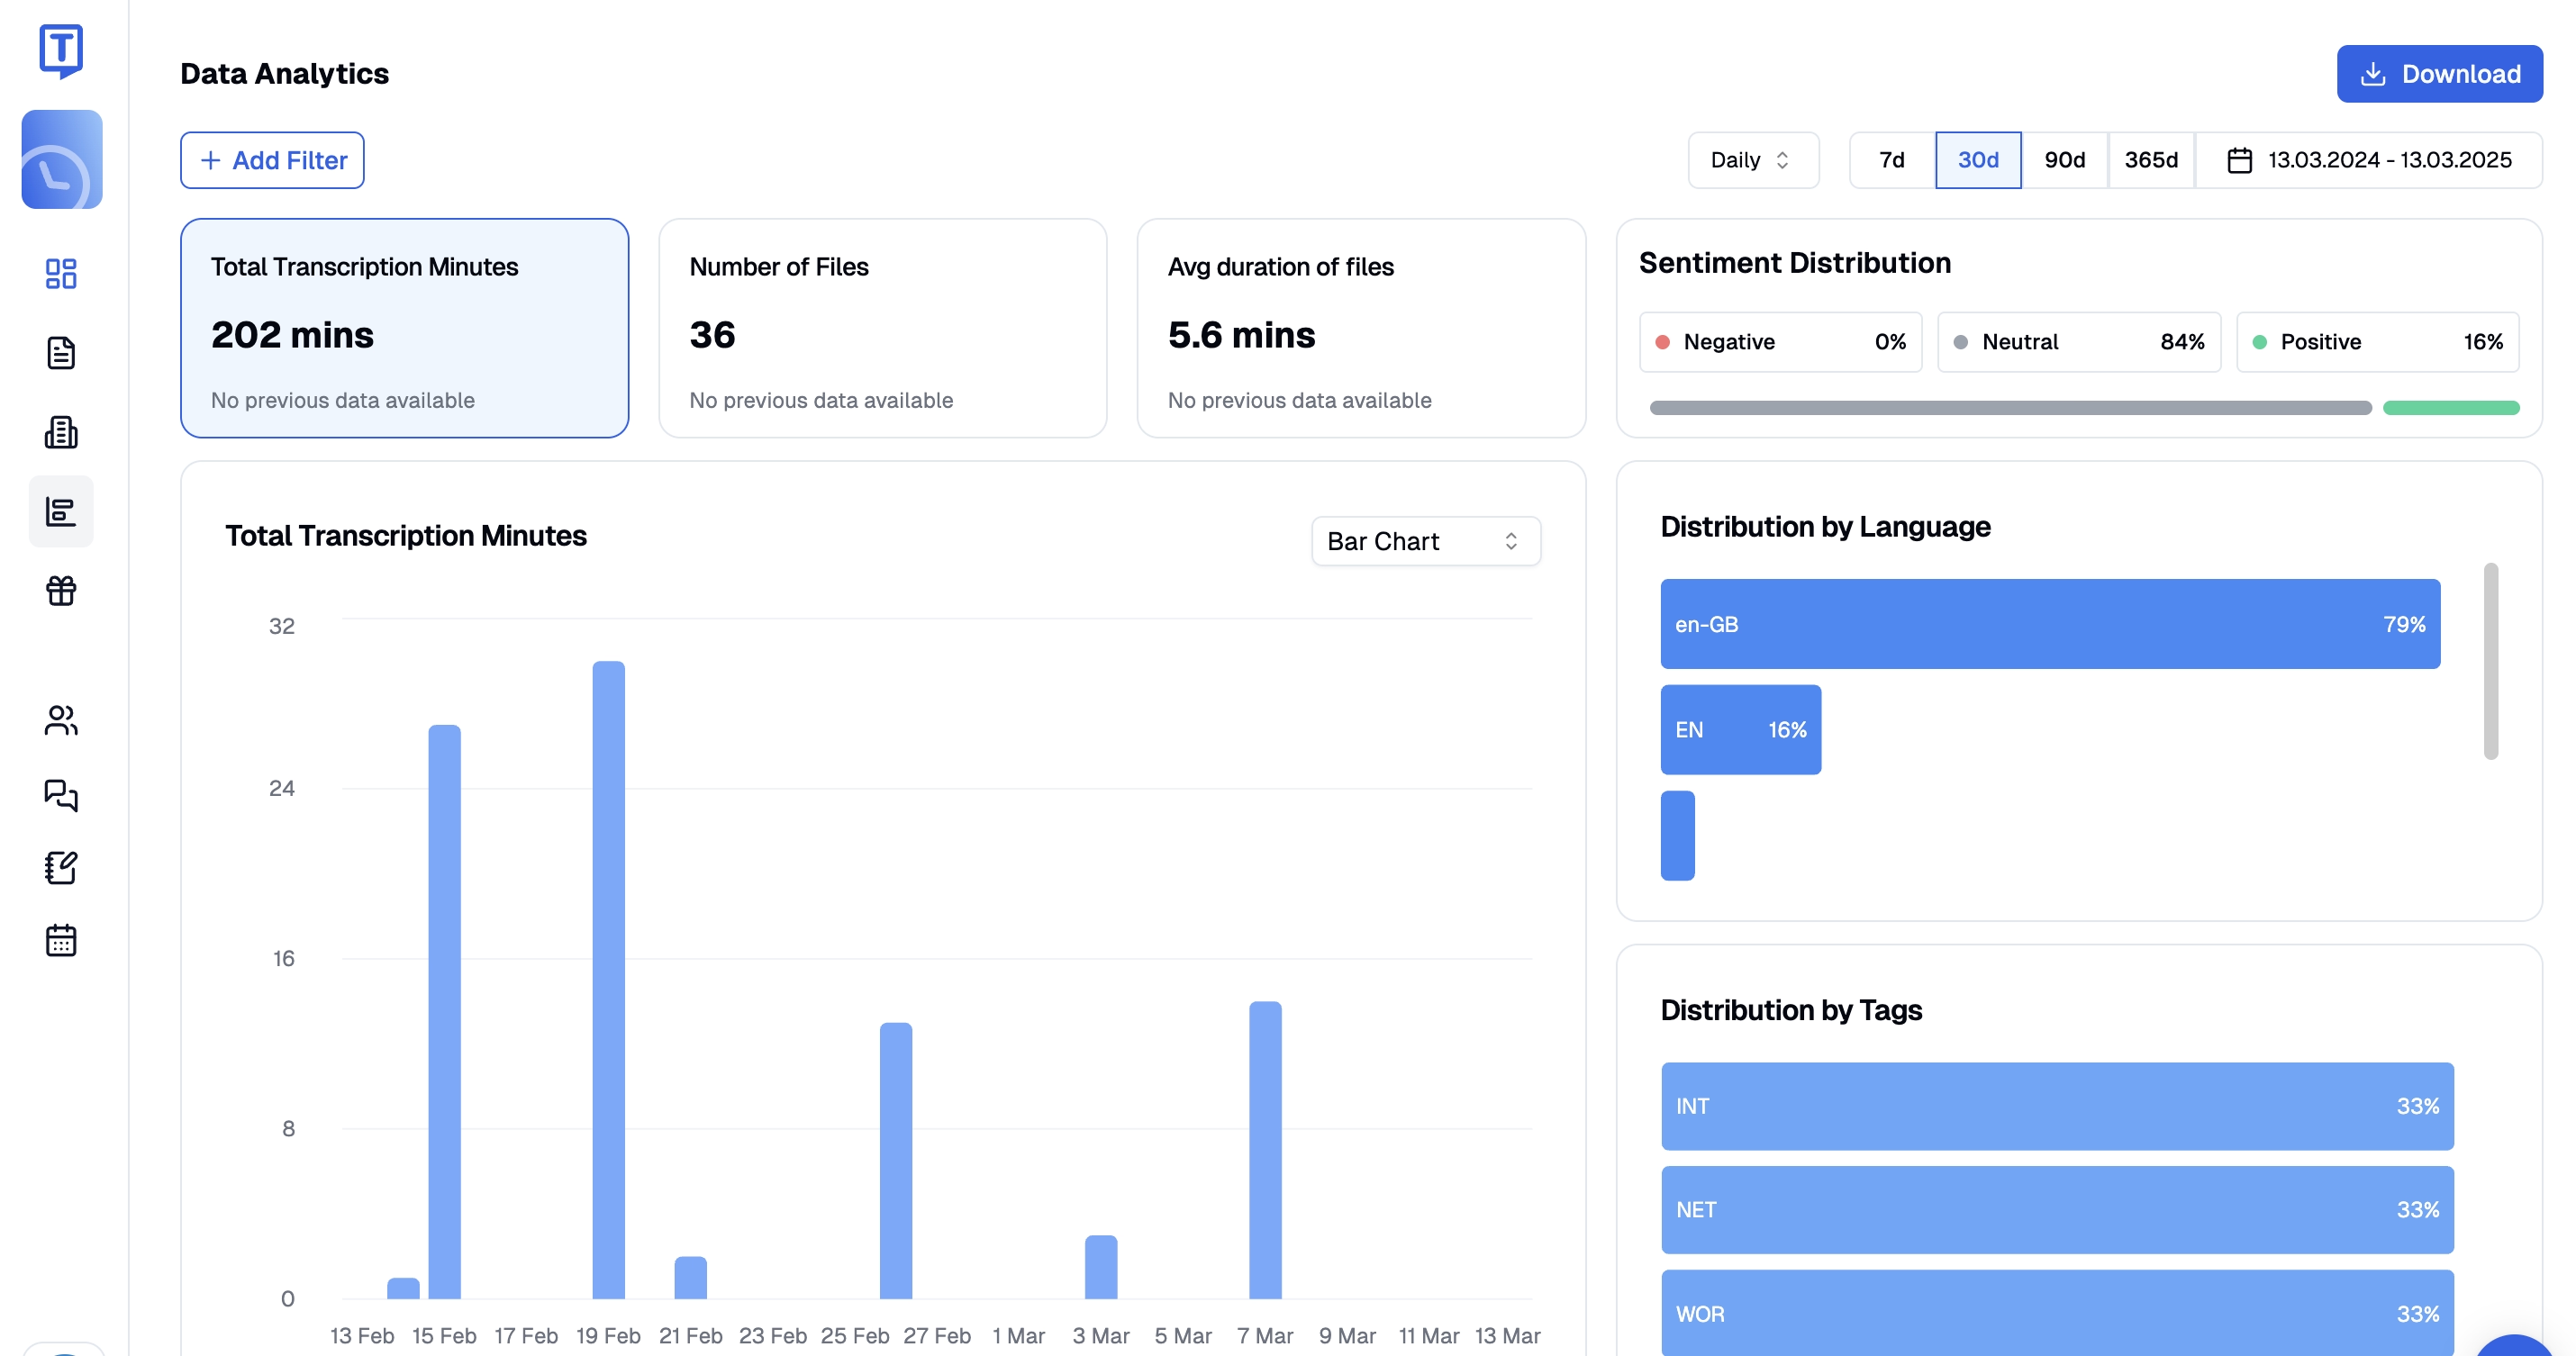
Data Analytics: Provides comprehensive metrics including total transcribed minutes, processed file count, and average recording duration
Alternative Transcription Solutions
Additional AI transcription for Webex options include:
2. Otter.ai
Otter.ai functions as a versatile meeting assistant providing accurate transcription with team collaboration capabilities. The platform integrates with multiple videoconferencing solutions including Google Meet, Zoom, and Microsoft Teams. Language support includes English, Spanish, and French with regional spelling localization based on device settings.
Pros:
- Real-time transcription during live meetings
- Intuitive interface with searchable notes
- Affordable pricing tiers including free option
- Seamless integration with major meeting platforms
Cons:
- Limited to only three languages
- Reduced accuracy in noisy environments
- Struggles with multiple speakers talking simultaneously
- Premium features require paid subscription
Performance limitations include reduced accuracy with background noise and multiple simultaneous speakers.
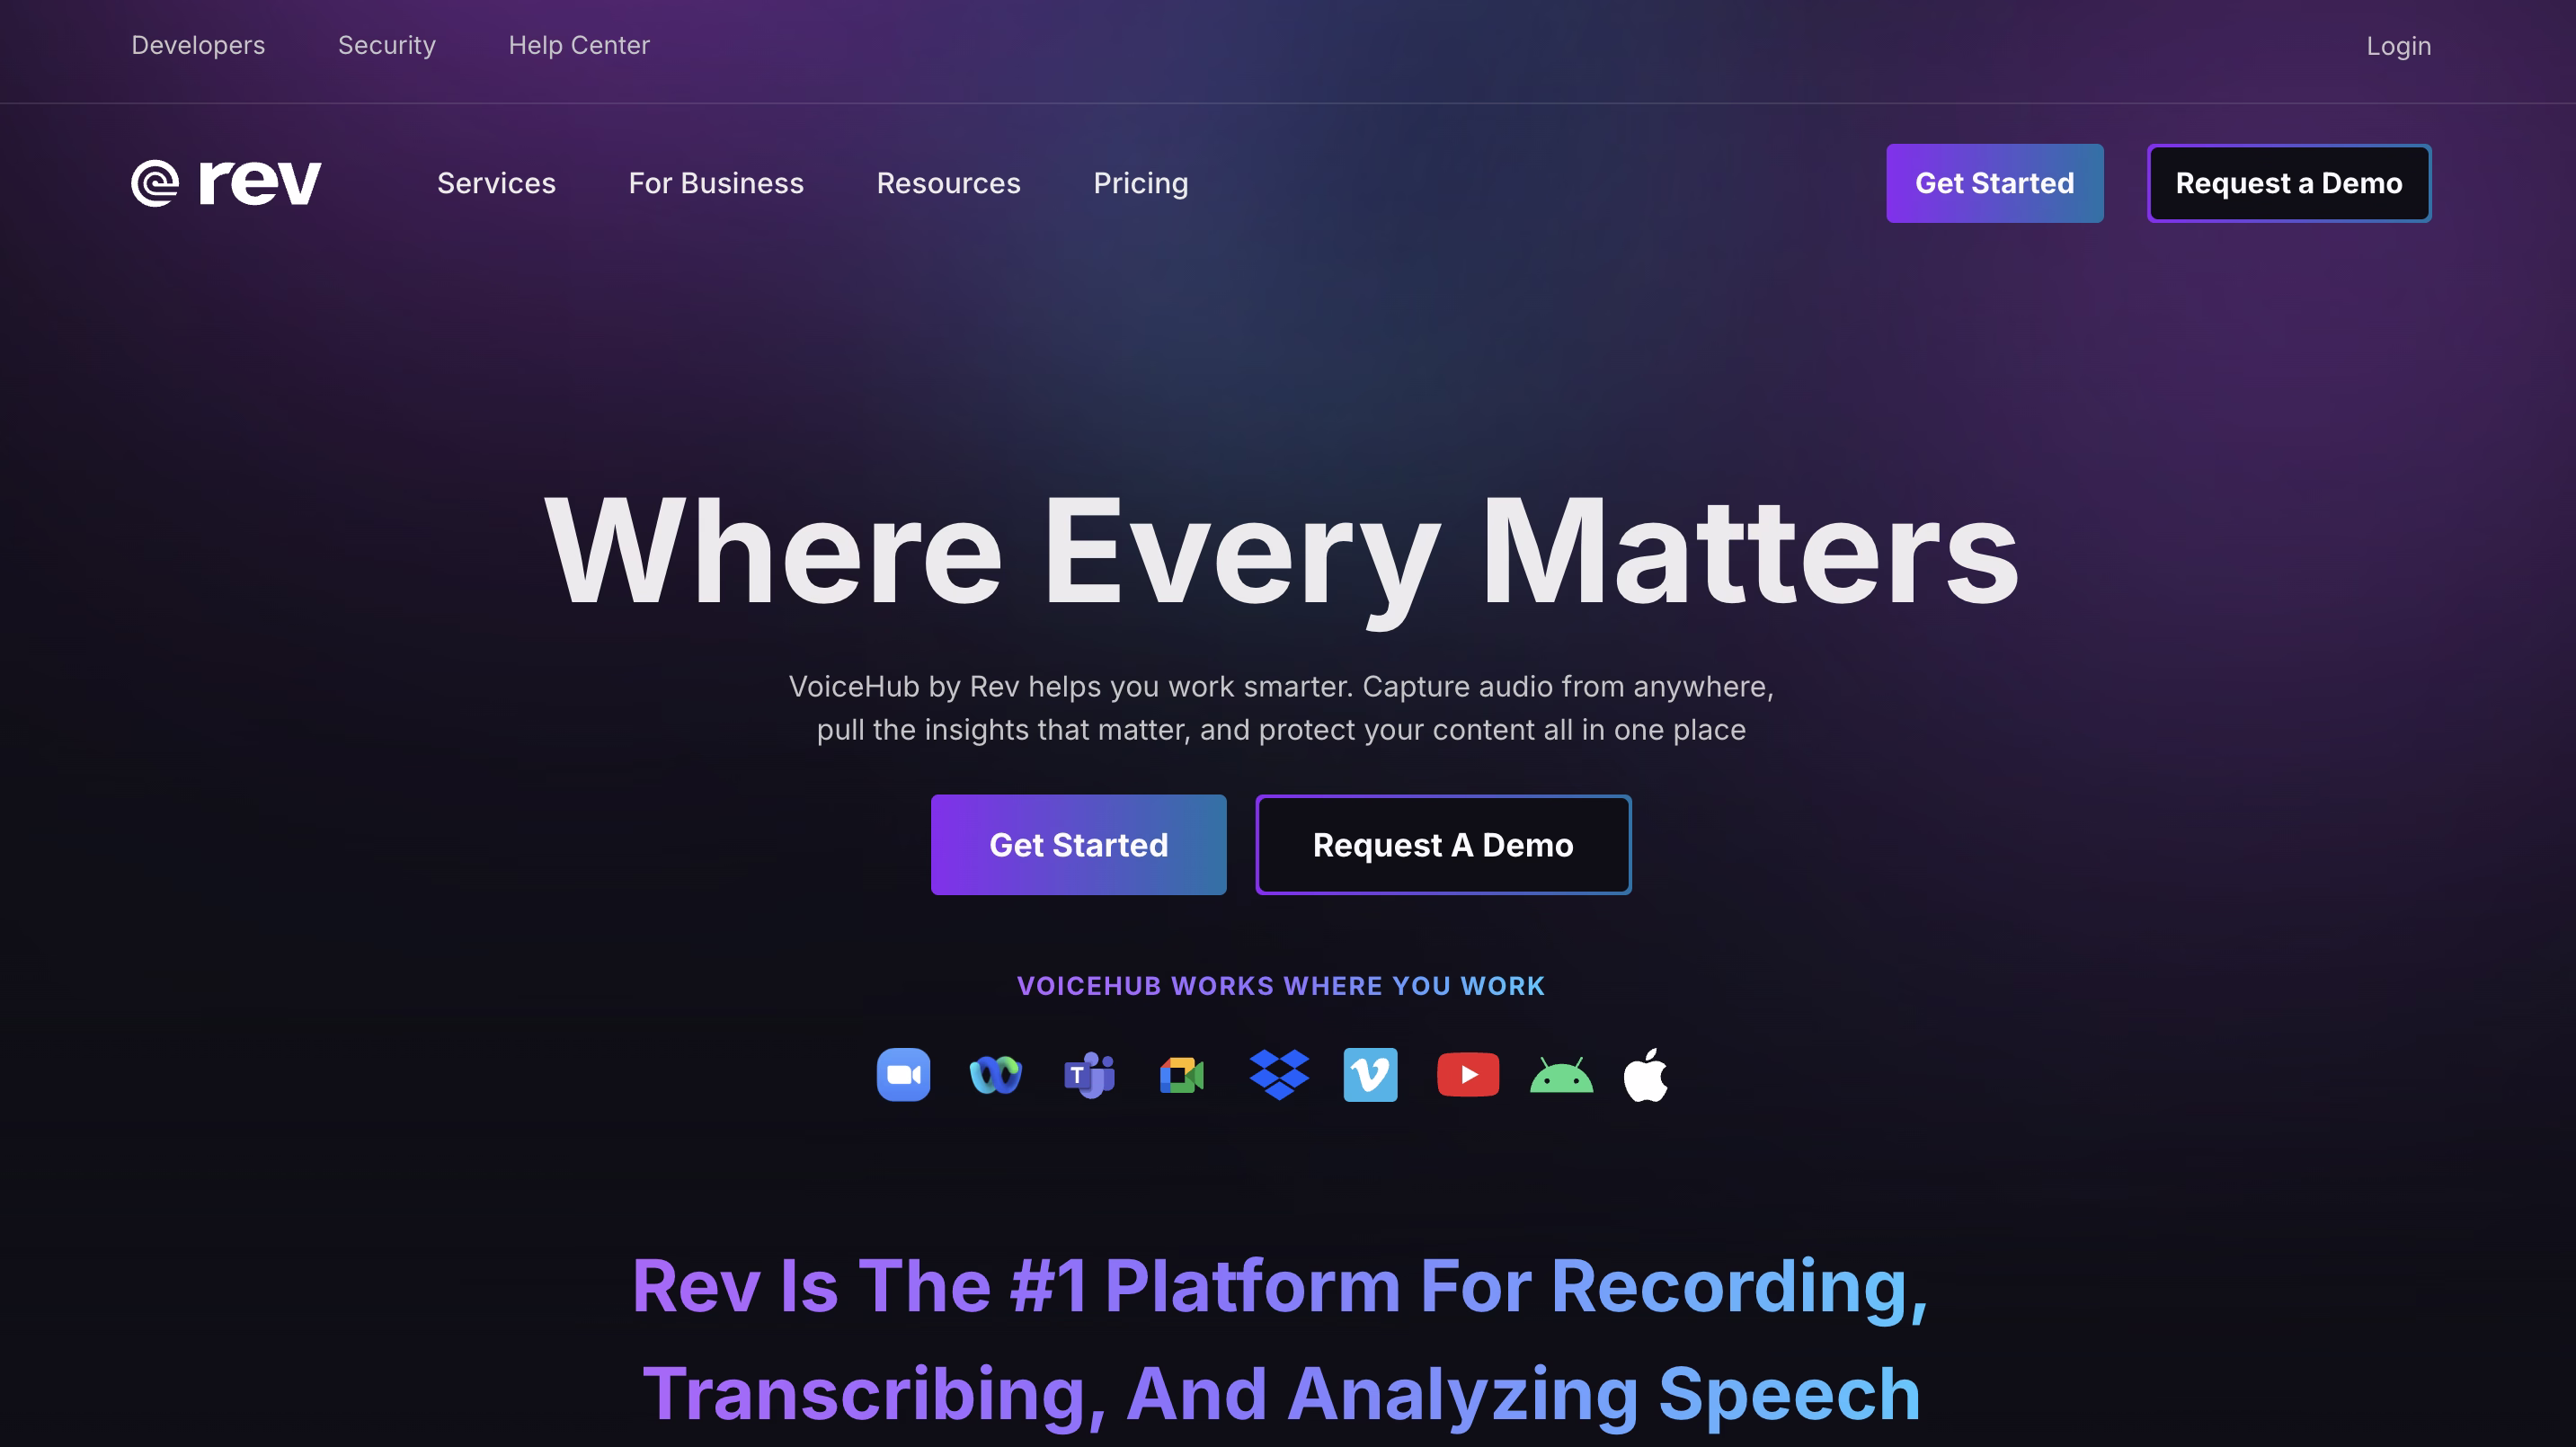
3. Rev
Rev delivers both AI and human transcription services supporting 36 languages with platform integration for Webex and Zoom. High accuracy rates make Rev particularly suitable for technical content transcription.
Pros:
- Combined AI and human editing for superior accuracy
- Supports 36 languages for international teams
- Direct integration with Webex platform
- Excellent for technical terminology transcription
Cons:
- Higher pricing compared to AI-only solutions
- Human transcription adds processing time
- Cost structure challenging for small businesses
- Advanced features limited to premium tiers
Subscription pricing begins at $9.99 monthly for basic service tiers. Higher transcription costs present challenges for small business implementation despite quality advantages.
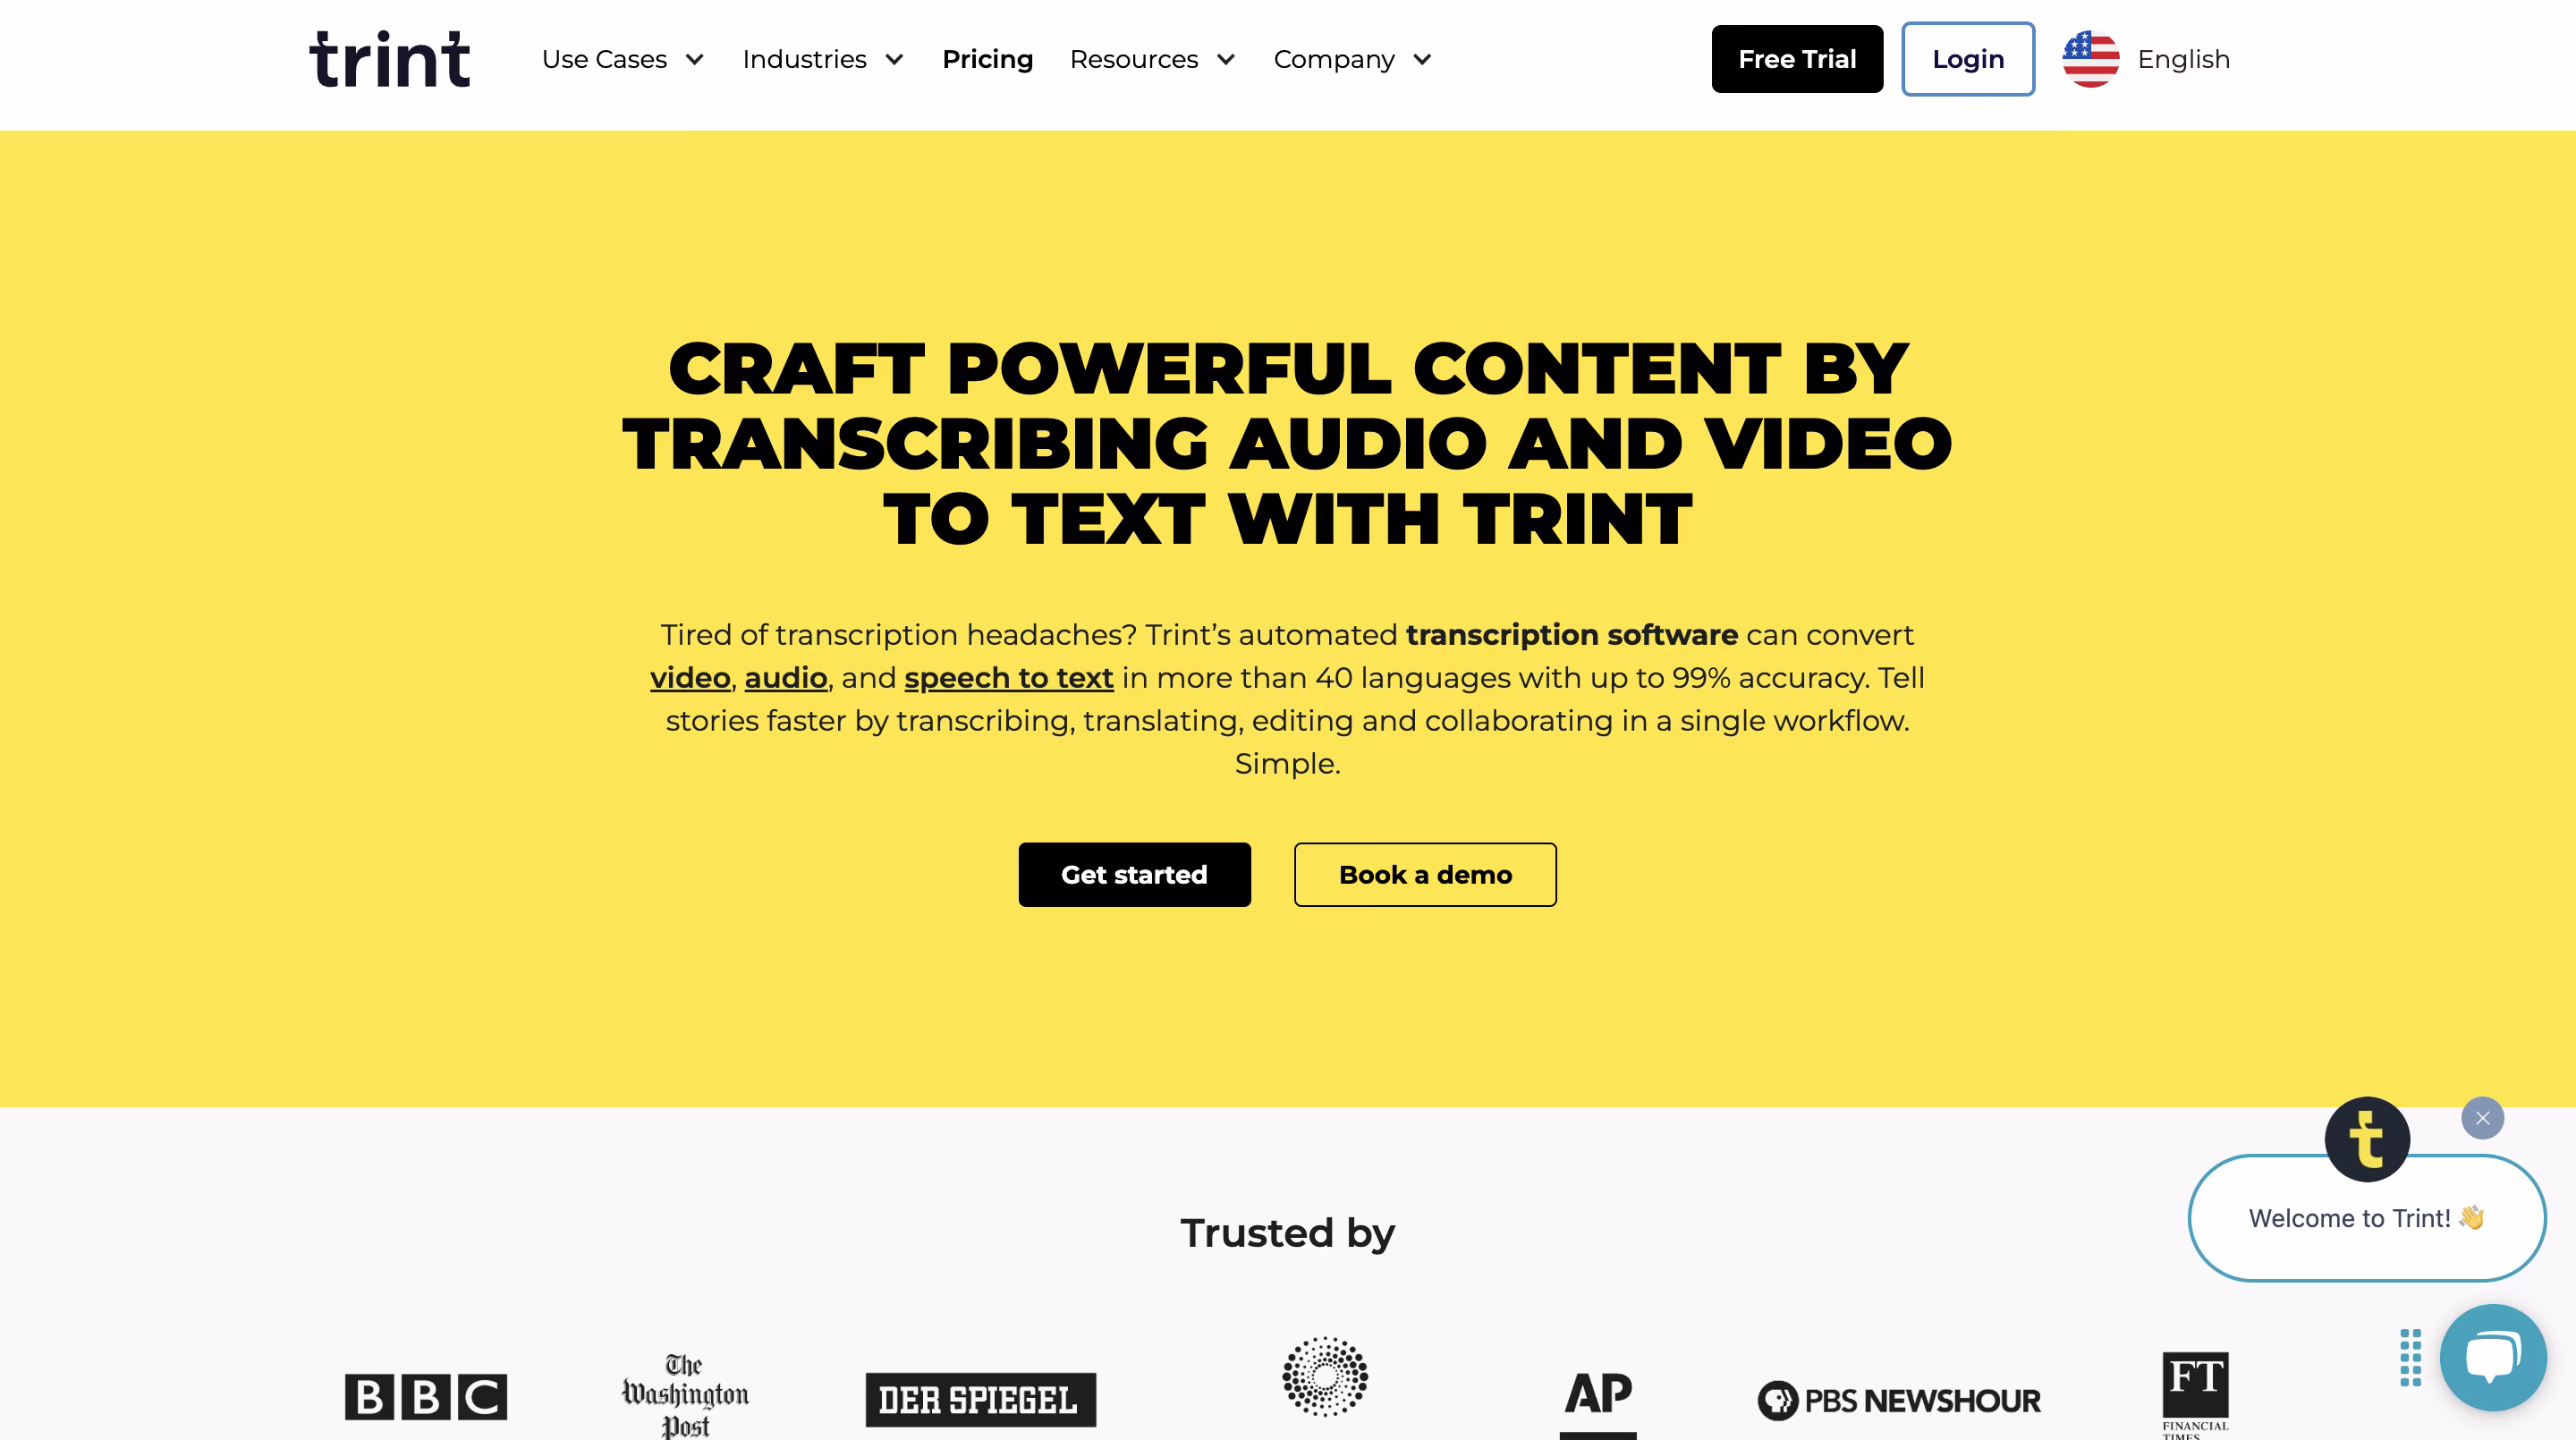
4. Trint
Trint provides AI-powered transcription converting audio and video recordings into editable text documents. The system supports more than 40 languages with accuracy rates reaching 90%.
Pros:
- Supports over 40 languages for global teams
- Specialized features for content creators
- Up to 90% accuracy under optimal conditions
- Collaboration tools built into the platform
Cons:
- Higher subscription costs starting at $52/month
- Requires manual editing in noisy environments
- Learning curve for advanced features
- Processing time varies with recording length
Journalism, content creation, and business sectors benefit from seamless workflow integration. Free trial availability precedes subscription plans starting at $52 monthly per user. Noisy environment recordings typically require manual editing due to accuracy limitations.
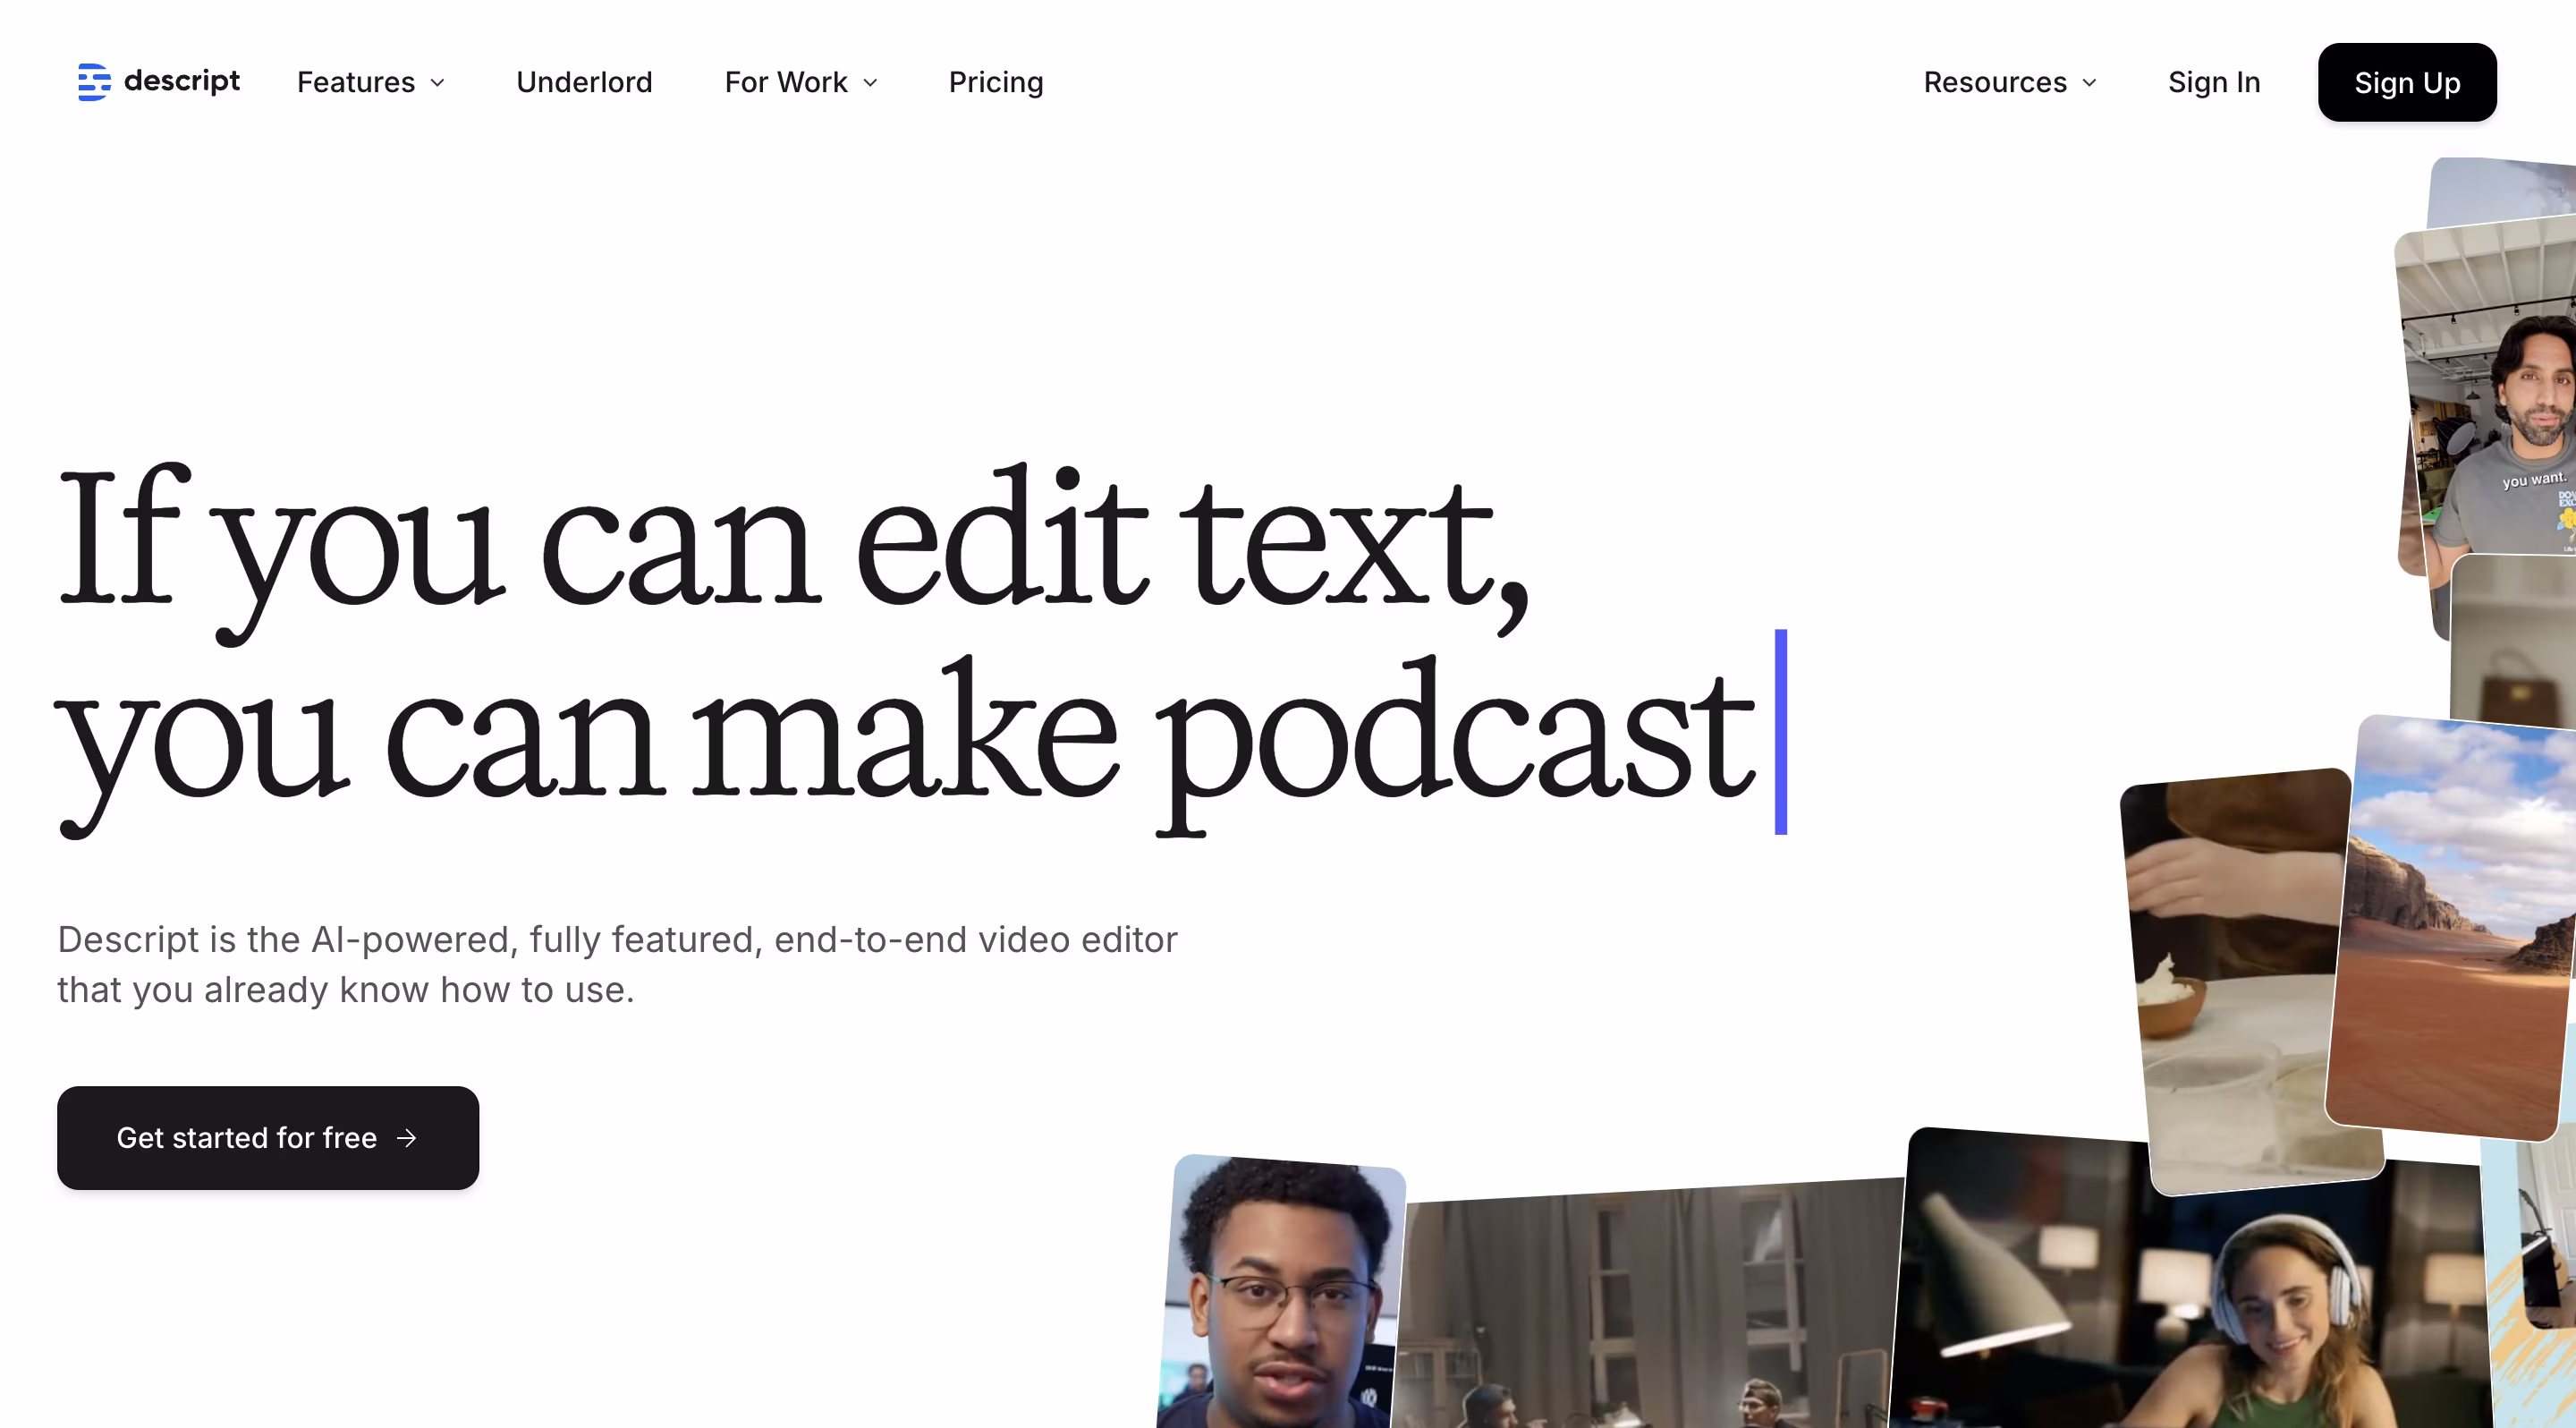
5. Descript
Descript functions primarily as a video editing platform simplifying content creation through text-based audio and video editing. Features include automatic transcription, noise reduction, and AI-driven editing tools.
Pros:
- All-in-one platform for editing and transcription
- Advanced noise reduction technology
- Text-based editing of audio and video content
- Integrates with multiple platforms including YouTube
Cons:
- Inconsistent speaker identification
- Grammar errors in complex transcriptions
- Primary focus on video editing, not transcription
- Requires more technical knowledge
Content creators and businesses benefit from platform integration with YouTube, Meet, and Slack. Common limitations include speaker identification challenges and transcript grammar inaccuracies.
The following table compares meeting transcription tool capabilities:
Tools | Key features | Target users | Pricing | Integration |
|---|---|---|---|---|
Transkriptor | AI Chat, AI summary, 100+ languages support, speaker identification, multiple sharing options, meeting insights, key metrics, talk time analysis, speaker tone analysis | Legal professionals, medical practitioners, marketing specialists, IT teams, general transcription users | Free trial and paid plans | Zoom, Google Meet, Microsoft Teams, and additional platforms |
Otter.ai | Live transcription, team collaboration, searchable notes, three languages support | Group meetings, interviews, discussions | Free; Pro: $8.33 per user/month; Business: $20 per user/month | Zoom, Google Meet, Microsoft Teams |
Rev | Live transcription, team collaboration, searchable notes, 37 languages support, AI+human editing | Technical recordings | Free; Basic: $9.99 per user/month; Pro: $20.99 per user/month | Zoom, Google Meet, Microsoft Teams, Webex |
Trint | Video-to-text transcription, translation functionality, subtitle generation, story builder | Podcasters and content creators | Free trial; Starter 2024: $52/seat/month; Advanced 2024: $60/seat/month | Zoom, Slack, Frame.io |
Descript | Video editing, podcasting, clip creation, captioning, subtitles, video translation, text-to-speech | Content creators, businesses, video editors, podcasters | Free plan; Hobbyist: $12; Creator: $24 | Slack, Google Meet, YouTu |
How To Transcribe Webex Recordings Step By Step With Transkriptor?
Follow these comprehensive steps to transcribe Webex calls efficiently:
What Steps Convert Webex Meetings To Text?
1. Preparing Your Webex Recording
Begin by organizing recordings with descriptive naming conventions for easy identification. Remove background noise using audio enhancement tools when necessary. Clean audio recordings produce significantly improved transcription accuracy. Store videos in dedicated folders for efficient retrieval during the transcription process.
2. Uploading to Transkriptor
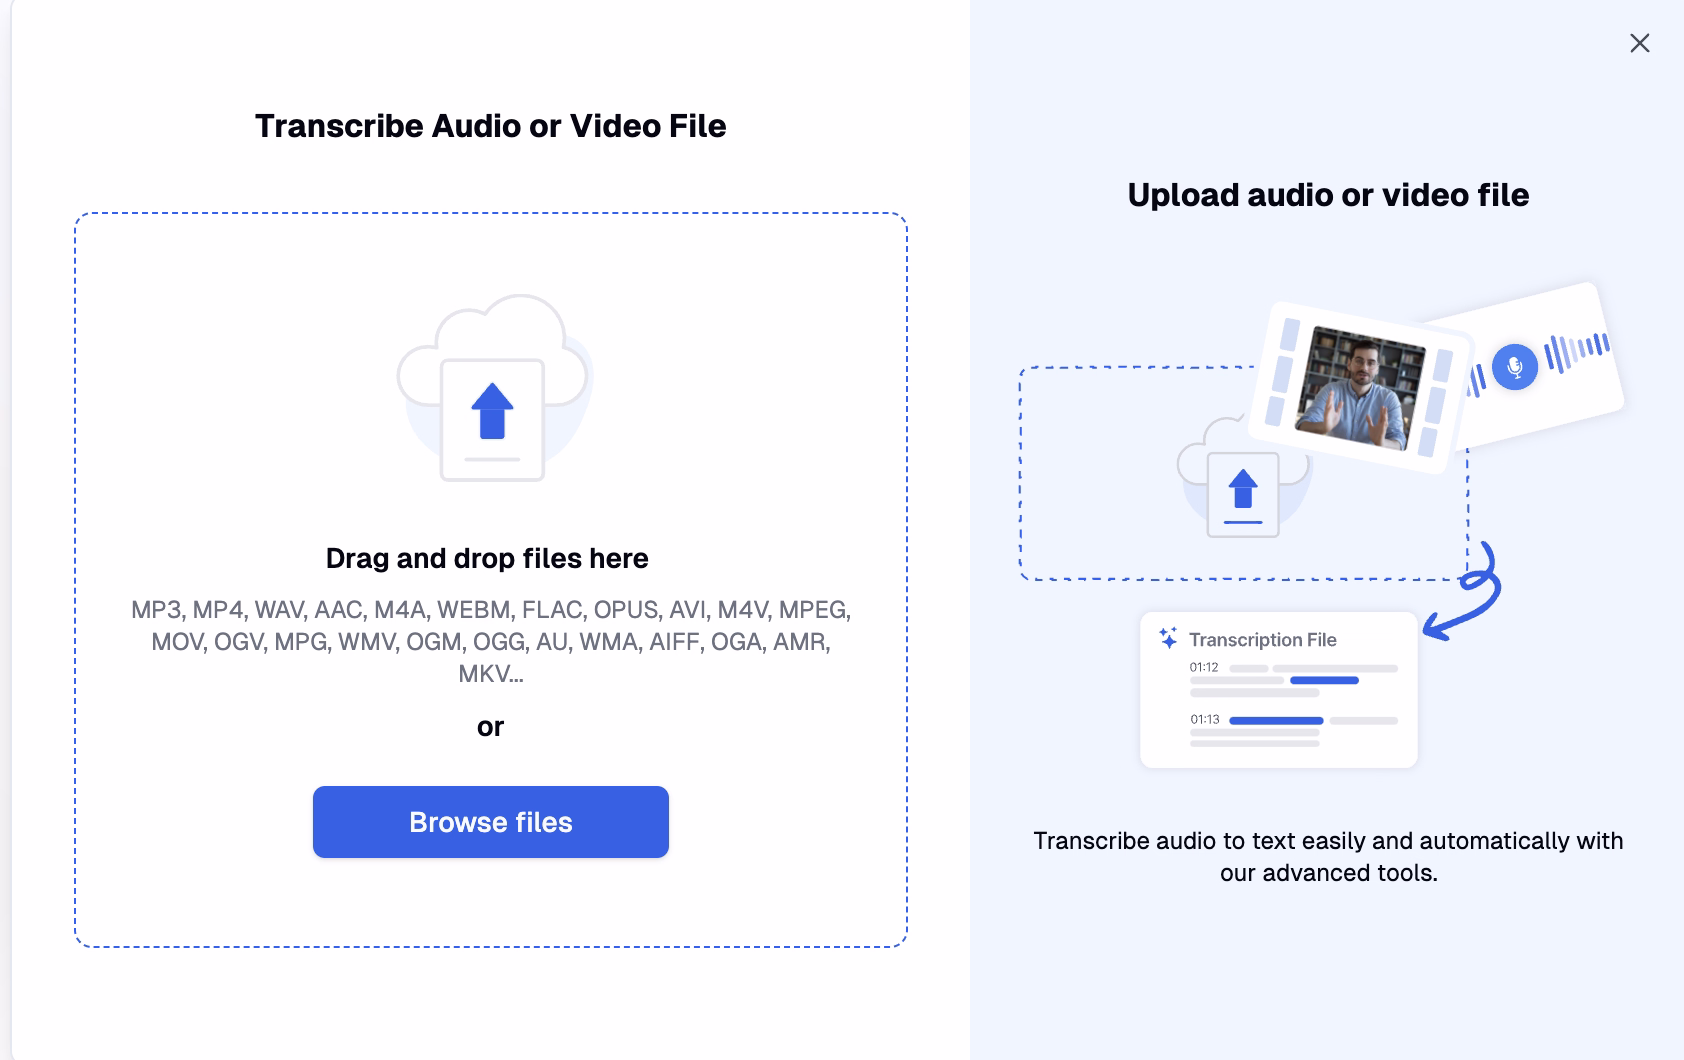
Access the Transkriptor website and upload Webex meeting recordings directly. Cloud integration options enable file conversion from storage platforms including Dropbox, Google Drive, and OneDrive for streamlined workflow management.
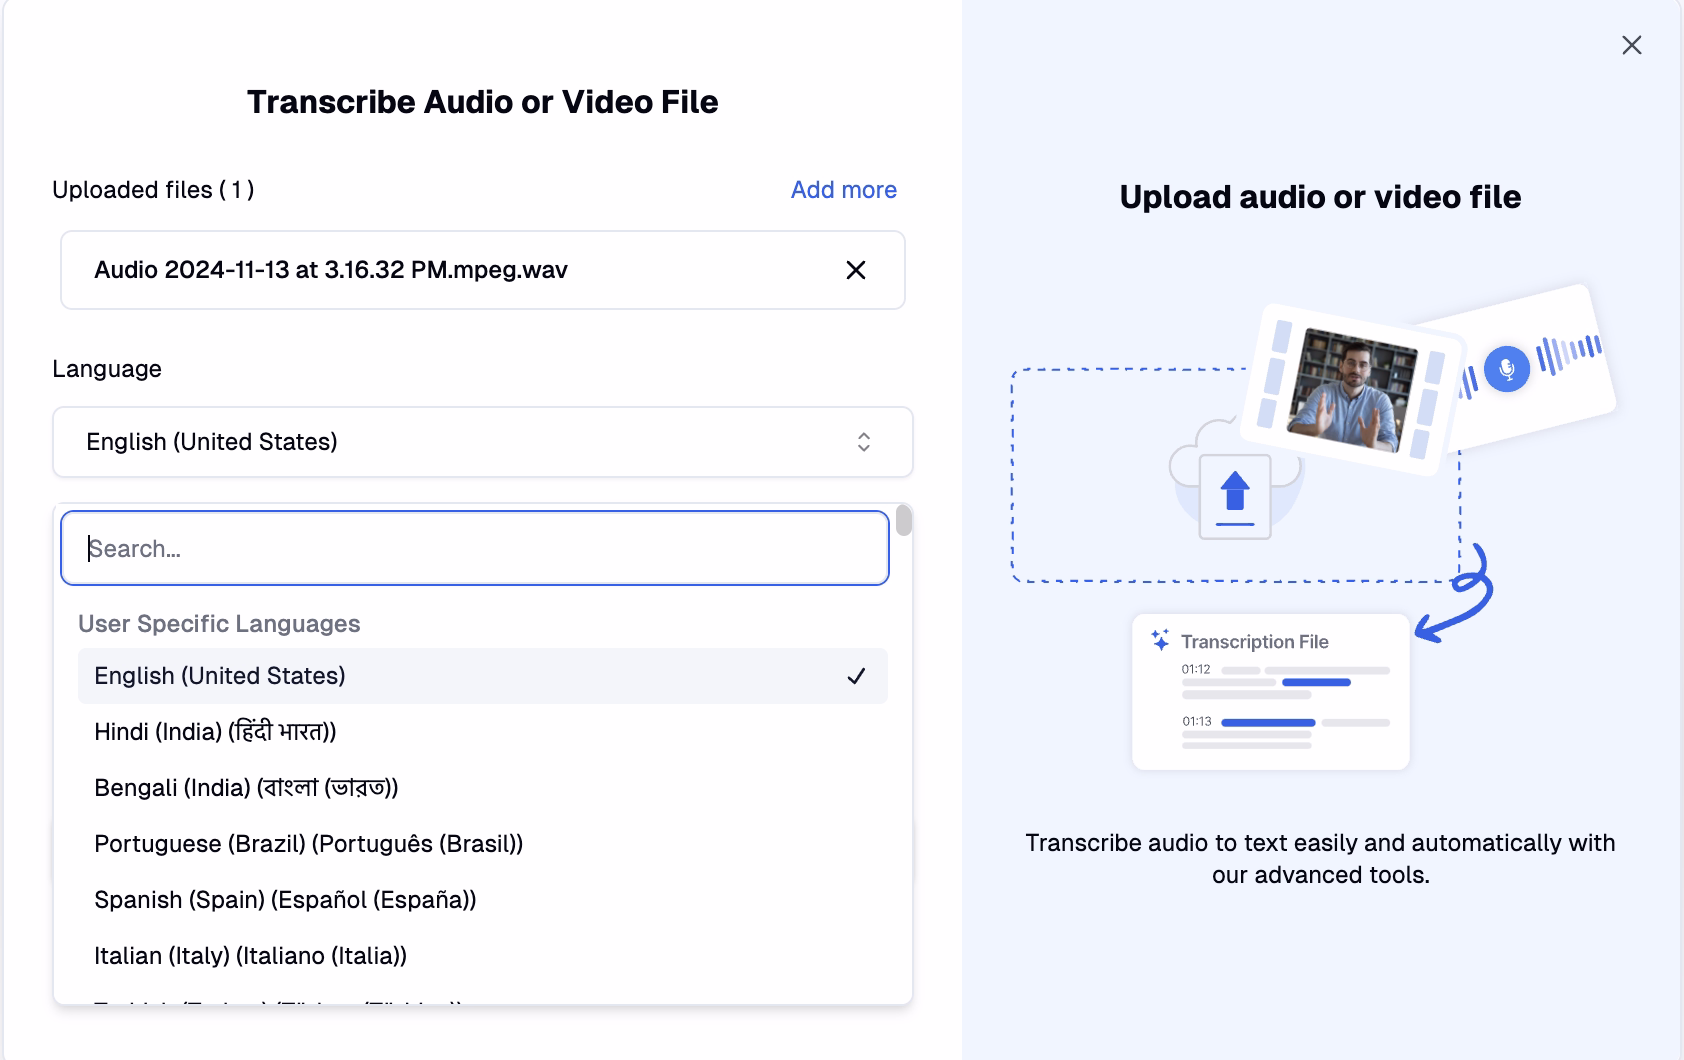
3. Configuring Transcription Settings
During the upload process, customize transcription parameters including target language selection. Additional configuration options include specialized dictionary customization, transcription purpose specification, and speaker quantity settings.
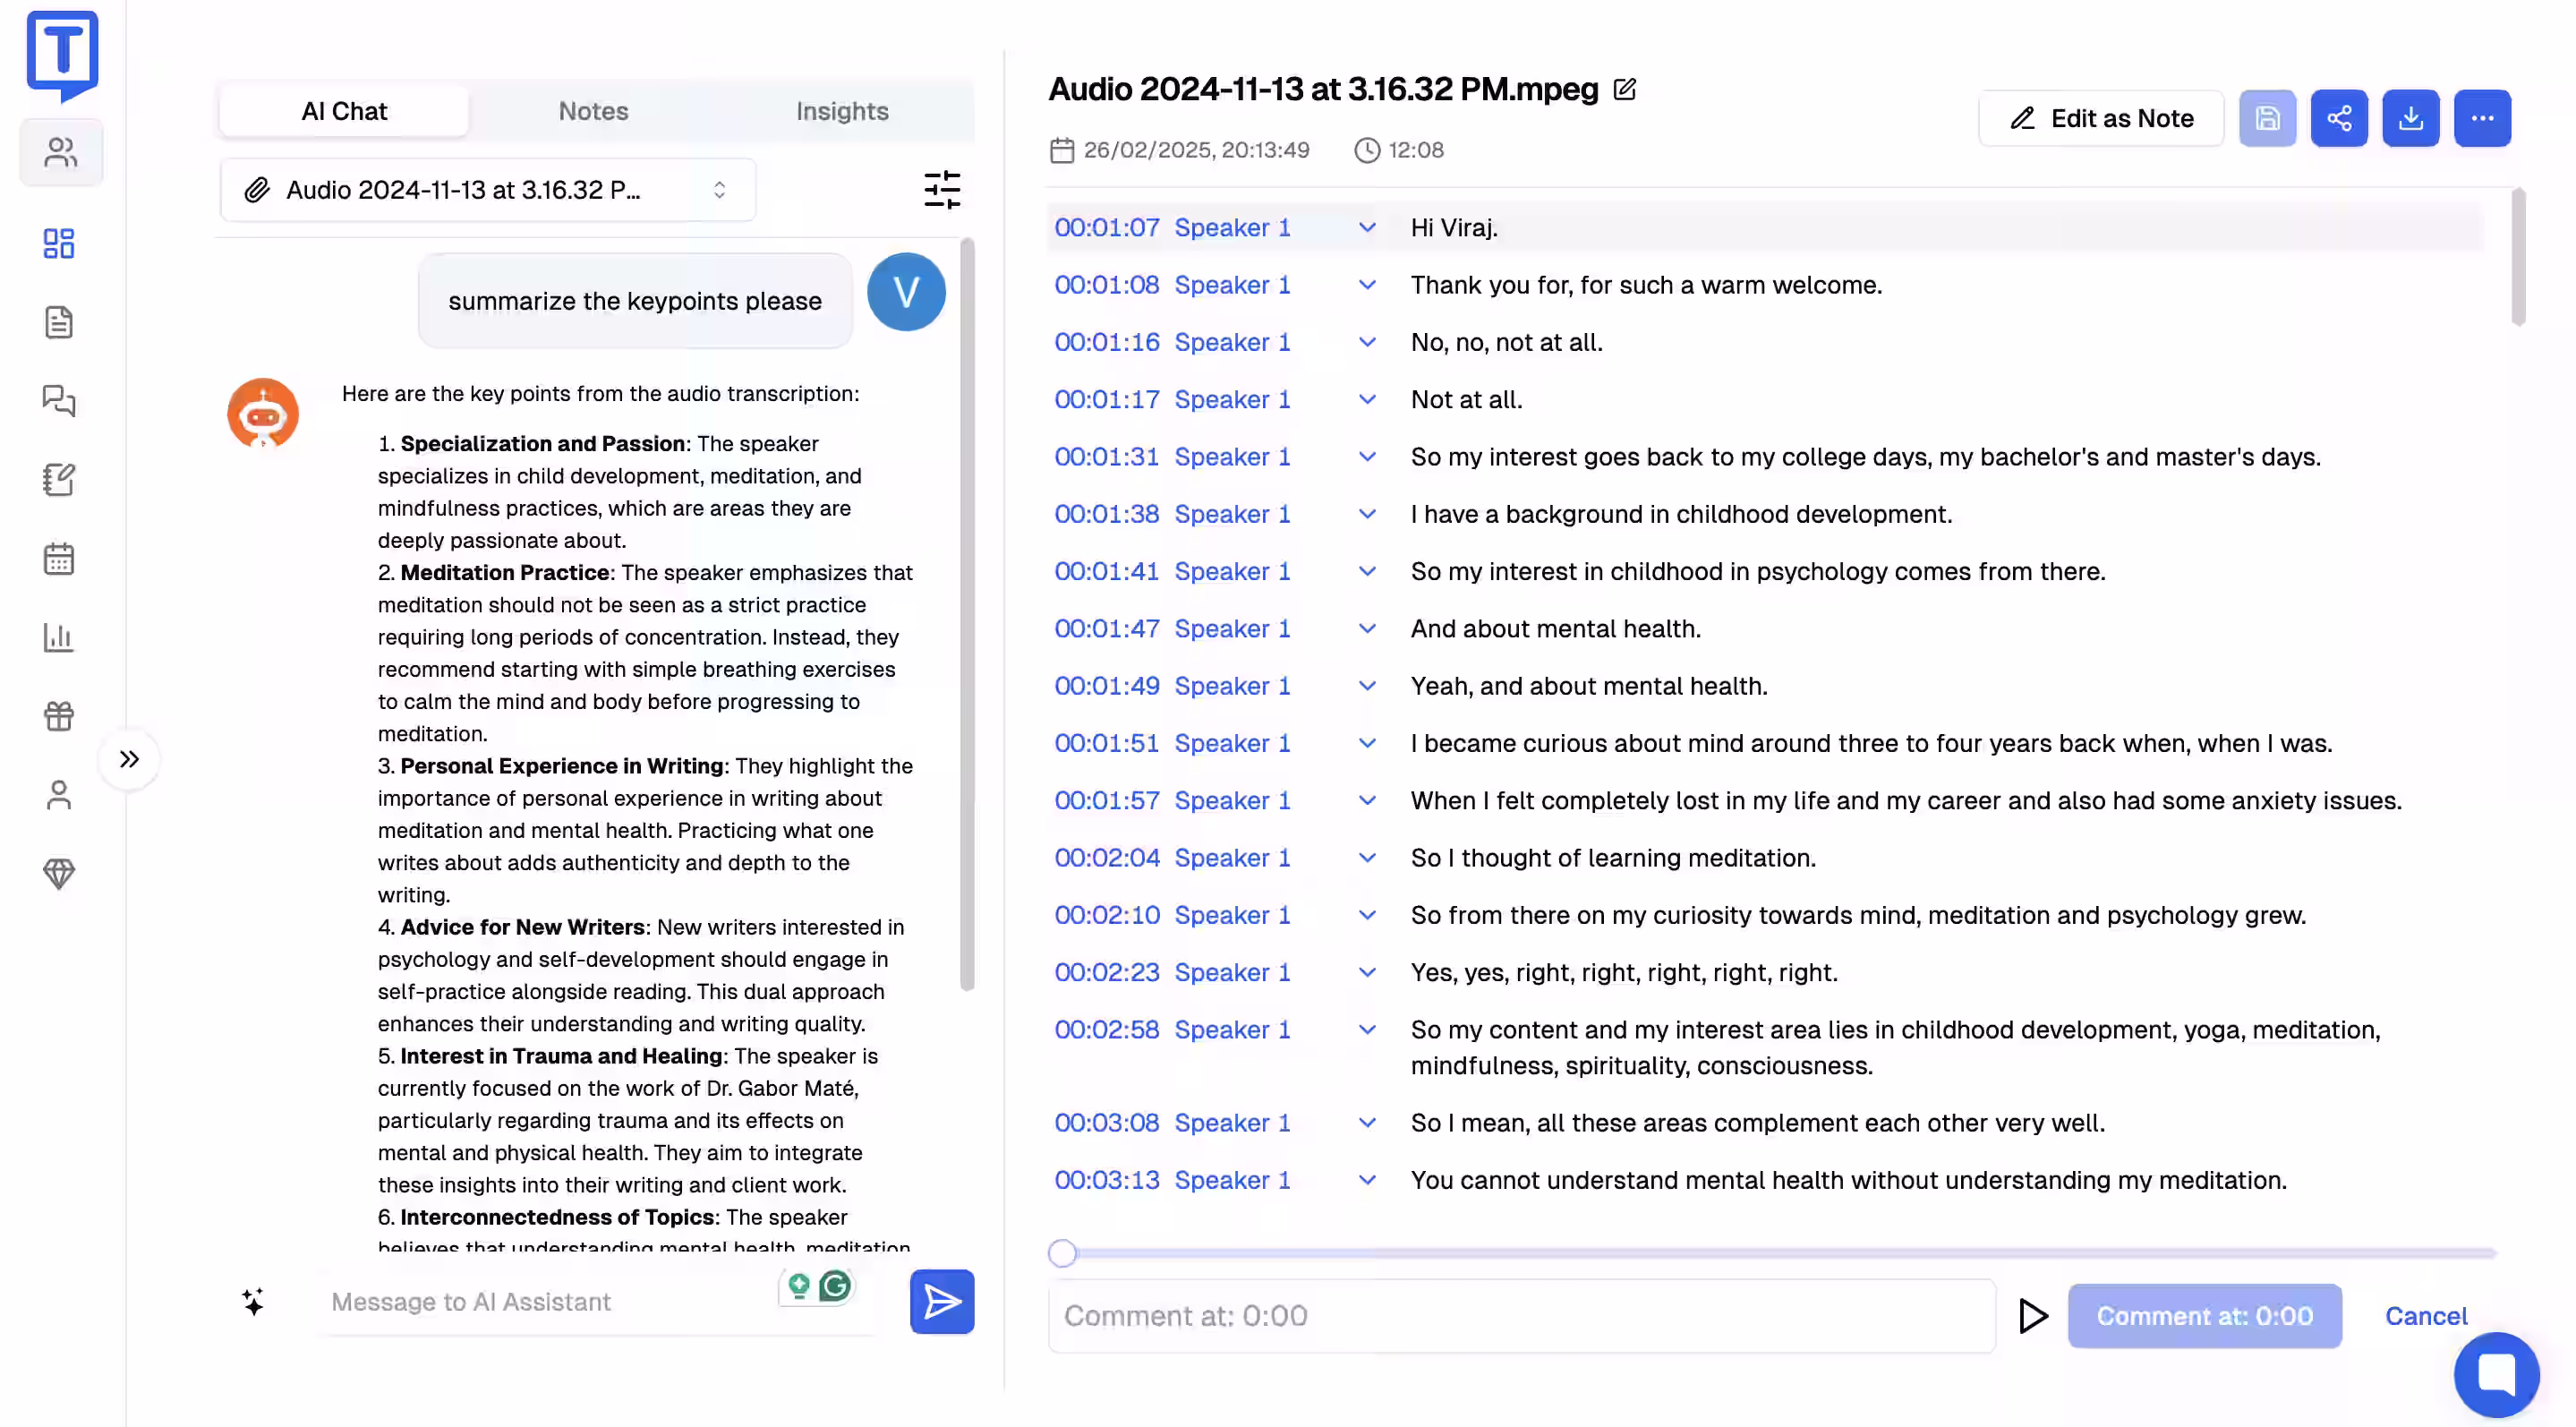
4. Reviewing and Editing Your Transcript
Access the completed transcript through the dashboard interface for editing purposes. Review grammar accuracy, add speaker labels, and insert timestamps as needed. Comment functionality supports team communication regarding specific content segments. AI assistance features generate meeting summaries highlighting key discussion points. The platform analyzes participant talk time and sentiment indicators (positive, neutral, or negative).
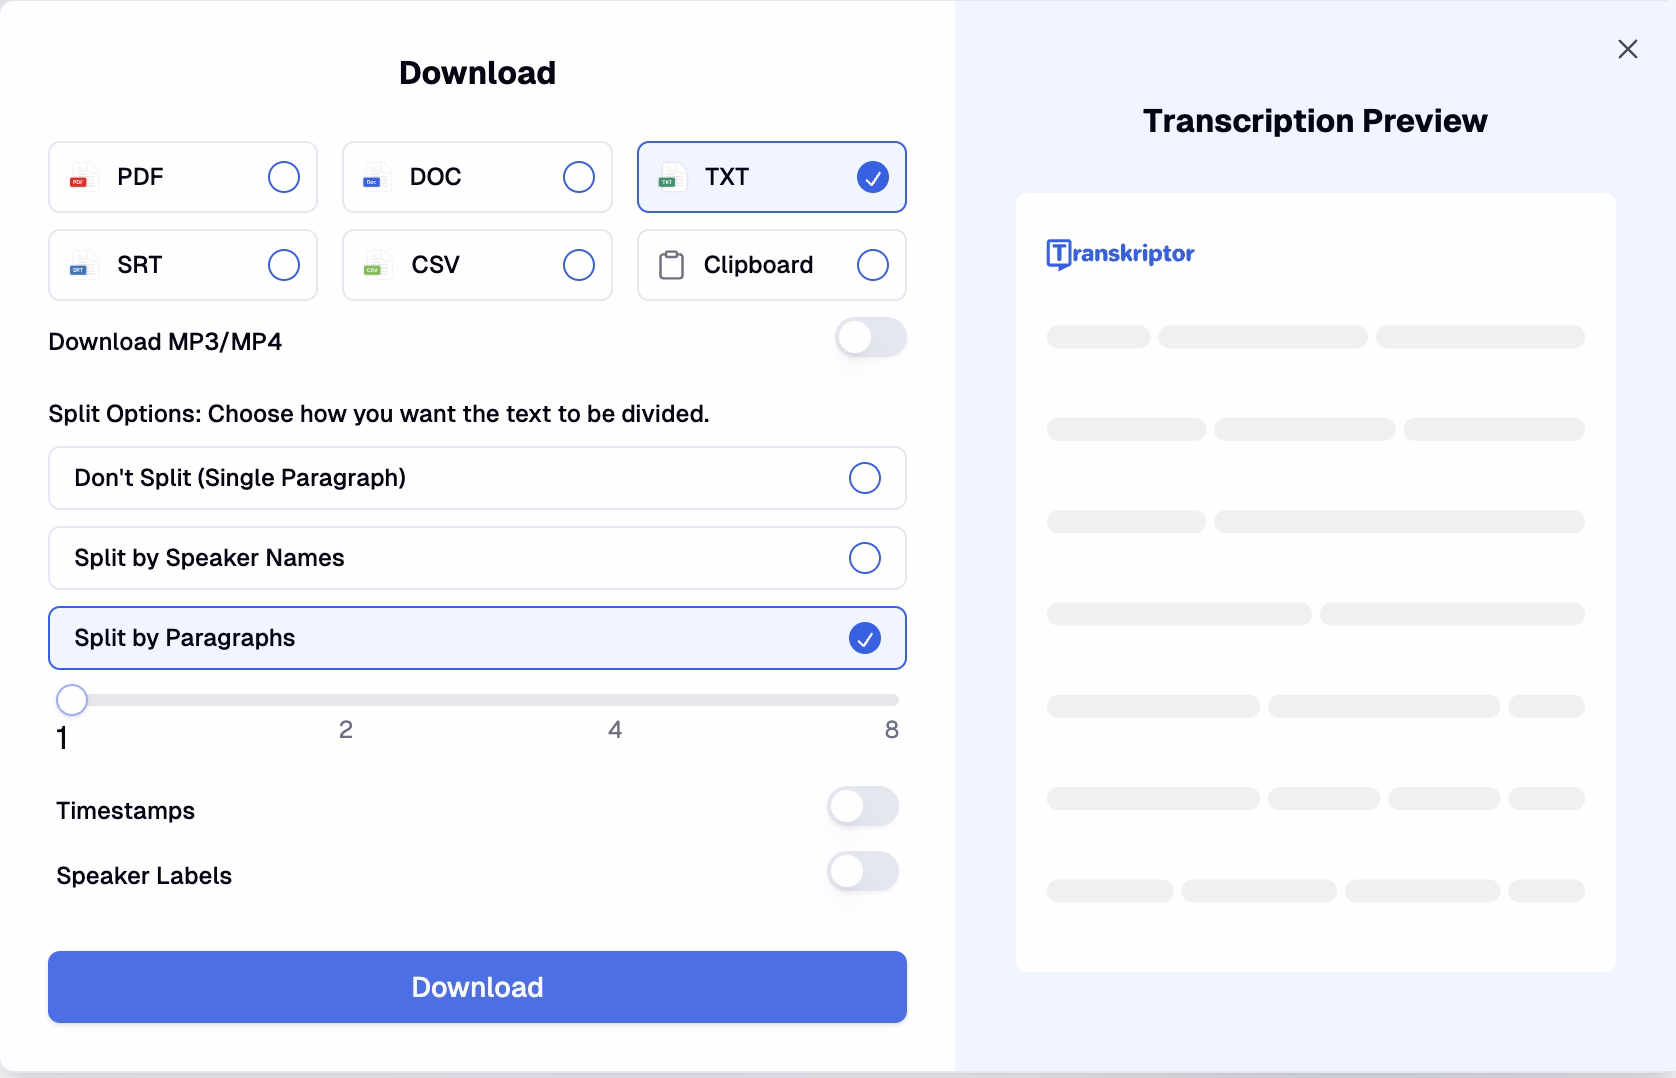
5. Sharing and Exporting Options
Copy transcript content directly to clipboard for immediate team sharing. Download options include multiple format selections: PDF, Word, SRT, TXT, or CSV. Zapier integration capabilities enhance workflow efficiency and collaboration potential.
What Tips Improve Webex Transcription Results?
Implement these practical strategies to optimize transcription quality:
Audio Quality Considerations
Recording quality significantly impacts transcription accuracy. Utilize professional-grade recording equipment whenever possible and establish quiet meeting environments with minimal background interference. Clear audio recordings directly correlate with higher accuracy rates and reduced editing requirements.
Speaking Practices for Optimal Results
Clear articulation techniques improve transcription performance substantially. Meeting hosts should establish protocols for managing multiple speakers, encouraging participants to speak clearly without interruption. Sequential speaker participation ensures the transcription system correctly attributes dialogue to specific individuals.
Conclusion
Harvard Business School research analyzing 40 million virtual meetings confirms virtual collaboration has become a permanent workplace culture element. With employees increasingly dependent on digital meeting platforms, efficient transcription capabilities provide essential productivity support.
Transkriptor delivers streamlined solutions for organizations seeking to transcribe Webex meetings through accurate automated transcription technology. The platform generates substantial time savings while enhancing productivity. Advanced features including speaker identification, AI-generated summaries, and seamless integrations improve meeting documentation efficiency across organizations. Implement Webex meeting notes automation today with Transkriptor to transform communication workflows and information accessibility. Try it now!
Frequently Asked Questions
The best tool for transcribing Webex meetings is Transkriptor. It supports over 100 languages, delivers up to 99% accuracy, and generates AI-powered summaries and speaker identification—far beyond what built-in Webex transcription provides.
After recording, Webex transcribes the meeting only in English and only supports MP4 recorded files. However, with a meeting transcription tool like Transkriptor, you can transcribe Webex meetings with 99% accuracy in over 100 languages.
Webex only supports transcription in English. To transcribe Webex meetings in other languages, use a tool like Transkriptor, which offers multilingual transcription with support for over 100 languages.
Yes, ChatGPT can transcribe audio using the Whisper API. It supports various audio formats, including MP3, MP4, and WAV. Additionally, it supports over 50 languages.
First, go to the Webex Control Hub web portal at admin.webex.com through a web browser. Once logged in, click on the service section, and click on Meetings. Then click settings, and under meeting transcript download, click on in-meeting transcript download.