
Voice-to-text on Outlook is a feature that uses speech recognition technology and enables voice typing. It offers various advantages, such as multilingual support, mail commands, and commands for multiple elements.
To understand how to use voice-to-text on Outlook, you just need to follow some basic steps. In this guide, you will explore a step-by-step guide to enabling dictation in Microsoft Outlook. Also, discover how tools like Transkriptor make advanced email transcription easy.
What Is Voice-to-Text on Outlook?
Voice typing in Outlook uses online speech recognition powered by Azure Speech services. According to a survey by Statista, most expect speech recognition to evolve incrementally toward perfect transcripts.
Overview of the Feature
You only need an internet connection, a microphone, and a cursor in a text box to use voice typing in Outlook. It also lets you use voice typing language, which differs from the one you chose for Windows. You can change your input language to switch voice typing languages.
Speech-to-Text Integration in Outlook
The dictation feature lets you use speech-to-text to create content in Office. It is a quick and easy way to draft emails, send replies, and capture the tone. The feature is accessible in New Outlook, Classic Outlook, Outlook for Mac, and the web.
Accessibility Benefits
There are many accessibility features in Outlook for voice typing. With the Accessibility Checker, you can tackle accessibility issues while writing your email message. You can add alt texts to images so that people using screen readers can listen to what the image is all about.
How to Enable Voice-to-Text in Outlook
Voice-to-text in Outlook simplifies email drafting by converting spoken words into text. To start using this feature, ensure compatibility and configure your microphone and language settings. You can follow these simple steps to enable and maximize this time-saving tool:
- Check Compatibility: Ensure you are a Microsoft 365 subscriber, and set your spoken language, microphone, and auto punctuation in Outlook settings.
- Activate Dictation: Click "Dictate," use ALT + `, or press Windows + H for the Windows dictation tool.
- Set Up Microphone Access: Enable microphone permissions in Privacy and Security settings.
- Configure Language and Commands: Choose a language and check available commands; note limitations for preview languages.
Step 1: Check Compatibility
The dictation feature is only available to Microsoft 365 subscribers. To enable dictation settings in Outlook, click the gear icon to see the available settings. For spoken language, you can view and change languages in the drop-down. Next, you can view and change your microphone.
Step 2: Activate Dictation
You can activate the dictation feature by clicking the “Dictate” button in the toolbar. In the New Outlook version, use the keyboard shortcut ALT + ` or press the mic icon in the ribbon to resume the dictation.
There might be a possibility that the dictate button is not currently available in some Outlook previews for Windows. However, you can still use the dictation feature by using the Windows dictation tool.
Step 3: Set Up Microphone Access
To use your microphone with apps on Windows, you must turn on some permissions in the Privacy and Security settings. To do so, go to Start, Settings, and Privacy and Security. Then, look for Microphone under app permissions and make sure Microphone access is turned on.
Step 4: Configure Language and Commands
You can select a language from the dropdown list for a list of commands available in each supported language. Please note that, for the English language, only punctuation and symbols, currency, mathematics, and emojis/faces are currently supported. There are supported and preview languages.
Step-by-Step Guide to Using Voice-to-Text on Outlook
Voice-to-text in Outlook makes email creation more efficient by turning speech into text. You can draft, edit, and send emails hands-free with simple steps. Here is a step-by-step guide to using voice-to-text on Outlook:
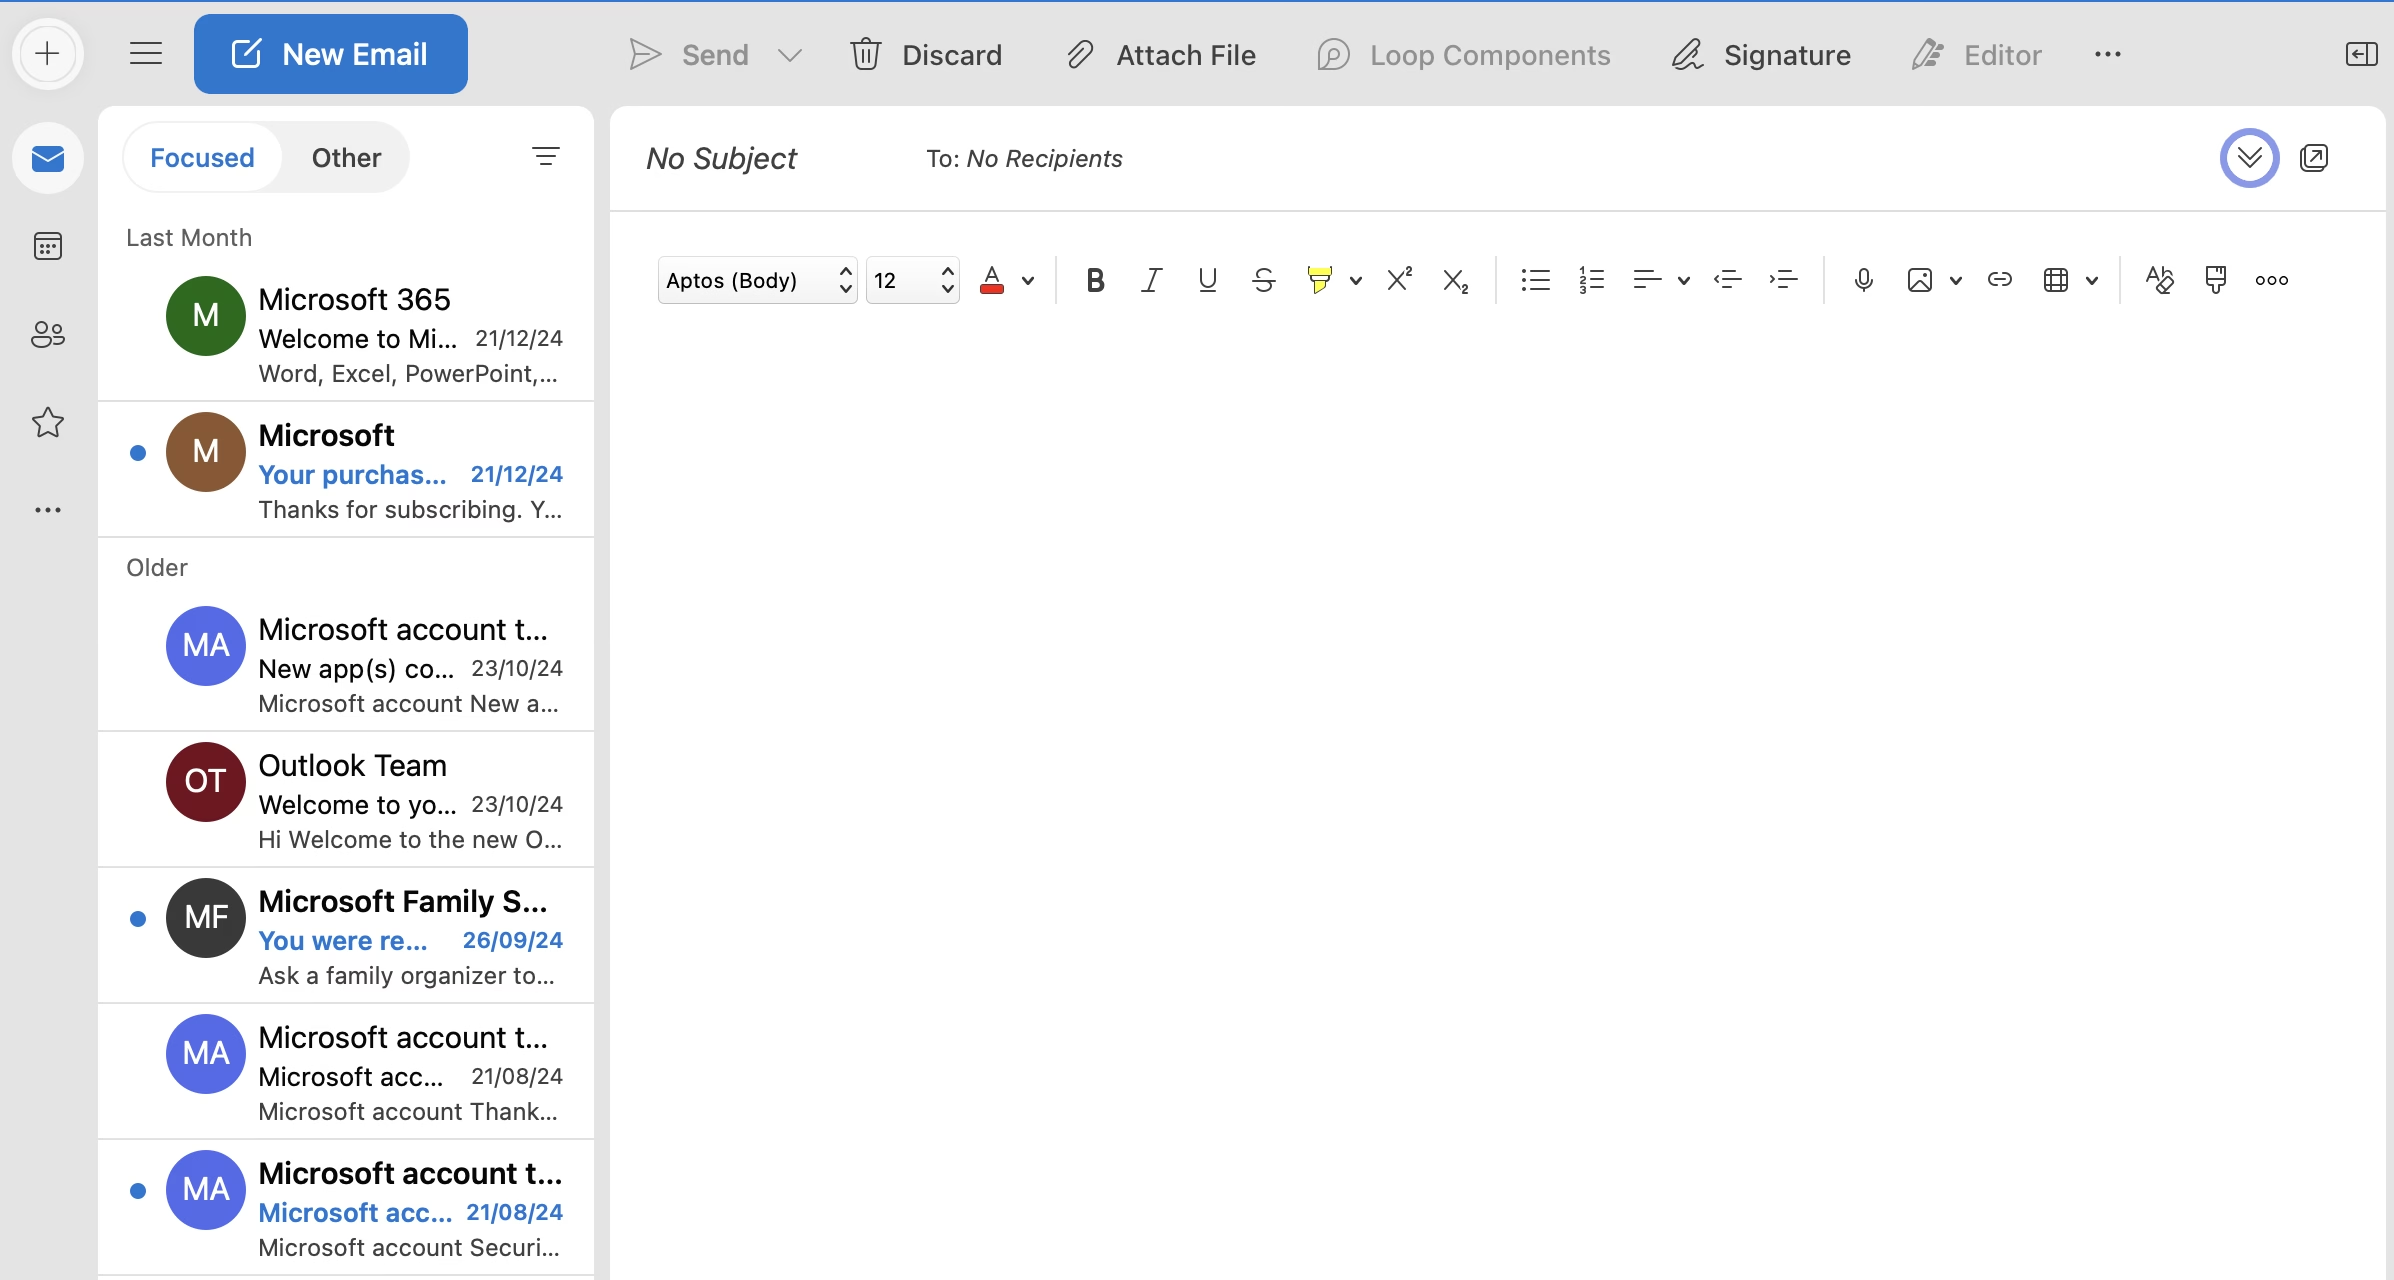
Step 1: Open a New Email
Go to Microsoft Outlook and start a new email. Select the body of the message, go to the Message tab, and select Dictate. In Outlook for Mac, start a New Email or reply. Next, go to Message and then Dictate. Make sure you are signed in to Microsoft 365 on a mic-enabled device.
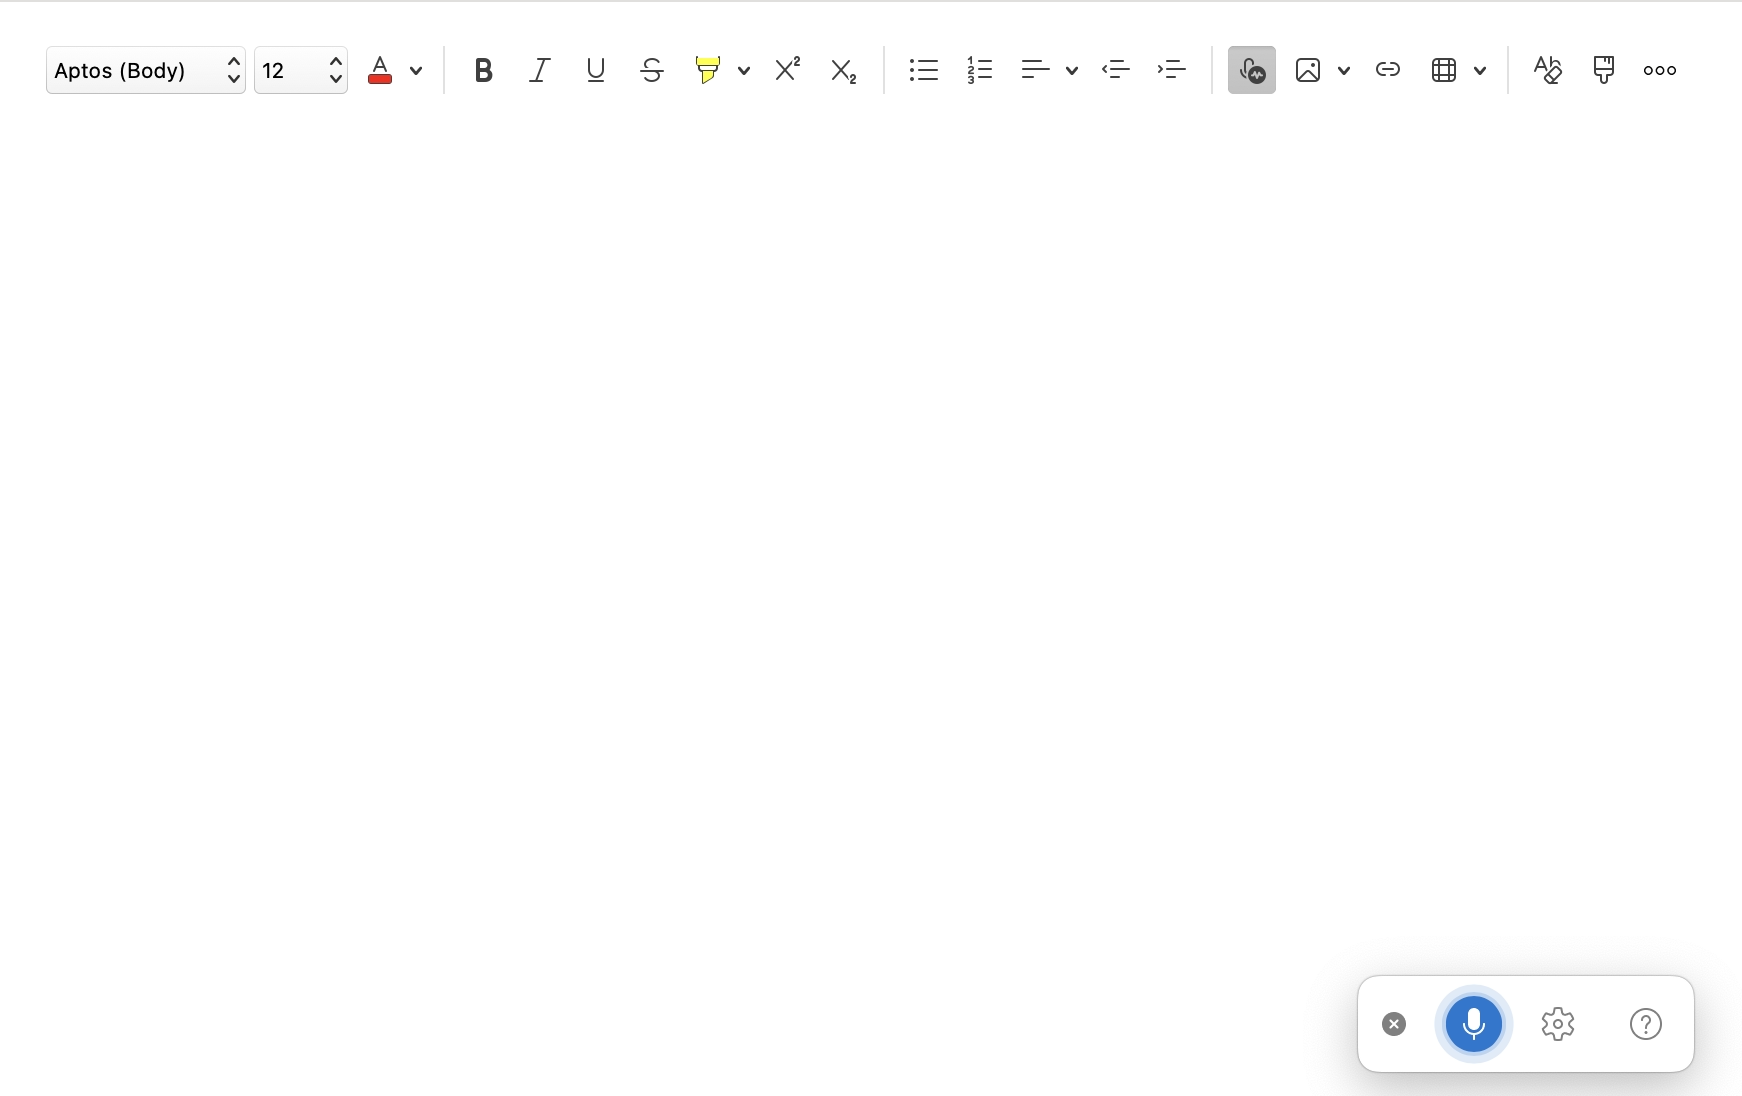
Step 2: Start Dictating
Using Mac, you can also start dictation with the keyboard shortcut: ⌥ (Option) + F1. On the web, go to the Message tab and select Dictate. Next, wait for the Dictate button to turn on, start listening, and start speaking to see text appear on the screen.
Step 3: Use Voice Commands for Editing
In addition to just speaking the content, you can speak commands to add punctuation and enter special characters. For editing and formatting, you can use voice commands. Some common voice comments include: delete, delete that, delete last [1-100] words/sentences, insert space, and backspace.
Step 4: Review and Send
Whenever you bring together different people with varying agendas and opinions, you must offer a way for them to collaborate transparently. Only when everyone can see everything happening and understand it in the same place and the same way will the email review and approval process be transparent, streamlined, and effective.
Features of Outlook’s Voice-to-Text Tool
The Outlook voice-to-text tool offers a range of powerful features to enhance productivity and accessibility. Here are some features of the Outlook voice-to-text tool:
Multilingual Support
Before starting, you must check the languages your Windows version supports. In Windows 11, some of the languages supported are: Bulgarian, Chinese, Croatian, Czech, Danish, Dutch, English, Estonian, and more. To switch voice typing languages, you must change your input language.
To do so, select the language switcher in the corner of your taskbar. Next, press the Windows logo key + Spacebar on your keyboard. Lastly, press the language switcher in the bottom right of the touch keyboard.
Accessibility Options
Microsoft 365 apps to make it easier and more comfortable for you to see the things on your screen. If the screen colors are too bright, try switching on the Night light. It changes the color temperature of your screen, showing warmer colors that are easier on your eyes. If you deal with colorblind (color vision deficiency as per Cleveland Clinic), Windows comes with pre-designed color blindness filters.
Integration with Microsoft Office Suite
Microsoft lets you dictate your documents using various office tools. You can dictate Word documents, Outlook emails, and OneNote notes. To use dictation in Word, open a new or existing document and go to Home > Dictate. Turn on the dictate button and start speaking. You can follow similar steps in OneNote to create drafts, capture notes, and make comments.
Using Transkriptor for Advanced Email Transcription
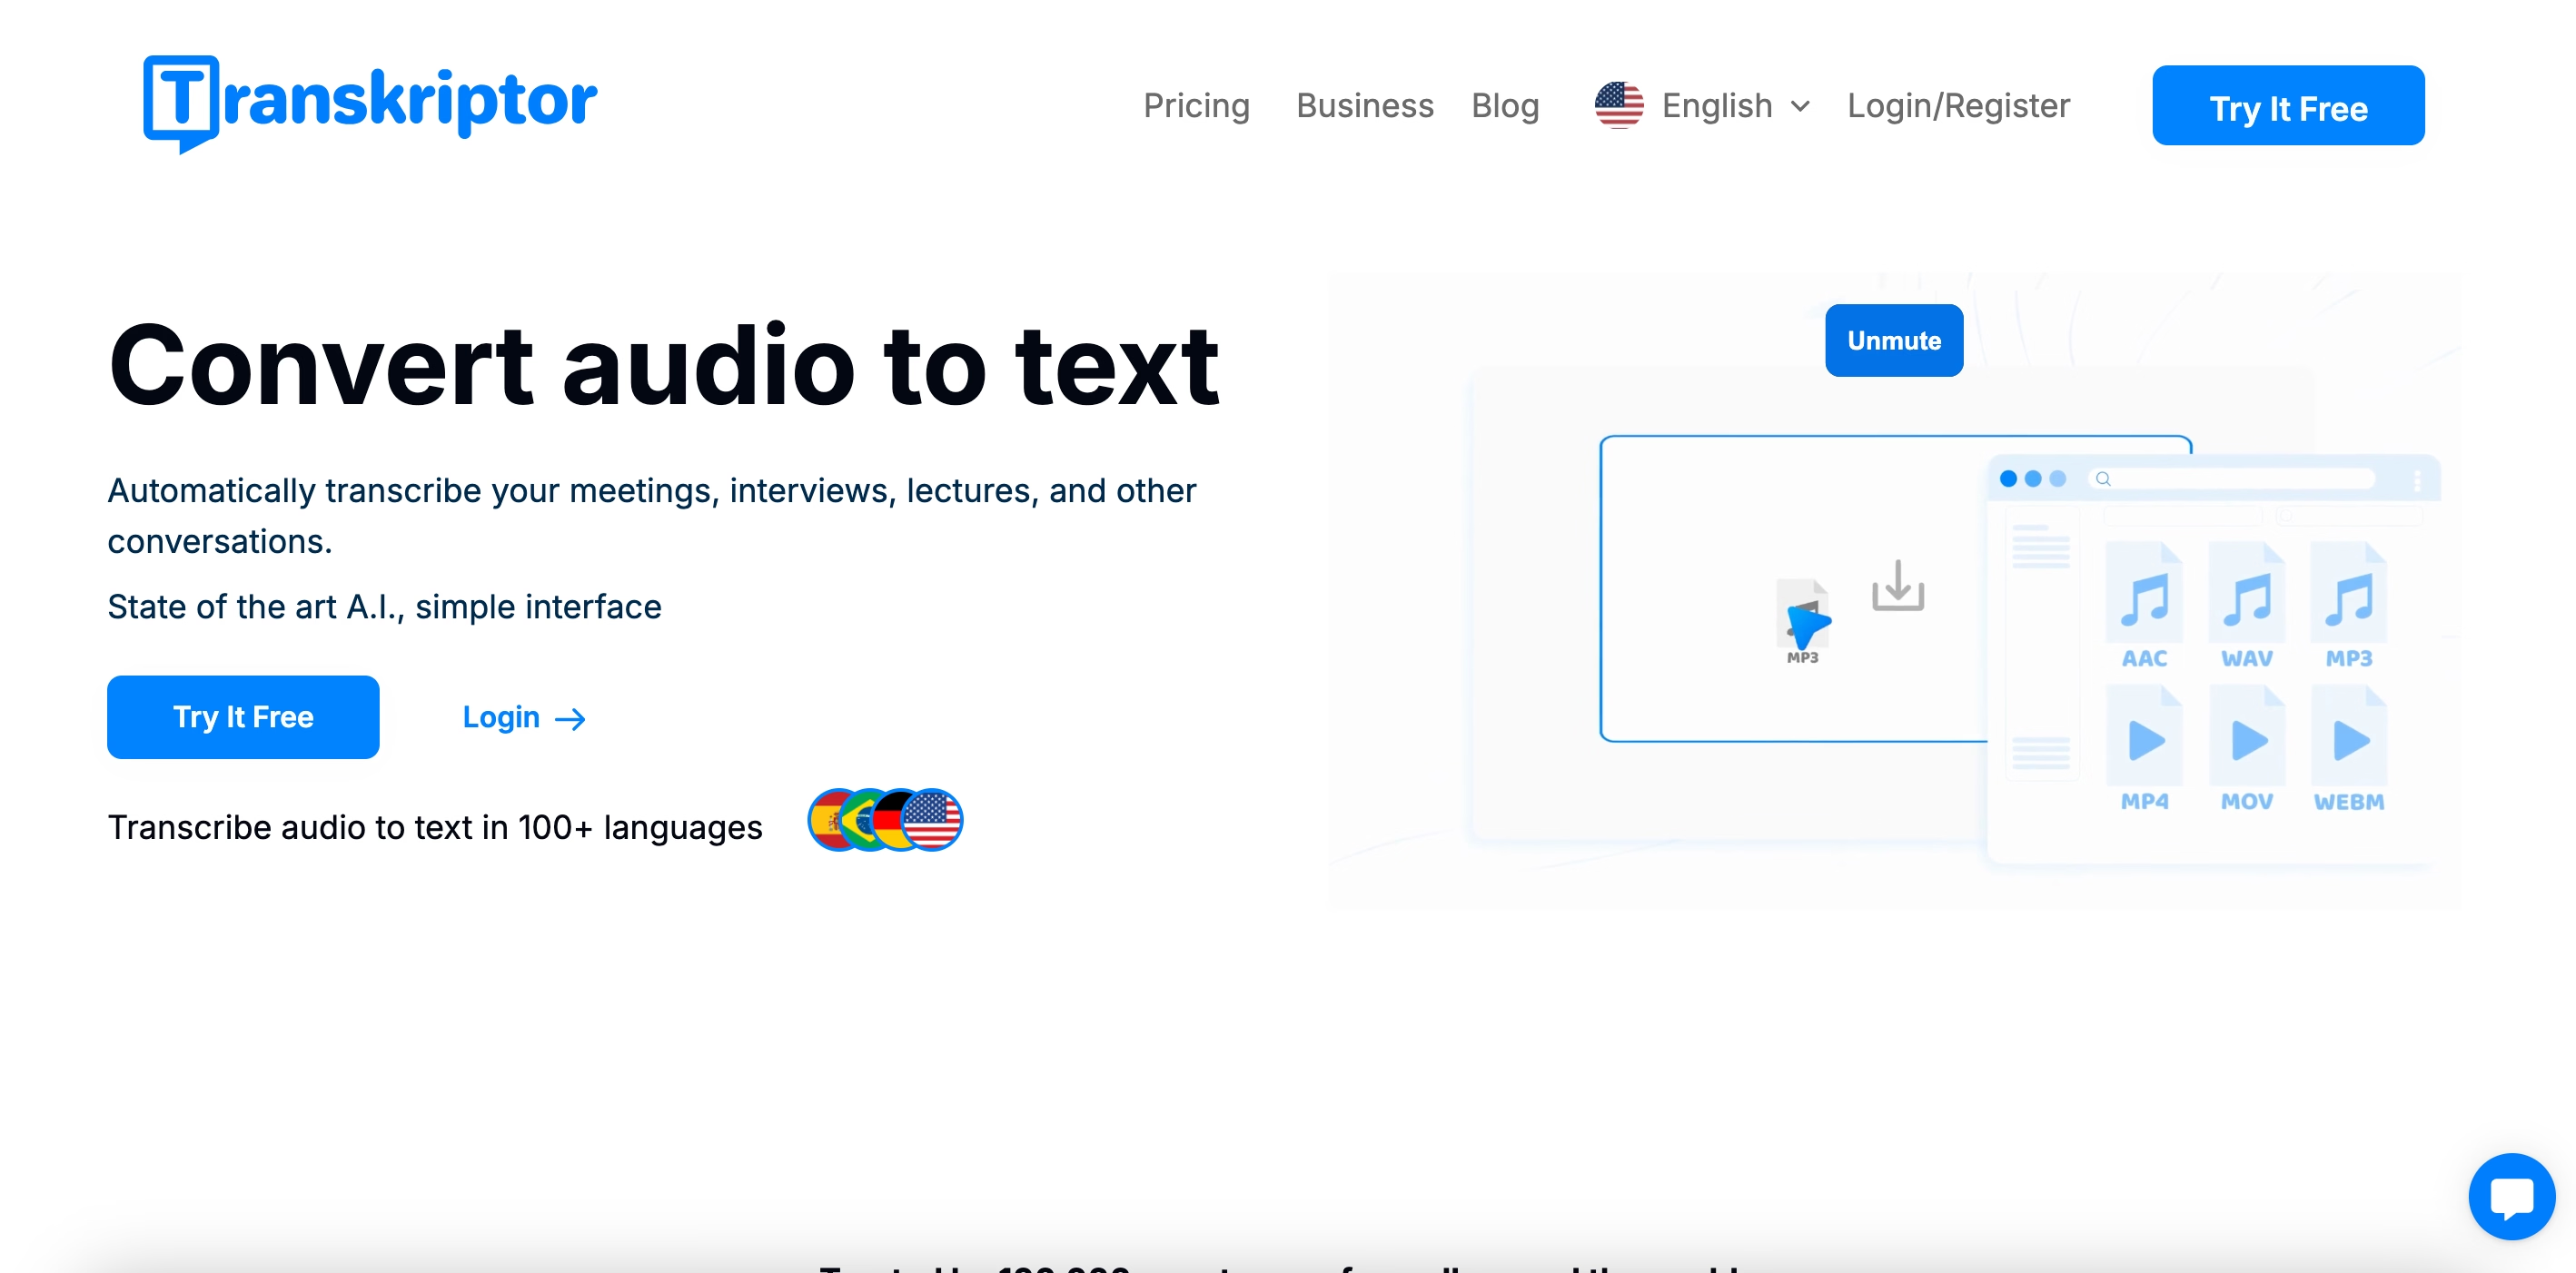
Transkriptor uses AI and produces high-quality transcriptions. Its state-of-the-art algorithms can save a lot of time and effort. Here is a step-by-step guide to using Transkriptor for advanced email transcription:
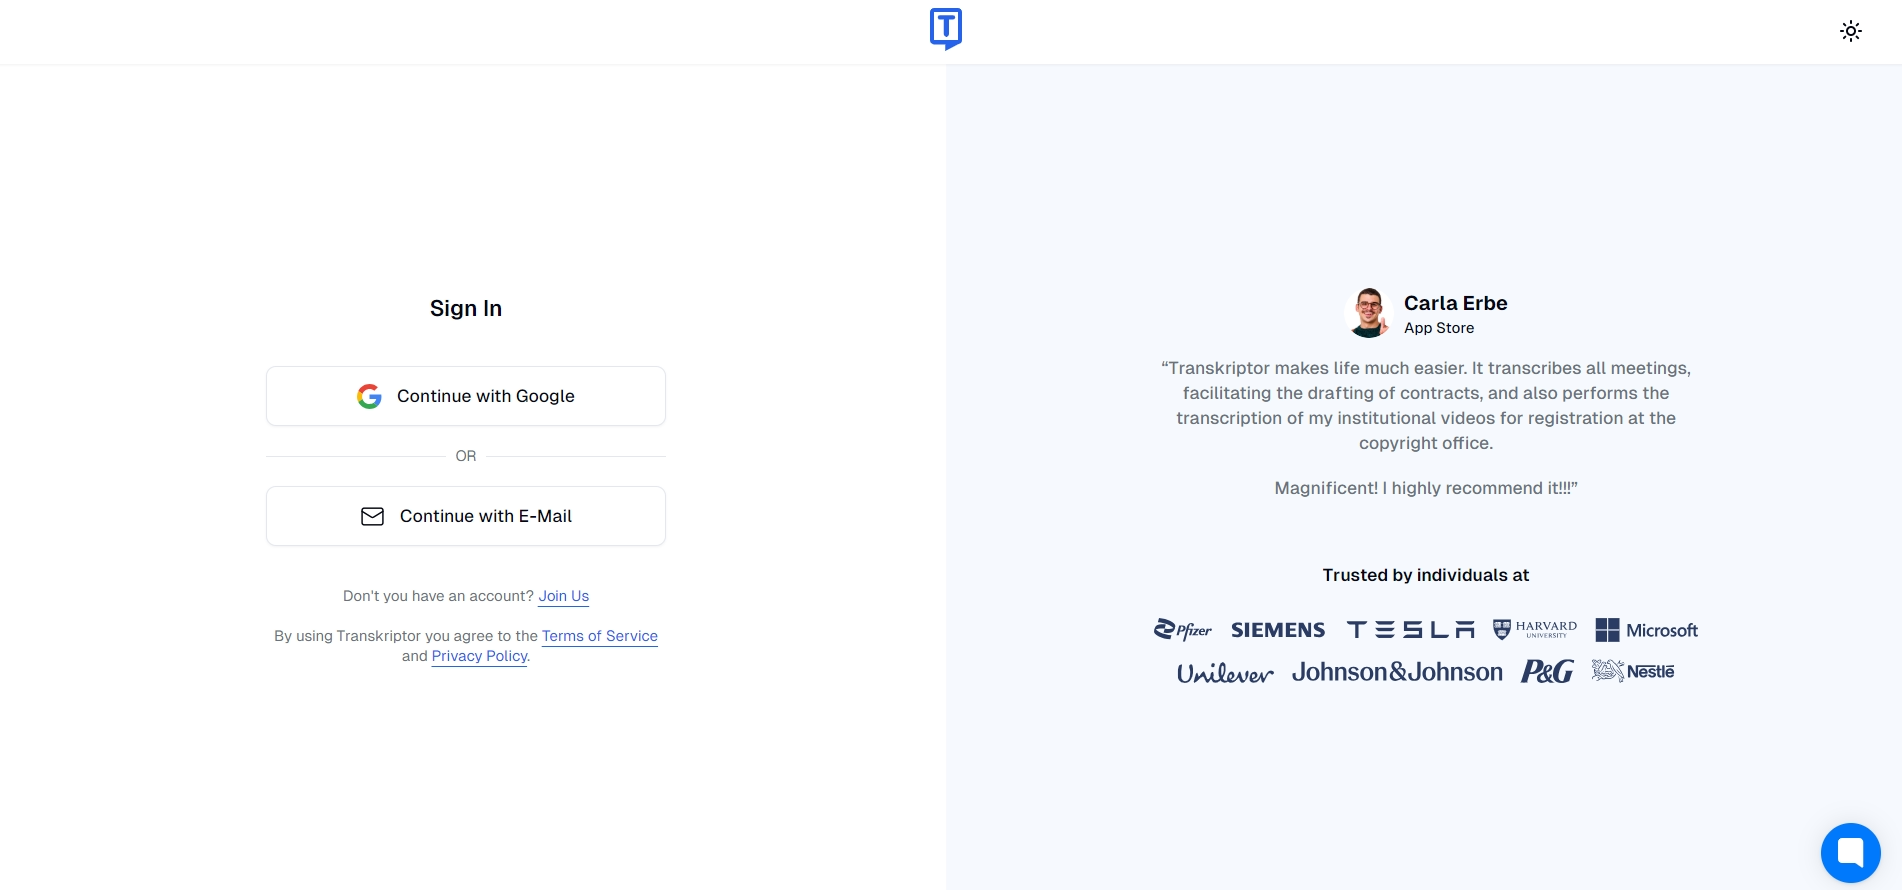
Step 1: Upload Your Audio to Transkriptor
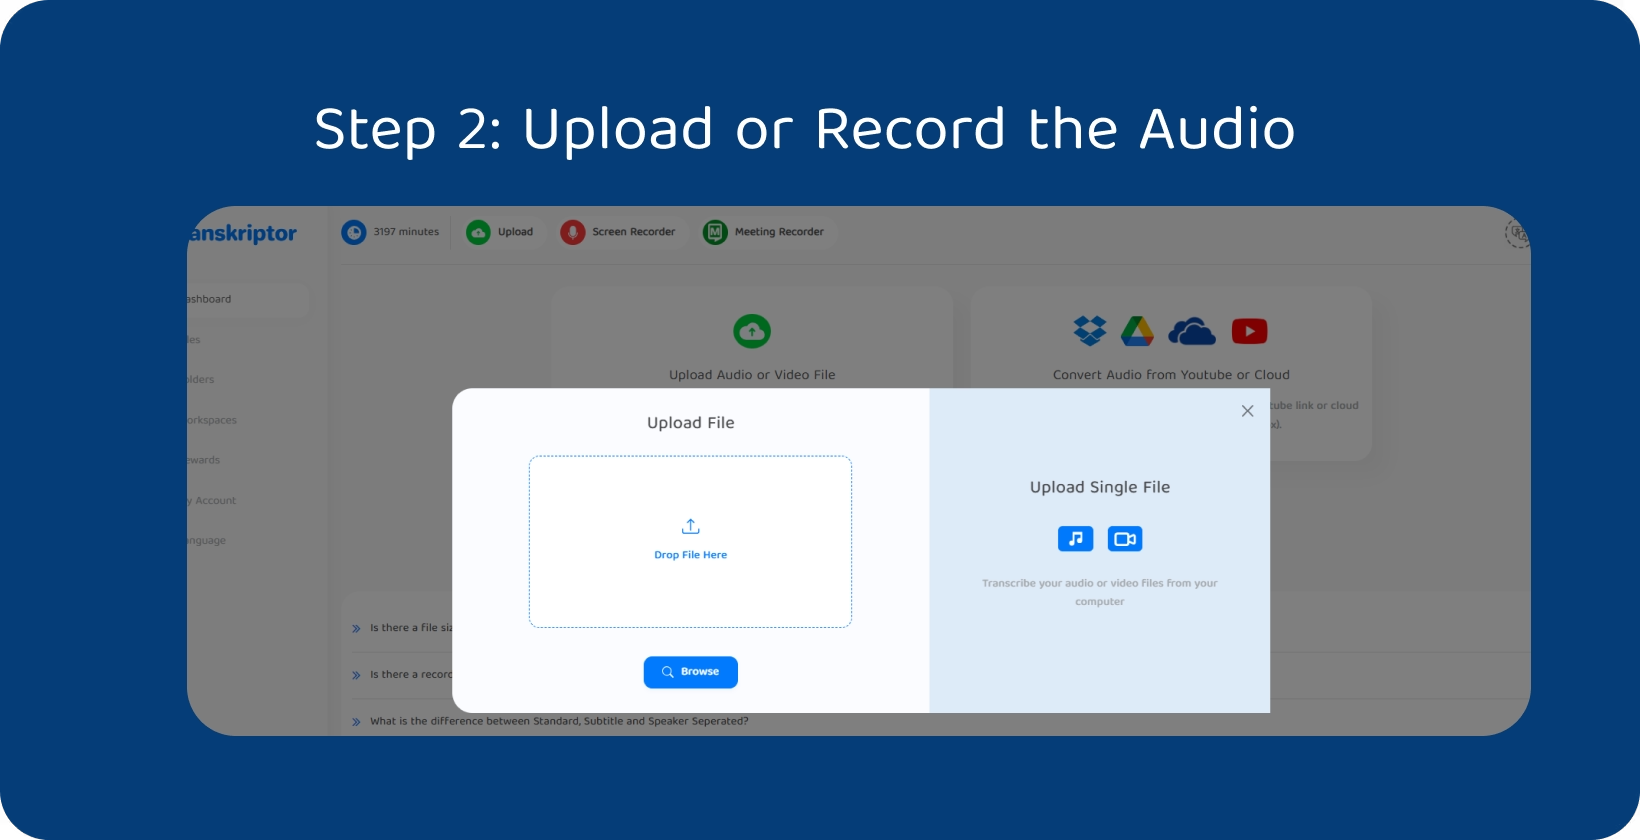
Record audio using the voice app on your phone or computer. Once you have done so, sign in to Transkriptor using your Gmail and access the dashboard. You will then be redirected to the “Choose your language” page.
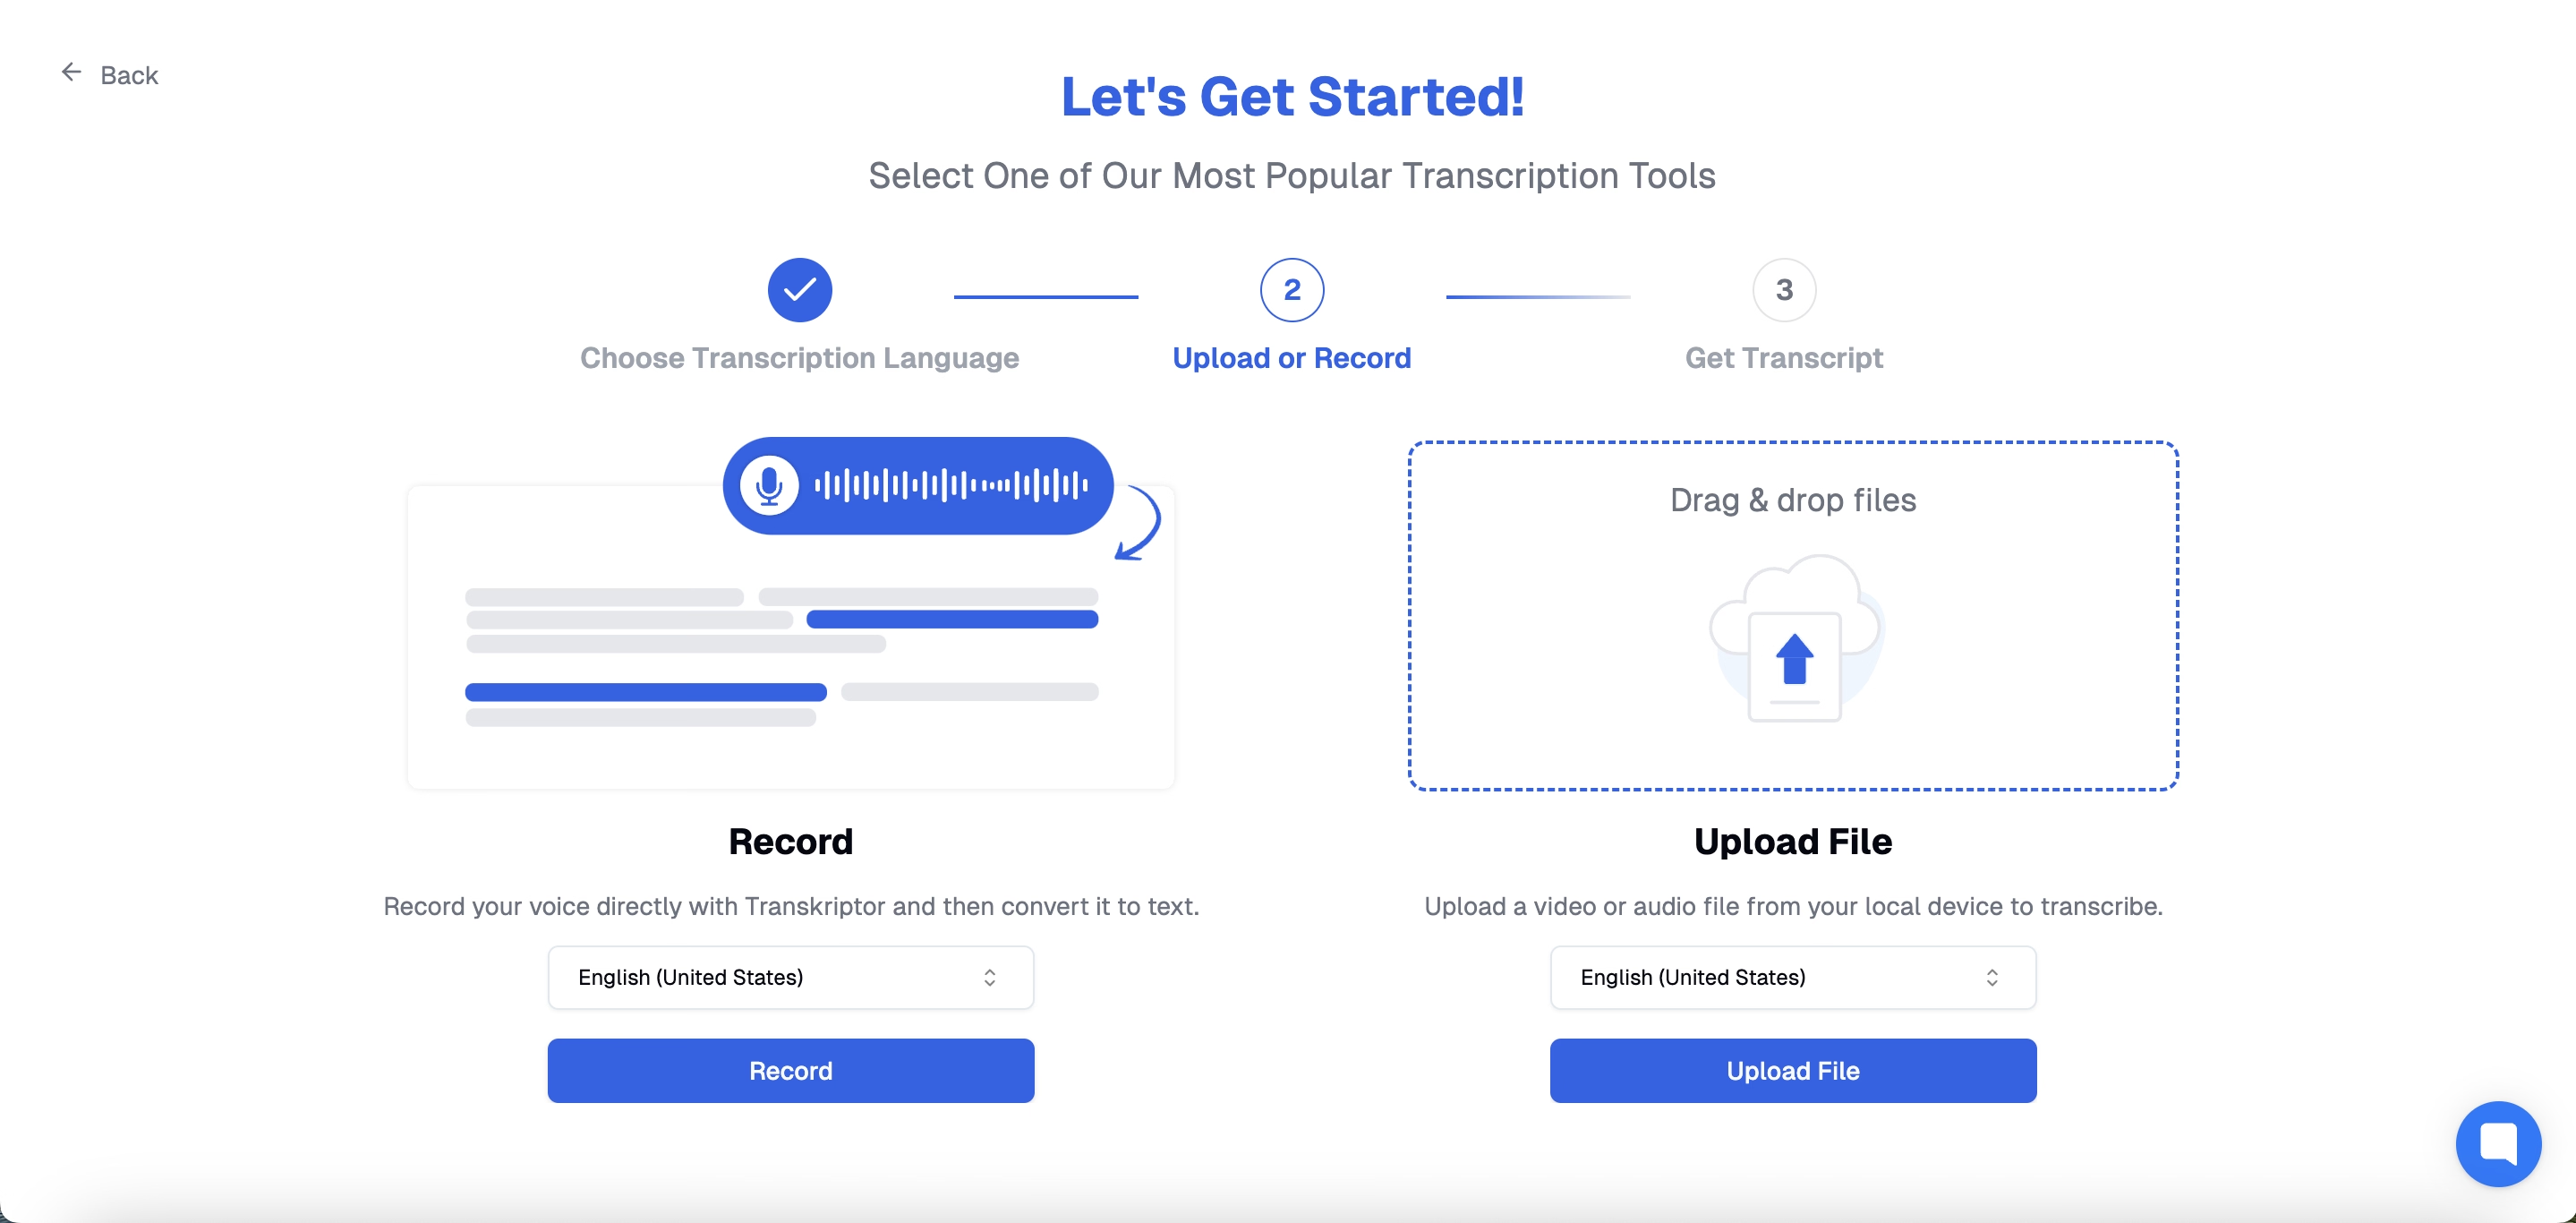
You can search your language among the 100+ available languages from the search bar. Click on next, and upload/record your voice. You can record your voice directly with Transkriptor and convert it to text. As a second option, you can upload an audio file from your local device to transcribe.
Step 2: Generate Accurate Transcripts
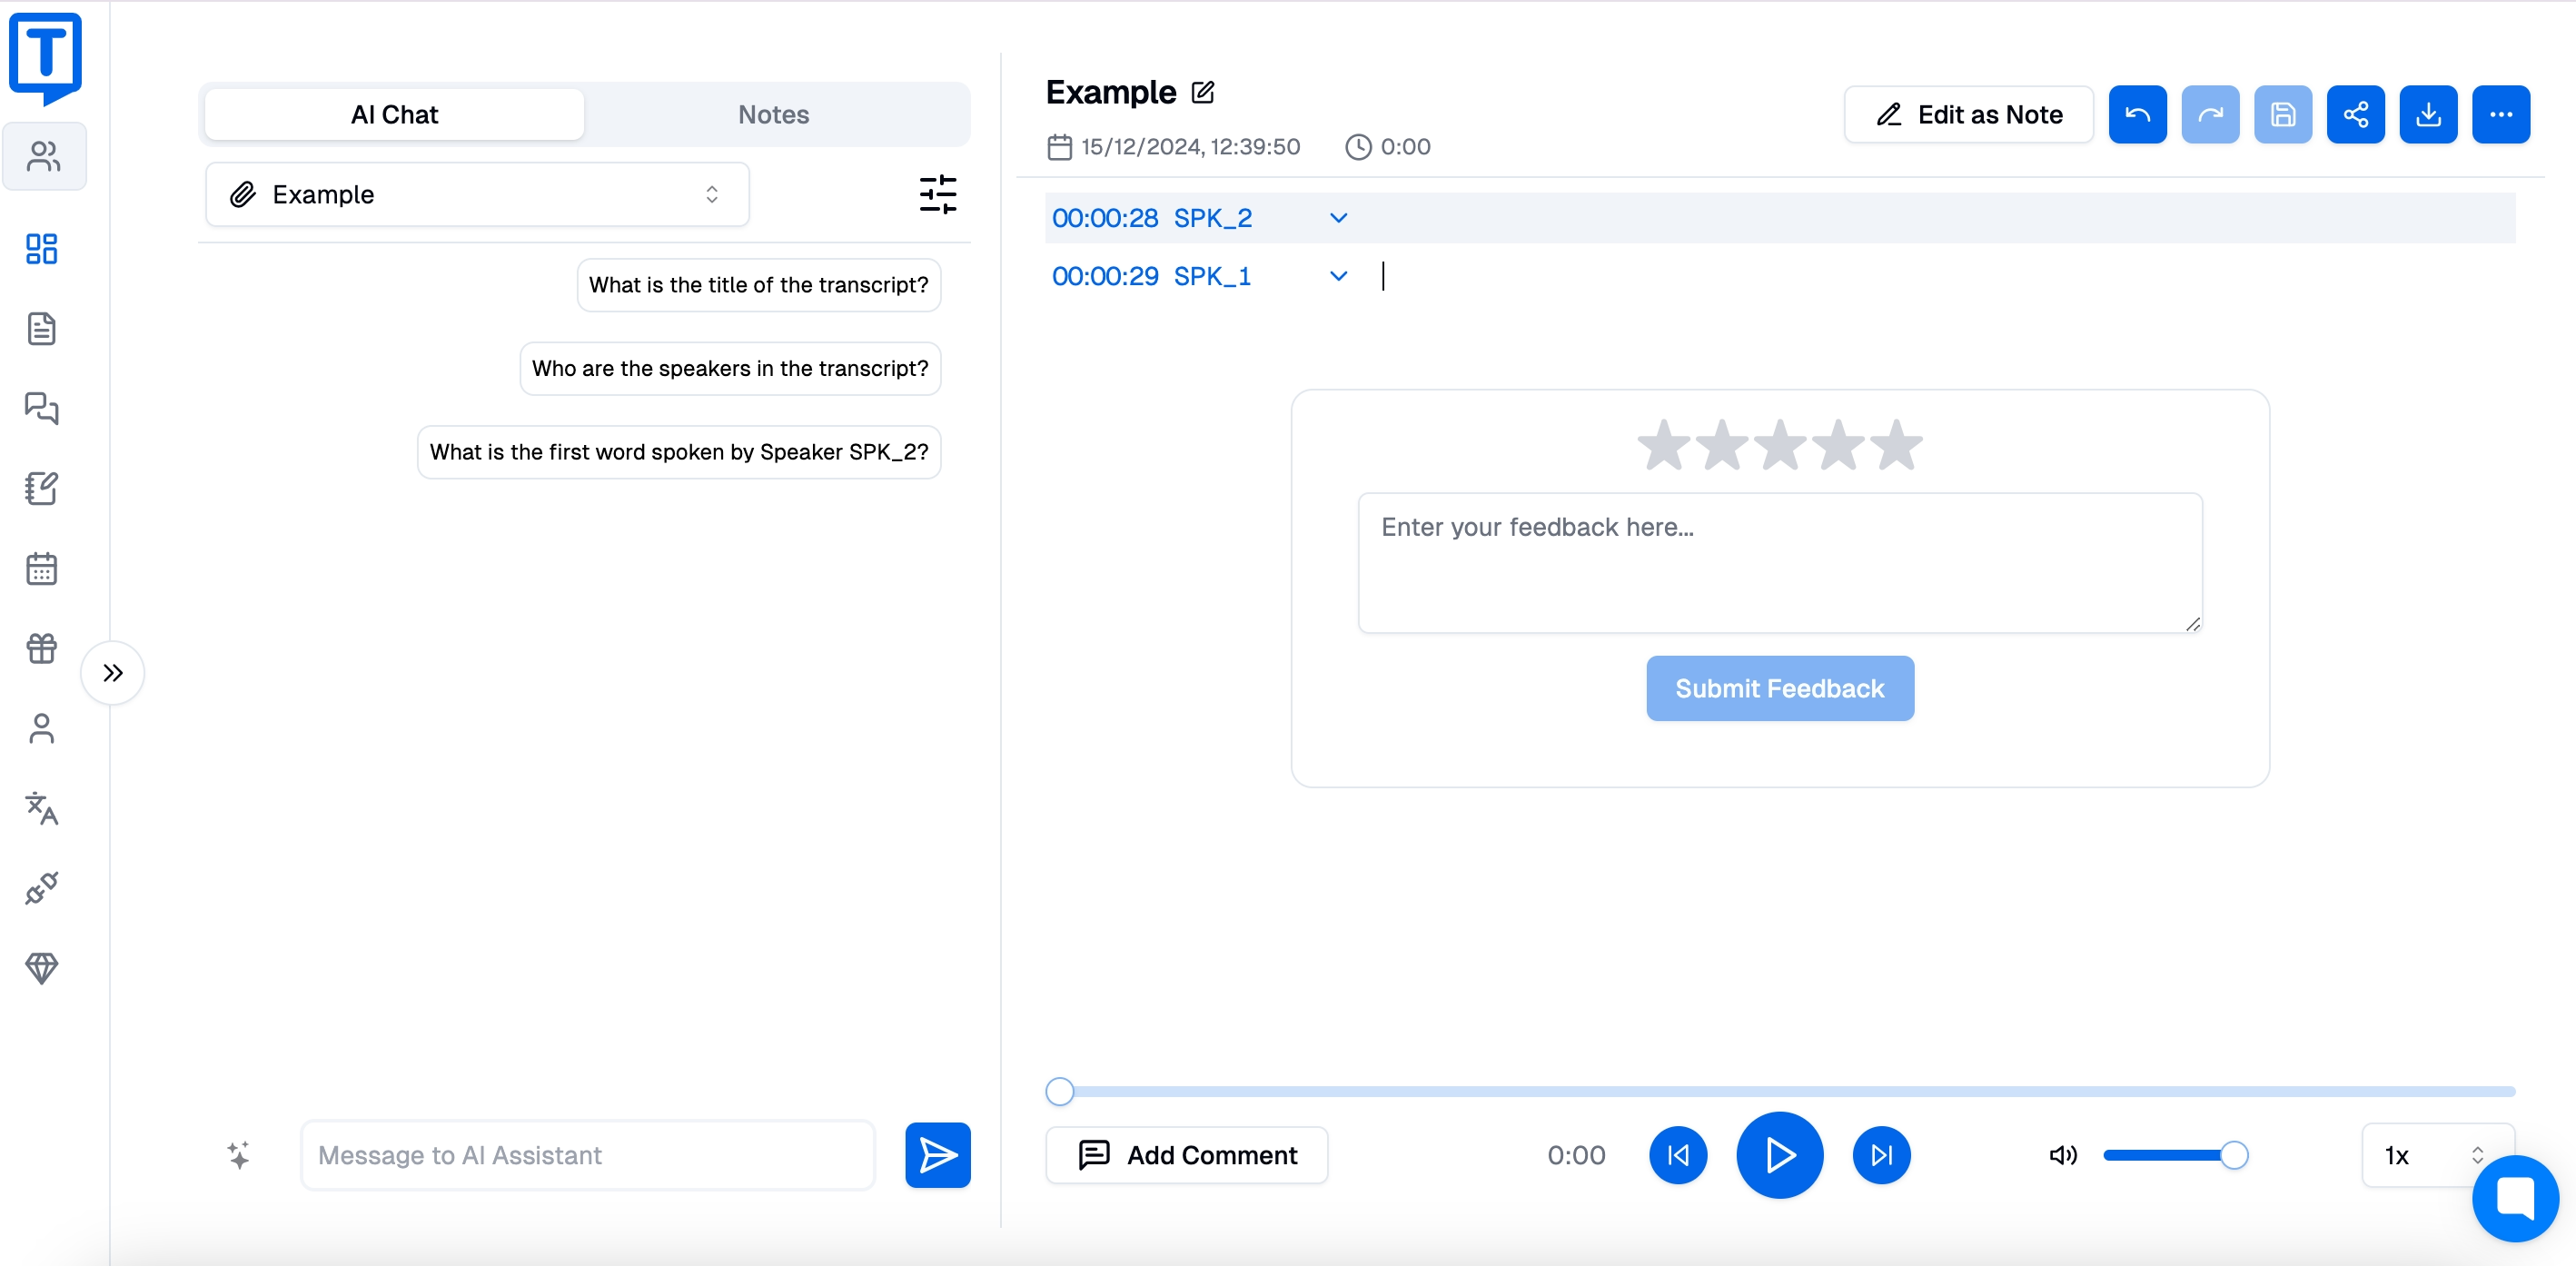
Once the file is uploaded, Transkriptor will generate the transcript. You can access the transcript on the editor page. You can find the template library on the left side of the taskbar. You can write something or press 'space' for Al and '/' for commands. Press space and type “create a well-formatted email” on the same taskbar.
Step 3: Edit and Format the Transcript
Once you have an email template, you can customize it according to your needs. To the left side of the taskbar, you can click on the three-lined icon to format the email template. You can use headers, lists, to-do lists, quotes, or code. You can also add a link by clicking on the hyperlink icon beside the three-lined icon.
Step 4: Copy and Paste into Outlook
Click the “copy” icon on the same taskbar column to copy the email. If you are willing to make further changes, you can do so by accessing the features Transkriptor provides. You can click “undo” or “redo” to make corrections.
To enhance formatting, you can “Bold,” “Underline,” or “Italicize” the text. By clicking on the “Download Note” icon, you can download the email in Word or text format to save it for future use.
Step 5: Save Time with Batch Transcription
Transkriptor allows you to transcribe multiple audio messages at once. Go to the dashboard, click “Transcribe Audio or Video File,” and upload numerous audio files.
It supports various formats, including MP3, MP4, WAV, AAC, M4A, WEBM, FLAC, OPUS, AVI, M4V, MPEG, MOV, OGV, MPG, WMV, OGM, OGG, AU, WMA, AIFF, OGA, AMR, and MKV. You can generate transcriptions to manage a high email volume.
Tips for Maximizing Voice-to-Text on Outlook
According to AbilityNet, standard technologies, including voice recognition programs, can help dyslexic people. However, using the proper techniques and tools to maximize speech recognition is essential.
- Speak Clearly: Pronounce words slowly and clearly, and record yourself to track improvement.
- Use a High-Quality Microphone: Choose a noise-canceling mic to reduce surrounding noise and capture clearer audio.
- Familiarize with Commands: Learn voice commands for quick actions like sending emails, adding recipients, and adjusting subjects.
- Combine with Transkriptor: Use Transkriptor to transcribe audio and automatically send well-formatted emails via Outlook.
Speak Clearly
Speak slowly and clearly, pronouncing each word and sound. Avoid rushing through sentences because that will make your pronunciation unclear. Slowing down helps you concentrate on the correct sounds produced and makes your speech more evident. You can record yourself while you practice speaking.
Use a High-Quality Microphone
A noise-canceling microphone contains two or more microphones that capture sound from different directions. The primary microphone is usually directed towards your mouth. The secondary microphones pick up the surrounding noise from all directions. Coupled with some digital algorithms, they "subtract" the surrounding noise from the equation, leaving only your voice.
Familiarize Yourself with Commands
Some of the mail commands you need to get familiar with are send email, send email -> yes, send email -> cancel, add <name> to email, add <name> to the cc field, at mention <name>, and change the subject line to <subject>. Other than that, there are commands in punctuation, symbols, currency, mathematics, emojis, and more.
Combine with Tools Like Transkriptor
Using Transkriptor, you can automatically send new transcriptions as Outlook attachments. Once a transcription is completed in Transkriptor, it will automatically be sent as an email attachment via Outlook. Transkriptor can transcribe multiple audio files into text and also create well-formatted emails. This saves time, allowing you to make bulk emails in less time.
Conclusion: Simplify Email Writing with Voice-to-Text and Transkriptor
Voice-to-text on Outlook has revolutionized email drafting by integrating advanced speech-to-text capabilities. Transkriptor enhances speech-to-text integration in Outlook emails by providing accurate transcriptions. Its batch transcription feature and integration with Outlook for automated email attachments make it an invaluable tool. By leveraging email transcription tools in Outlook like Transkriptor, users can save time, boost efficiency, and maintain accuracy.