How to Convert Audio to Text with Evernote?
Table of Contents
- Why Use Evernote for Audio-to-Text Conversion?
- Getting Started with Audio to Text in Evernote
- How to Convert Voice Notes in Evernote
- Organizing Transcripts in Evernote
- Exploring Evernote Speech-to-Text Tools
- Tips for Effective Audio-to-Text Conversion in Evernote
- Maximizing Productivity with Evernote Audio Notes
- Conclusion
Transcribe, Translate & Summarize in Seconds
Table of Contents
- Why Use Evernote for Audio-to-Text Conversion?
- Getting Started with Audio to Text in Evernote
- How to Convert Voice Notes in Evernote
- Organizing Transcripts in Evernote
- Exploring Evernote Speech-to-Text Tools
- Tips for Effective Audio-to-Text Conversion in Evernote
- Maximizing Productivity with Evernote Audio Notes
- Conclusion
Evernote has been one of the most popular note-taking applications for iOS and Android devices for a long time, and it's an effective way of converting audio to text. Speech-to-text technology has made note-taking much quicker, and you can seamlessly achieve this using audio to text APIs or built-in transcription features, such as those in Evernote.If you are someone who uses the app and wants to know how to convert audio to text on Evernote, this guide will show you how you can do this step-by-step.
Why Use Evernote for Audio-to-Text Conversion?
Transcribing your speech to text accurately can help you in various ways, from recording conversations for later reference to recording meetings and sharing action items with your team. It is ideal even if you need to generate content for your website or blog.
There are several advantages to using Evernote to convert your audio to text. These include:
All your notes, including any speech that you've converted to text, are stored in a single user-friendly interface, which you can access whenever you want.
Evernote allows you to record audio and convert it, so you don't have to spend hours hiring a transcriber to do this manually.
Evernote's professional settings also allow you to collaborate on notebooks and projects with your team, similar to how audio to text Notability works.
You can also label notes and search for them using keywords present even in the images. This makes it easy for you to access important information whenever needed.
These features come in handy in various situations, such as when you need to take notes, document meetings with your coworkers, or manage projects with multiple tasks assigned to different stakeholders.
Getting Started with Audio to Text in Evernote
According to Evernote , the app doesn't have a speech-to-text feature by default, but you can use your device's native speech-to-text feature to create notes. Before you can start using Evernote's transcription features, you'll need to make sure that your device's settings are enabled to support dictation. Here's how you can enable dictation on the various devices that are compatible with Evernote.
Mac
Here's how you can enable Dictation using your Mac's native settings:
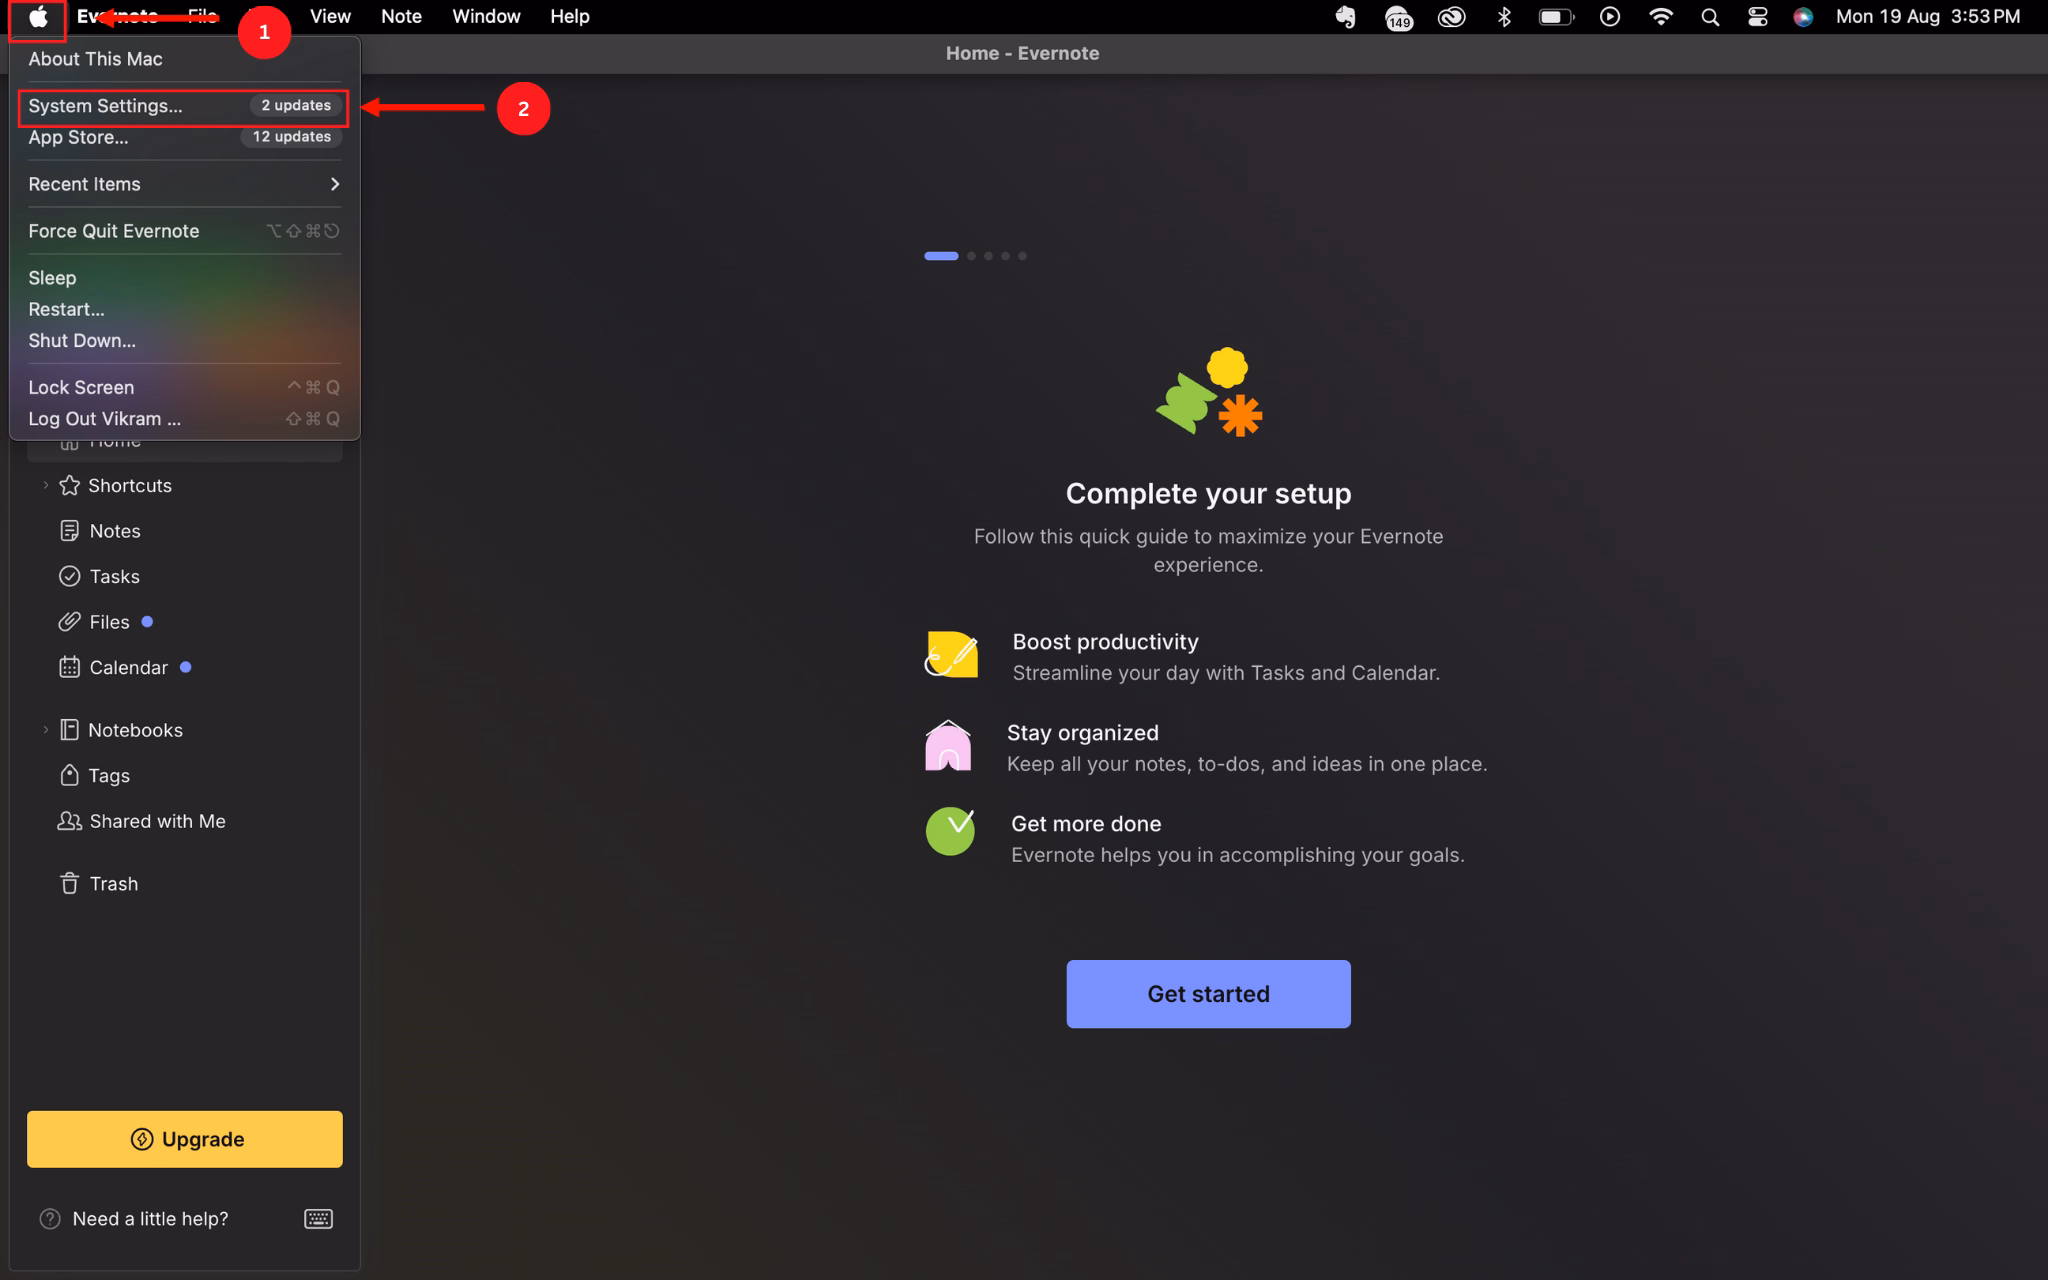
Step 1: Select 'Apple' and then click on 'System Preferences' or 'System Settings.'
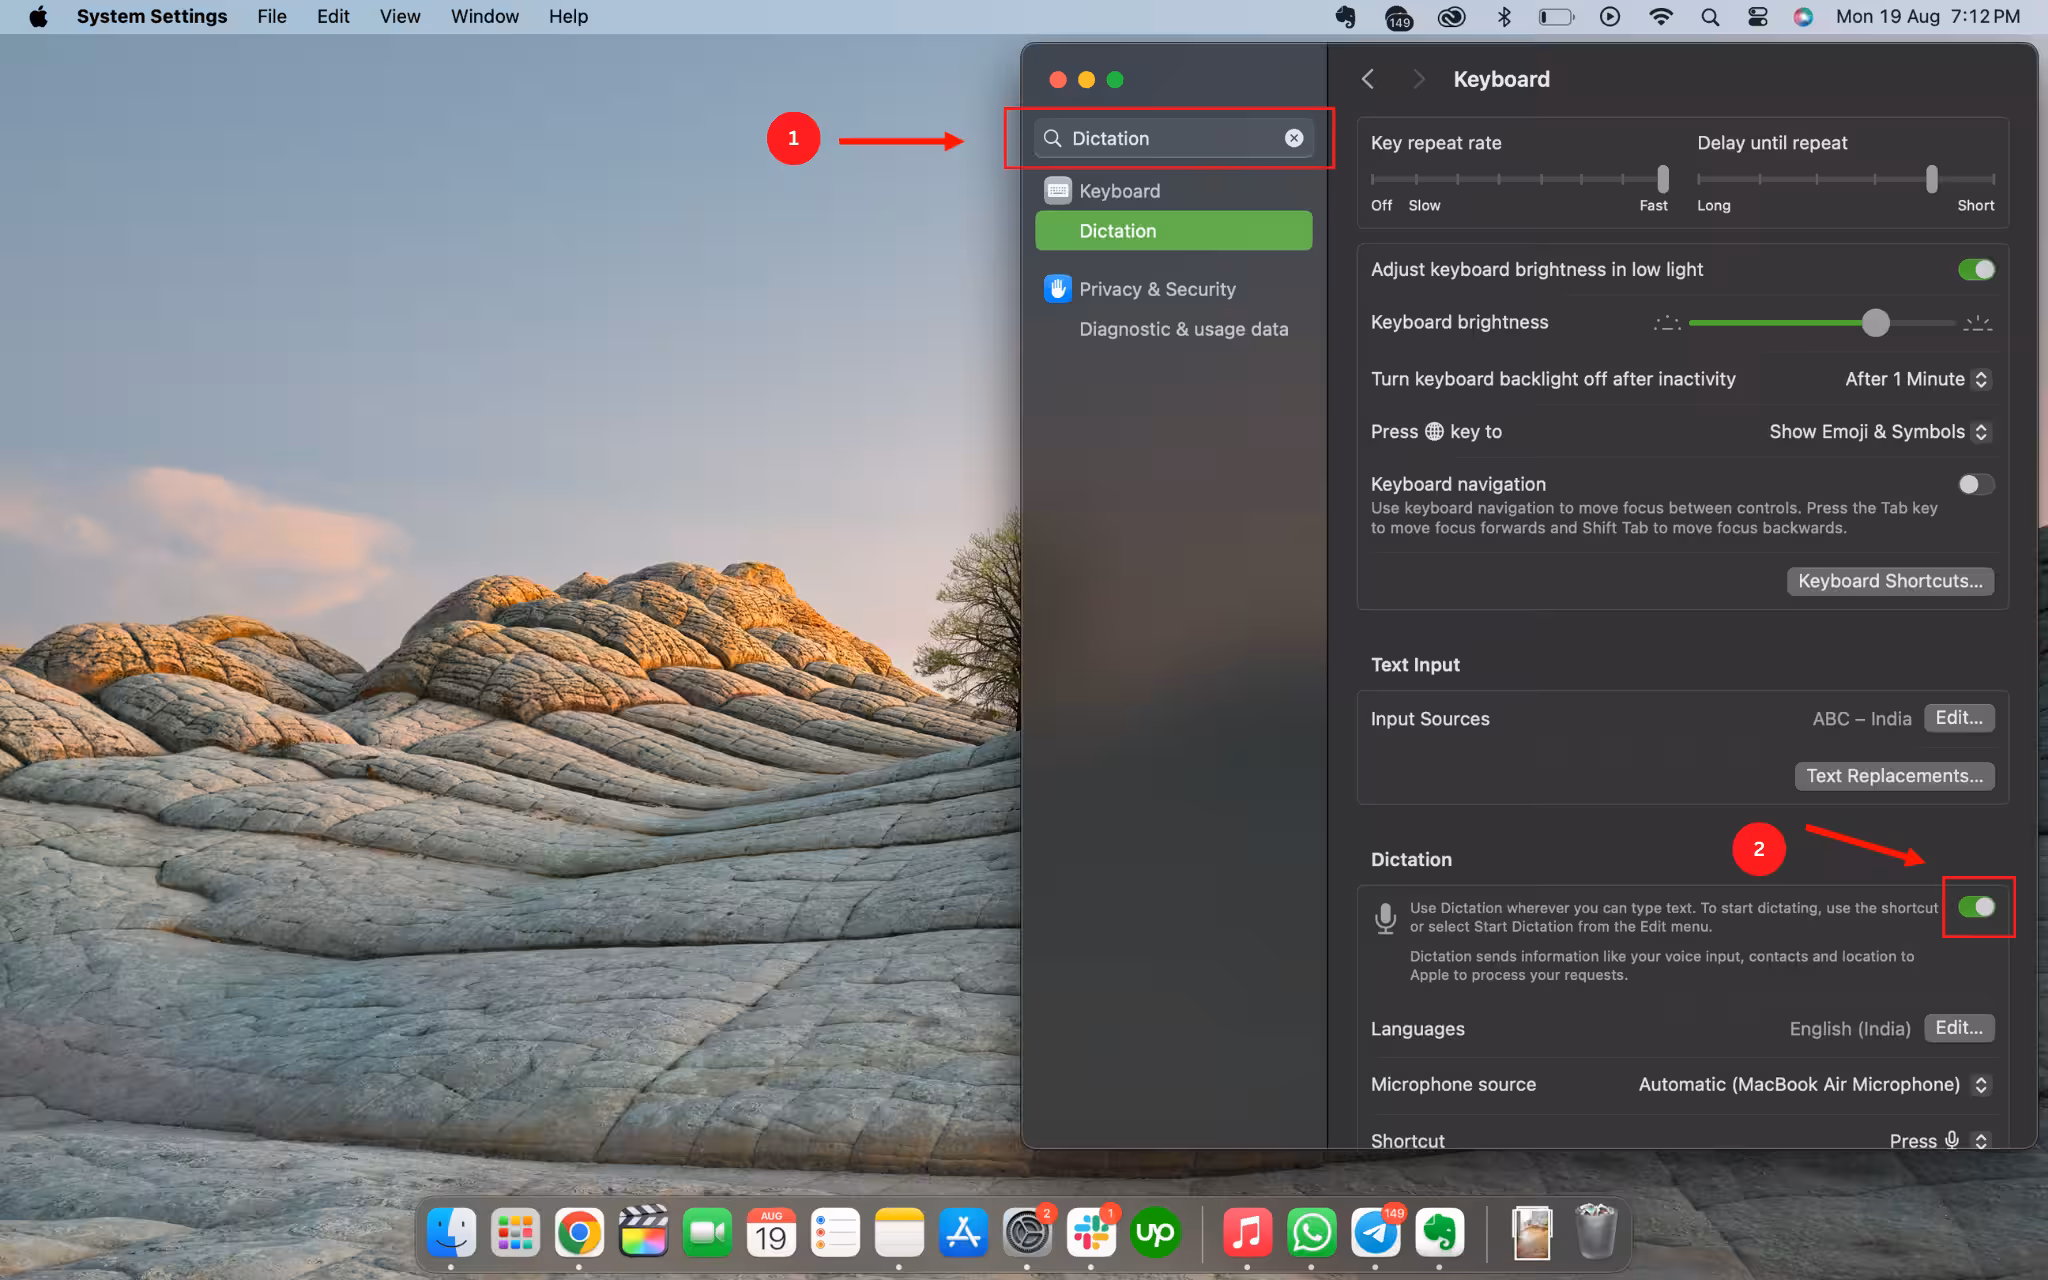
Step 2: Search for 'Dictation' in the search bar in the System Settings and toggle it on to turn Dictation on or off.
Step 3: With your system's settings enabled for dictation, you can start using it on the Evernote app using the following steps.
Select the text field, press the 'fn' key twice, or select 'Edit' and then Click 'Start Dictation.'
Start speaking so Evernote can record and transcribe the text into the text field.
Remember that your Mac will listen to and transcribe 30 seconds of speech at a time.
Windows
The steps below show you how you can enable Dictation on your Windows computer's native settings and have Evernote transcribe your speech for you.
Step 1: Click on the Windows 'Start' button.

Step 2: Select 'Accessibility' and click on 'Windows Speech Recognition' to access the device's dictation features.
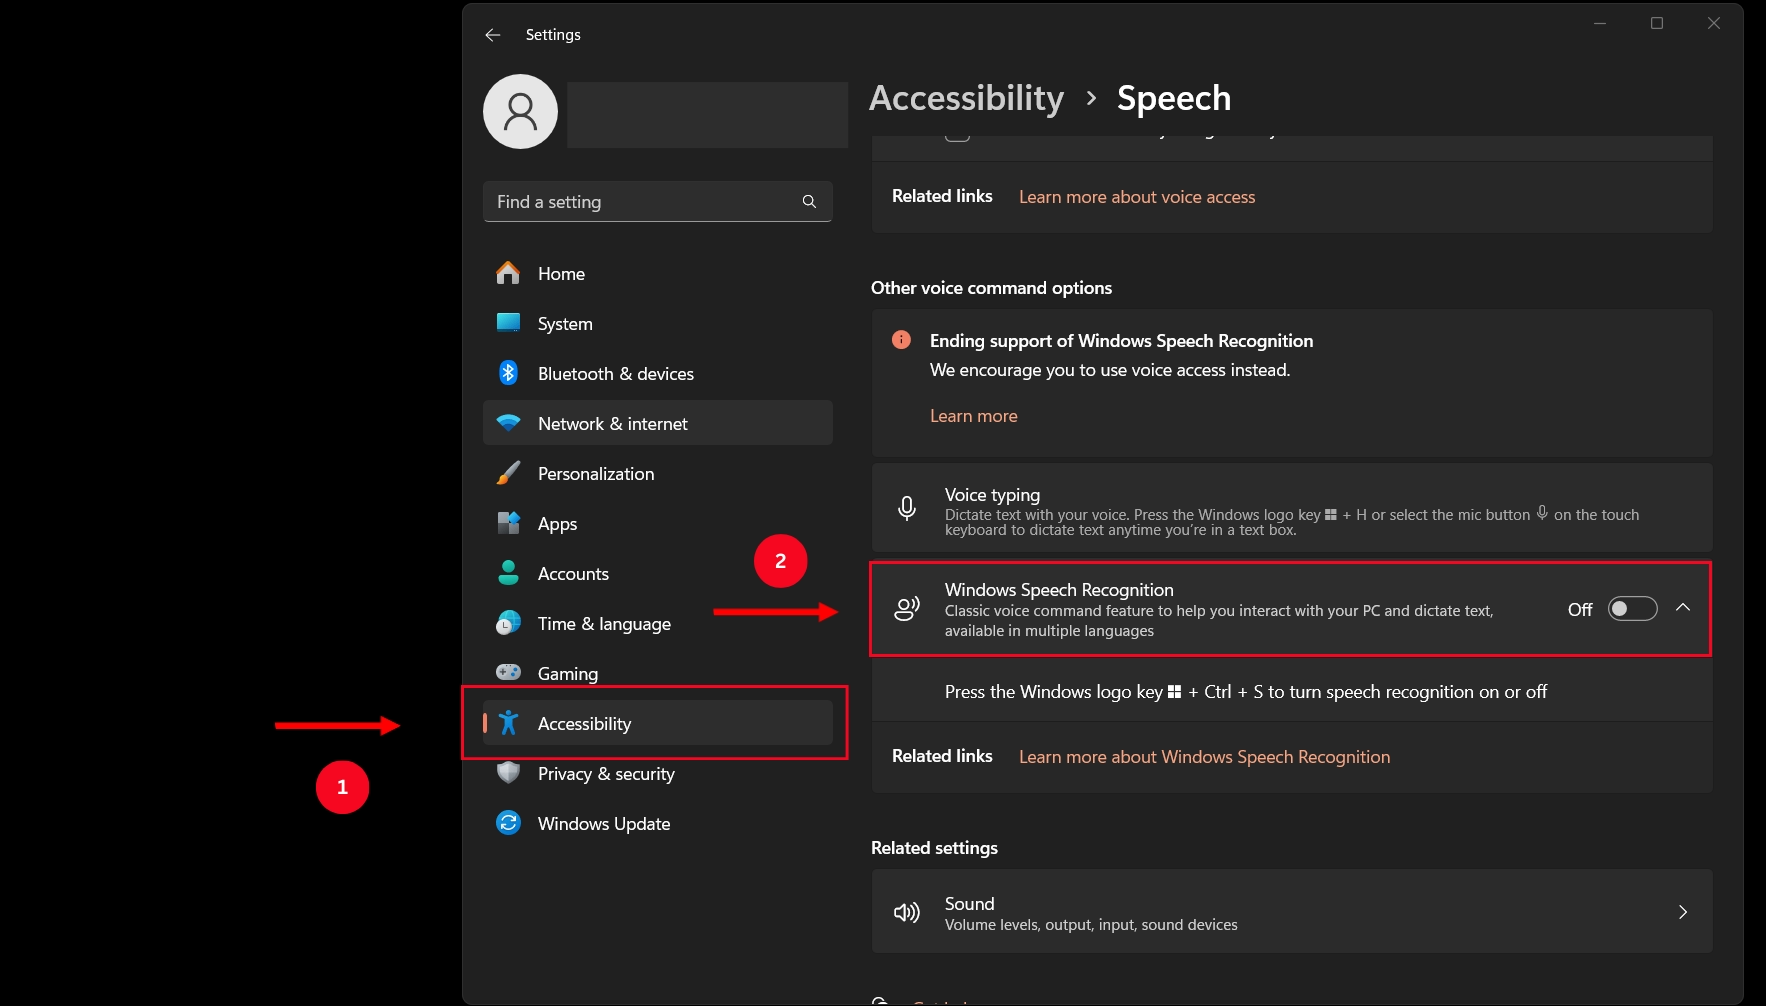
Step 3: Set up speech recognition on your Windows device and start recording your speech on Evernote.
Android
The process of enabling dictation on an Android device is simple, and you can follow the steps below to do so:
Step 1: Open Evernote and bring up the keyboard by clicking on the text bar. When you're ready, click on the microphone icon at the top left corner of the keyboard and start speaking into your microphone.
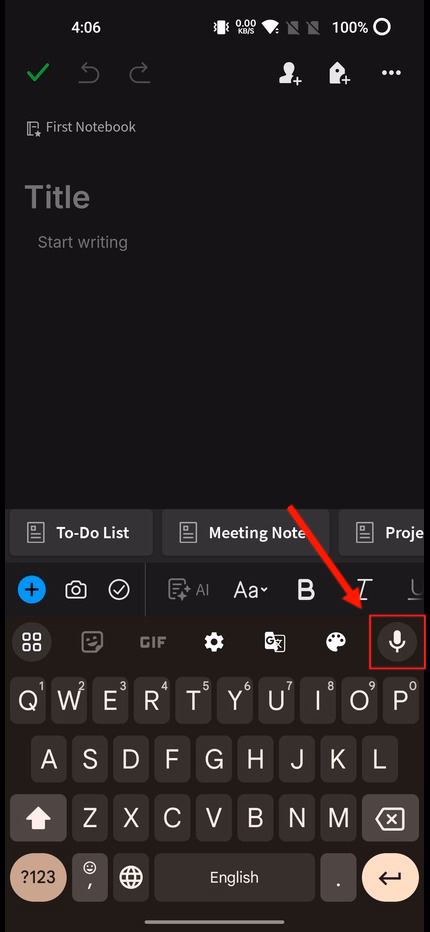
Step 2: As you start speaking, the keyboard will automatically transcribe your speech into text, which you can then save as a note and refer to at a later point in time.
iPhone and iPad
The process of using speech-to-text on an iOS device is similar to that of an Android phone.
Step 1: Open the Evernote app and create a new note so that you can record your audio file using the device's microphone.

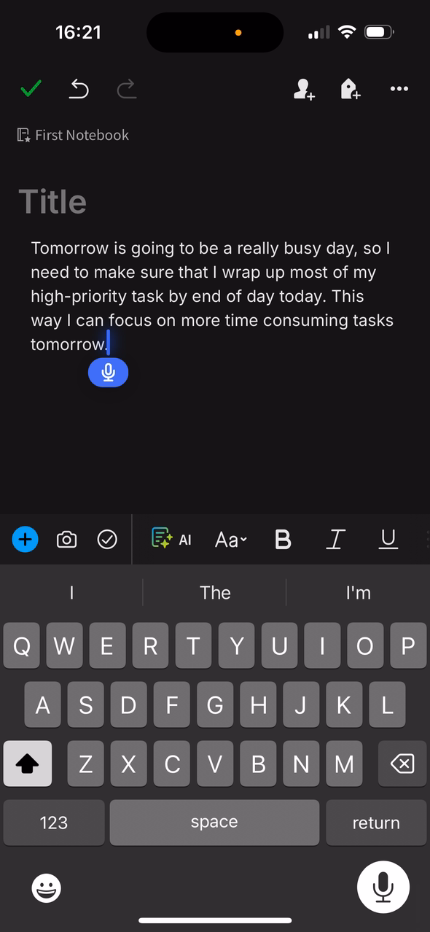
Step 2: Tap the text bar and then click on the microphone icon on the bottom left corner of the screen to enable the device's dictation feature.

Step 3: Once you've completed the dictation, you'll see that the text has been transcribed for you.
Evernote offers two different ways to record audio files: the first one allows you to record audio notes in the form of audio files that you can share, whereas the second feature allows you to dictate speech that the app then transcribes into text. You can then share these files with your team, add tags to them, or pin them to a notebook so you can collaborate on them.
How to Convert Voice Notes in Evernote
You can convert voice notes to text in Evernote in two main ways. These include recording audio notes in Evernote and transcribing audio notes into text. This section takes you through the steps to follow both methods of how to convert voice to text .
Recording Audio Notes in Evernote
The first way you can input audio to create notes on Evernote is to record an audio note. Here's how you can do this on an iPhone:
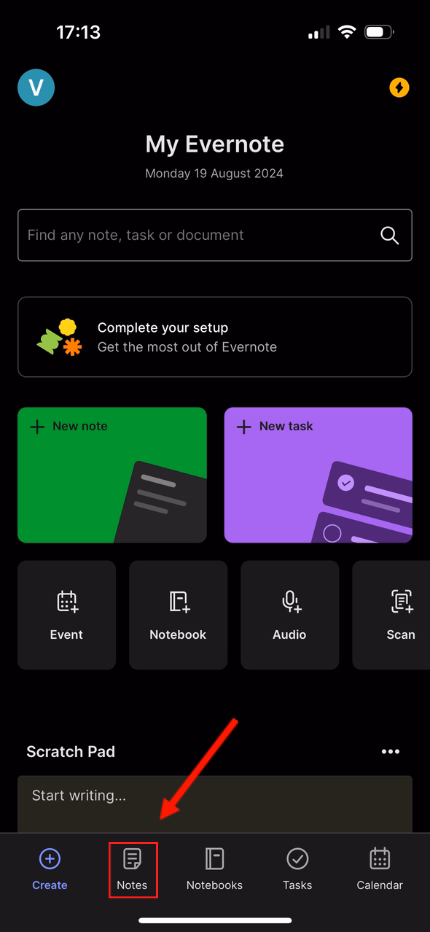
Step 1: Open the Evernote app on your iPhone and click on the Audio button, which is located alongside the other options for creating notes.

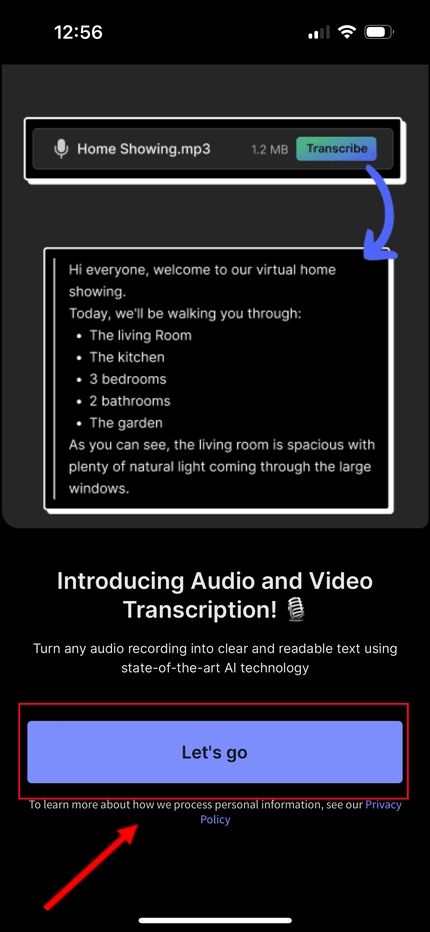
Step 2: On the feature's tutorial, click on 'Let's Go' and then click on 'Allow' when your iPhone asks for permission to access the microphone.
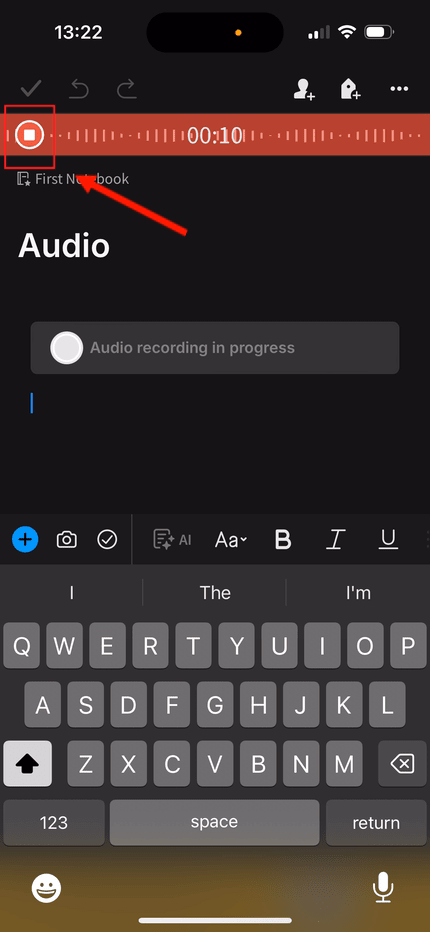
Step 3: The app will automatically start recording a note, so you can start speaking into the microphone to record your note. Once you're done, click on the stop button at the top left corner, and the app will save this as an audio file.
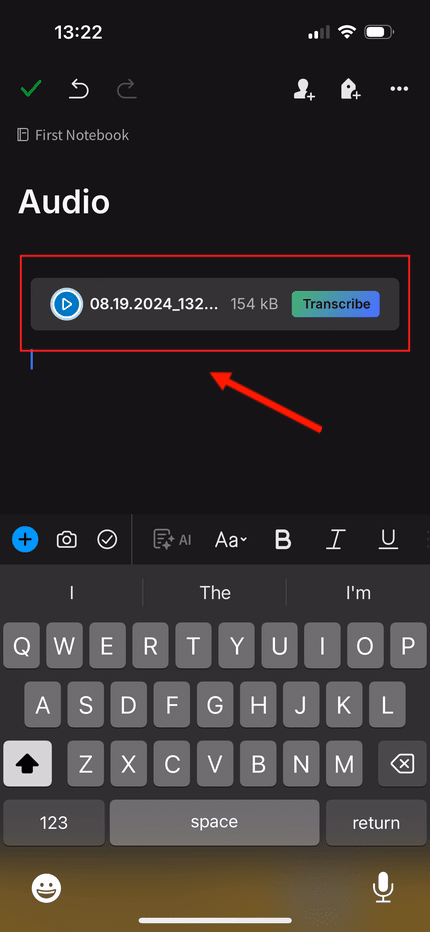
Step 4: Once you're done, click on the green checkmark on the top left corner of the screen to
save your audio file.
Transcribing Audio Notes to Text
Now that you've seen how you can record entire audio files and save them on Evernote, you'll also see how you can transcribe audio recording to save and share it with your team to collaborate on it. Here's how you can do this on an iPhone:
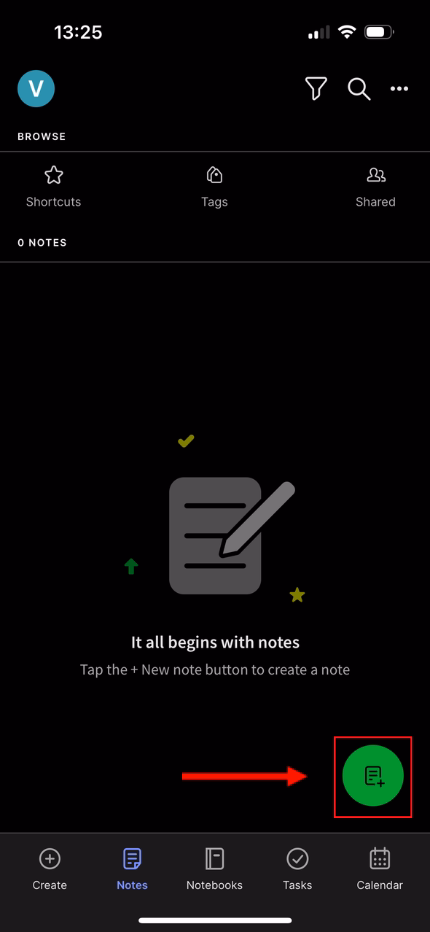
Step 1: Open the Evernote app on your iPhone and click on the 'Notes' option at the bottom of the screen.
Step 2: Click on the button to create a new note on the bottom right corner of the screen to open a new note so you can start dictating to your device.
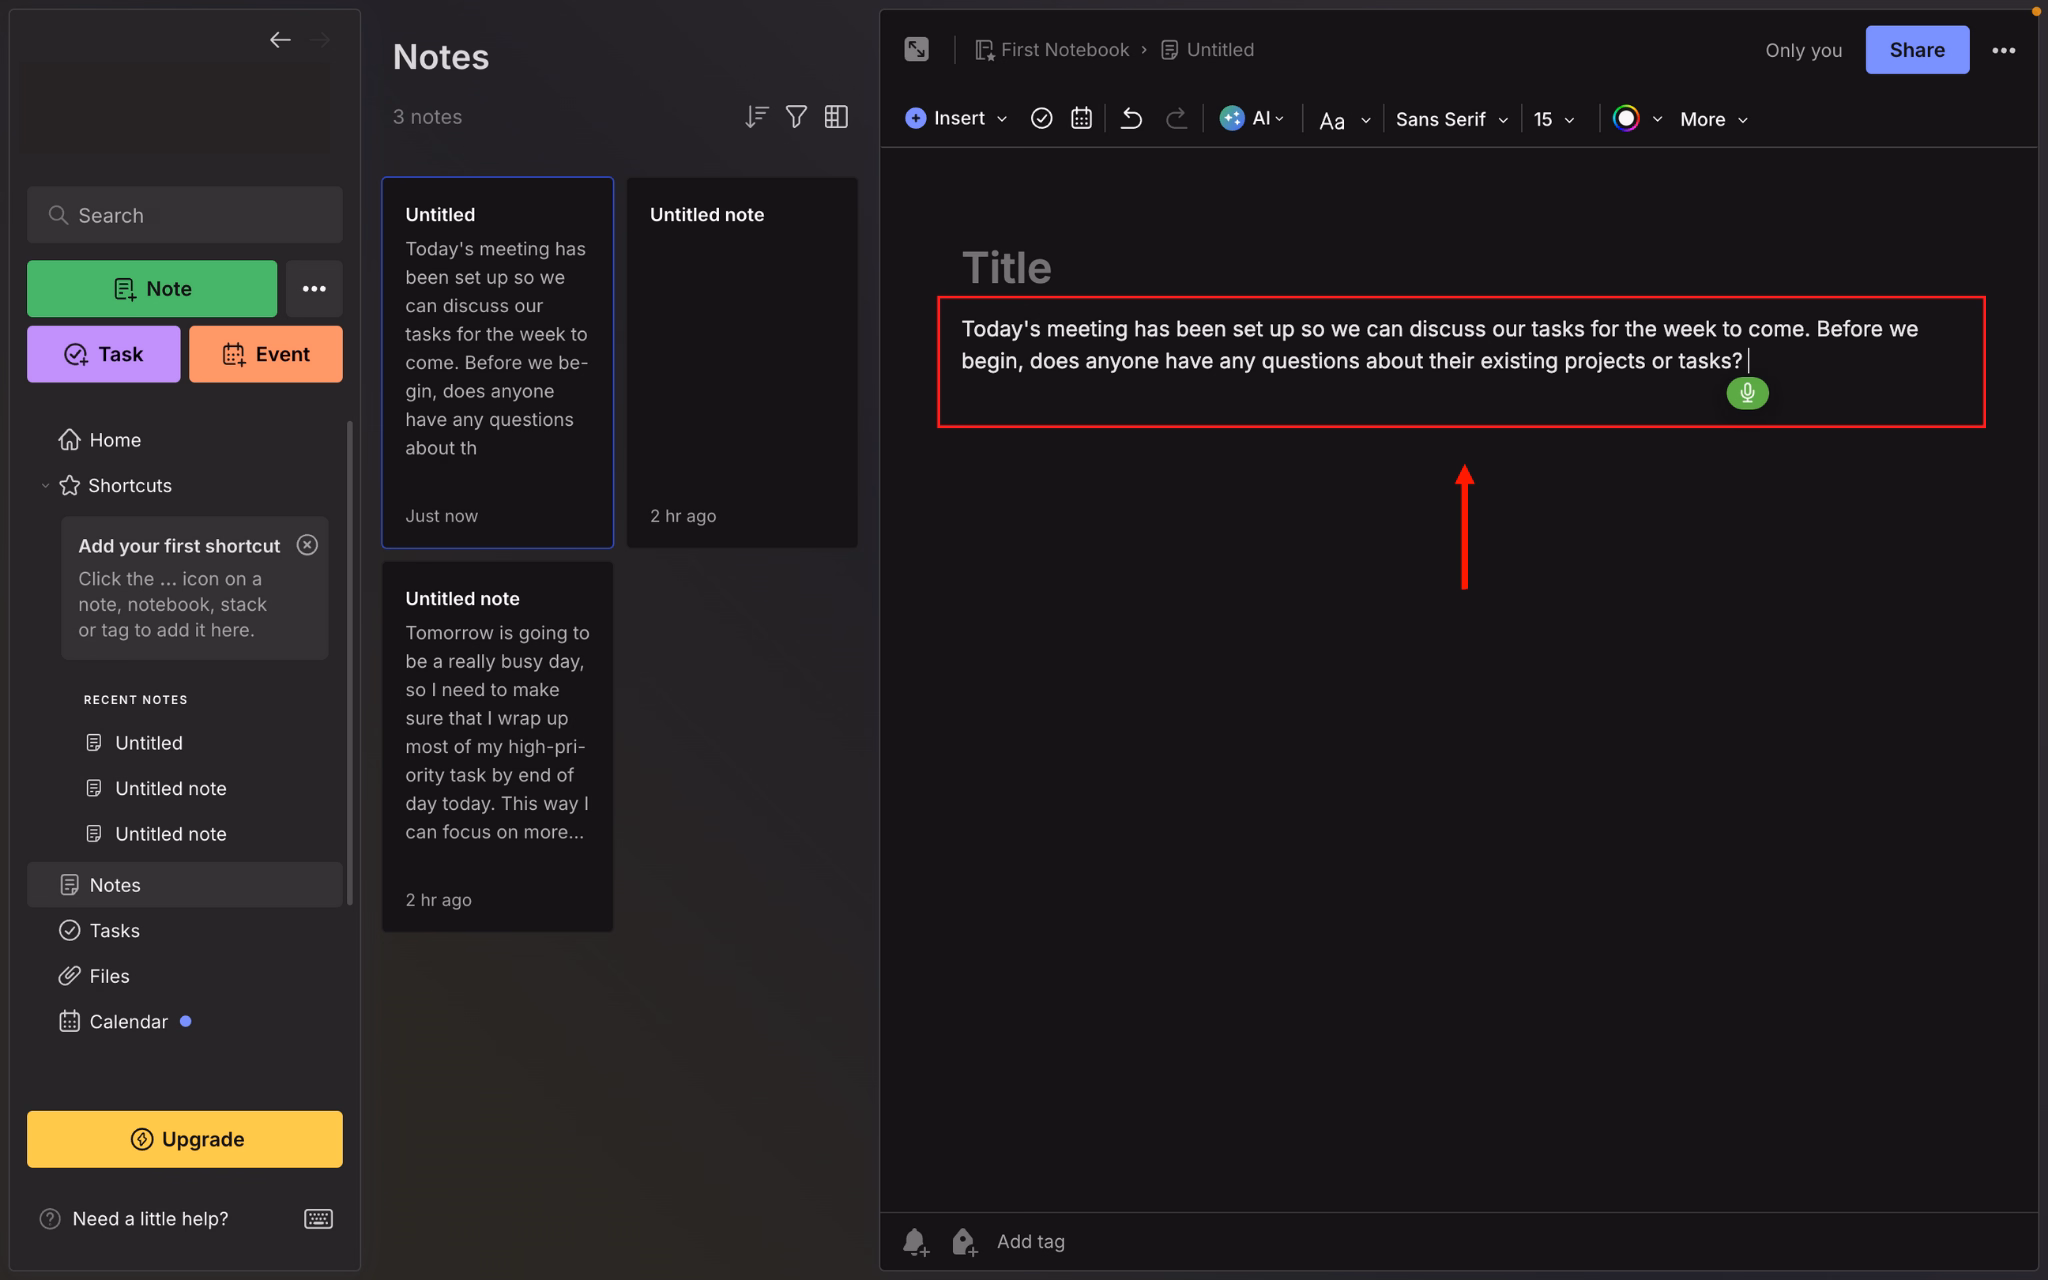
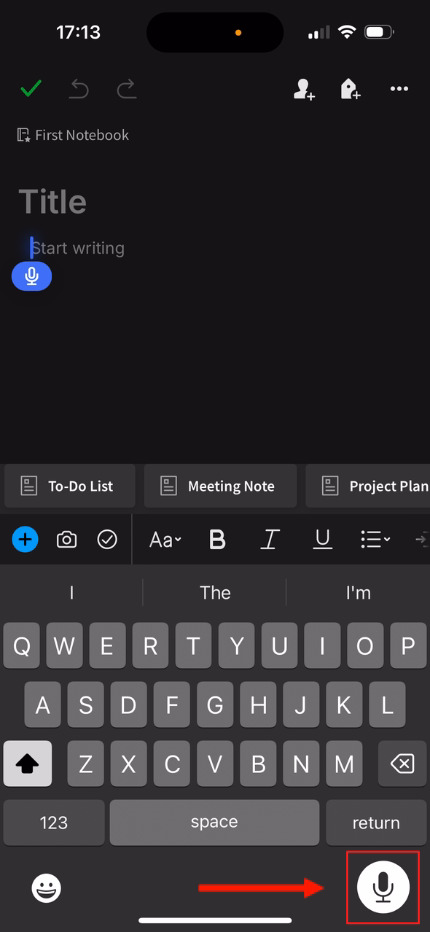
Step 3: Click on the microphone button on the bottom right corner of your keyboard to start dictating whatever you want to save in your note.
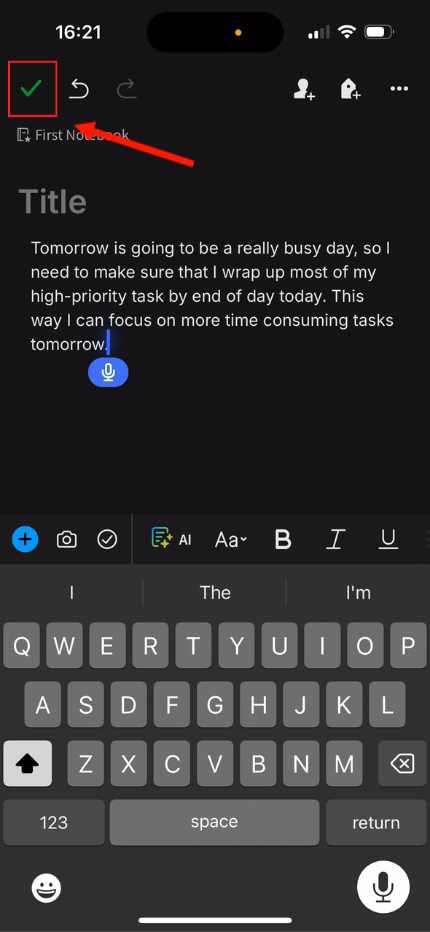
Step 4: Start speaking into your microphone so your speech is automatically converted into text, as shown in the image below. Click the green checkmark in the top left corner to save your note.
Organizing Transcripts in Evernote
Once you've recorded an audio file or transcribed one, Evernote also offers several different ways in which you can organize them. To start, you can open the Evernote app and navigate to the 'Notes' section to see a list of all your notes.
Once you open an individual note, you can click on the 'Settings' icon with the three dots on the top right corner to access features that allow you to organize your notes better:
To access information quickly, you can use the 'Find in Note' option to search for specific keywords or phrases within a note.
Using the 'Add Tag' option, you can add tags to categorize your notes based on the information they contain. This can be very helpful when you're working in a large team and have to collaborate with multiple stakeholders simultaneously.
You can also use the 'Pin to Notebook' option to pin the audio note to a notebook, enabling easy access to it when working on larger projects.
In addition to these features, you can also share the transcript across different applications, add reminders to it, print or duplicate it, and even move it to a different location.
Exploring Evernote Speech-to-Text Tools
As you've seen from the section above, there are two different ways to use speech-to-text on Evernote. The first is recording audio files, and the second is using your device's microphone to transcribe speech-to-text. A few different tools make this possible, so you can record audio and transcribe it in different ways, such as the ones shown below.
Creating Audio Files: Evernote allows you to create audio files by recording audio using the app. You can then share, tag, or even add these files to a notebook to collaborate with your team.
Dictation: You can also use your phone keyboard's speech-to-text feature, which uses the microphone button, to transcribe any speech into text.
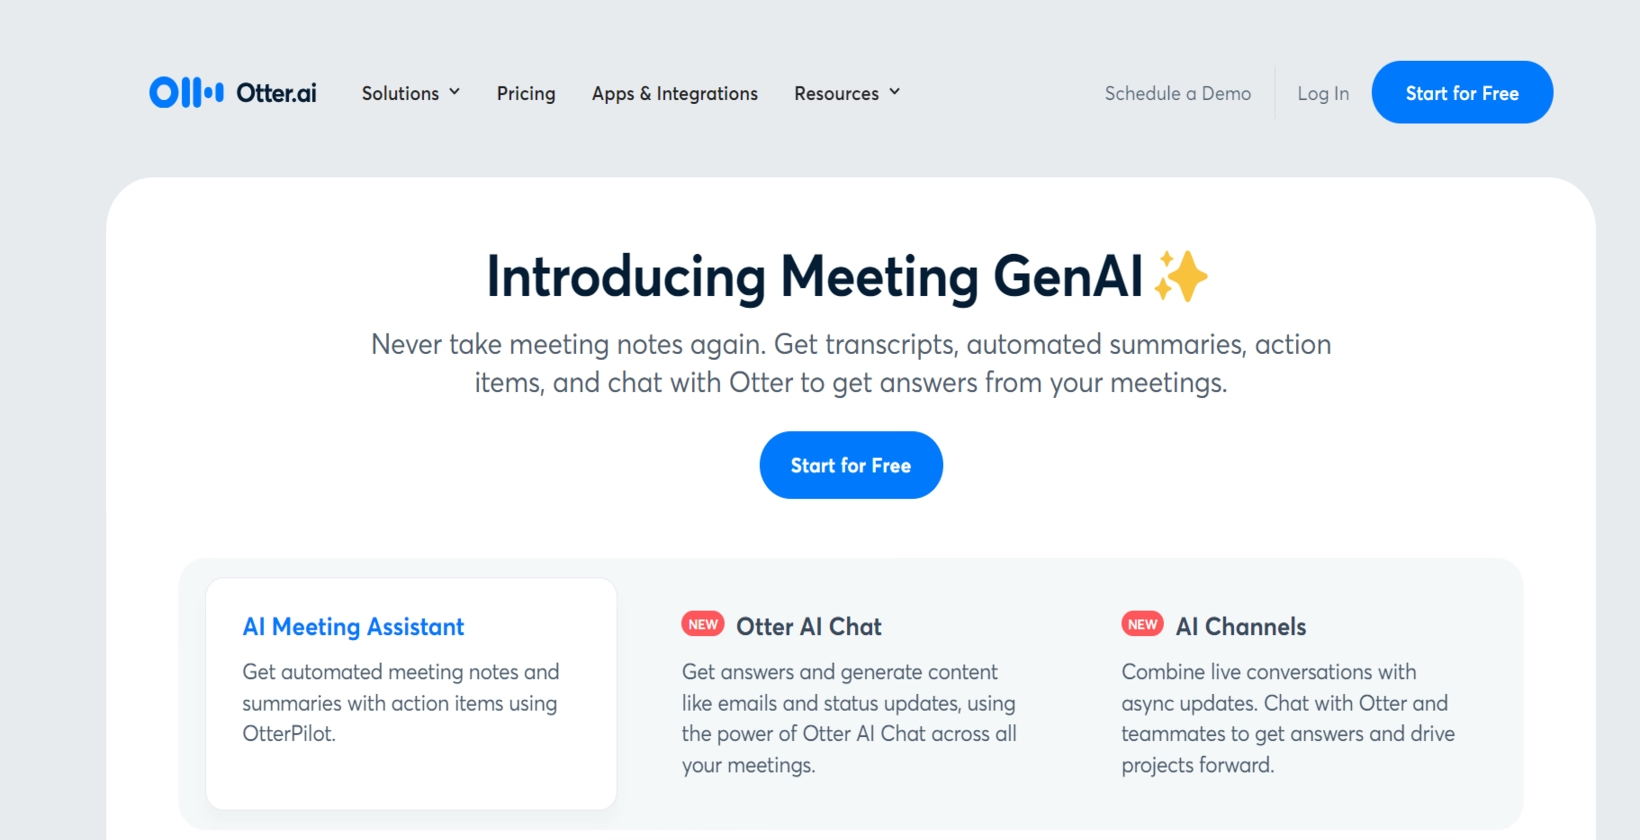
When you compare this to other apps, such as Transkriptor , you'll see that Evernote doesn't have its native speech-to-text feature. Instead, you need to rely on your keyboard's speech-to-text to input notes into the app. You'll also notice that you can't upload existing audio files and convert them to text, a feature that Transkriptor offers by default. It also allows you to convert video files to text or audio files stored on your Cloud or via YouTube.
Tips for Effective Audio-to-Text Conversion in Evernote
A few tips and strategies can help you effectively convert speech to text on Evernote, making your team's collaboration and note-taking a lot better. These include:
Both Android and iOS devices don't automatically enter punctuation marks. As a result, you'll have to manually say this when you speak into the microphone in such a manner: 'Hello exclamation mark how is everyone doing today question mark.'
You should read your text after it's been transcribed, as it may have been incorrectly converted. Proofreading can ensure that it's free of errors before you share it with your team.
Make sure to speak clearly into the microphone and not cover it with your finger, as this can affect the transcription quality.
Maximizing Productivity with Evernote Audio Notes
Evernote's audio notes offer a seamless and quick way of taking notes for later reference in a personal or professional capacity. Recording audio notes in the form of audio files and using your device's built-in speech-to-text feature to dictate text can also help professionals record and transcribe meetings and collaborate on projects.
This saves the time and effort otherwise spent on manual note-taking. As a result, every team member can focus on the discussion itself without the process of manual note-taking distracting them.
One situation in which this can help is when you need to record a discussion with your teammates in person. Using the audio recording function allows you to record an audio file of the entire discussion from start to finish, which you can then share with your team for their reference later or to take down action items.
Conclusion
Speech-to-text is necessary today, especially with organizations looking to maximize productivity and earn the highest possible return on investment from their meetings. Instead of manual work, converting audio to text on Evernote allows you to record audio files or transcribe speech to text, which you can share with your team.
However, Evernote is not without its limitations. Some of these include the inability to transcribe existing audio and video files or to transcribe those saved on the cloud or sourced from a platform like YouTube. For users seeking alternatives, audio to text OneNote can be achieved by using third-party transcription tools that work in tandem with the platform.
Transkriptor, on the other hand, is a comprehensive AI-powered speech-to-text tool that converts audio to text from various sources, such as your existing files, the cloud, YouTube, and so on. The intuitive interface makes it easy for you to access all your files in one place and share them with your teams for efficient collaboration. Try for free today and maximize your workplace productivity!