Evernote users who subscribe to the Free plan are limited in the number of devices they can log into, the number of notes they can make, and a cap on the length of audio recordings they can make and upload.
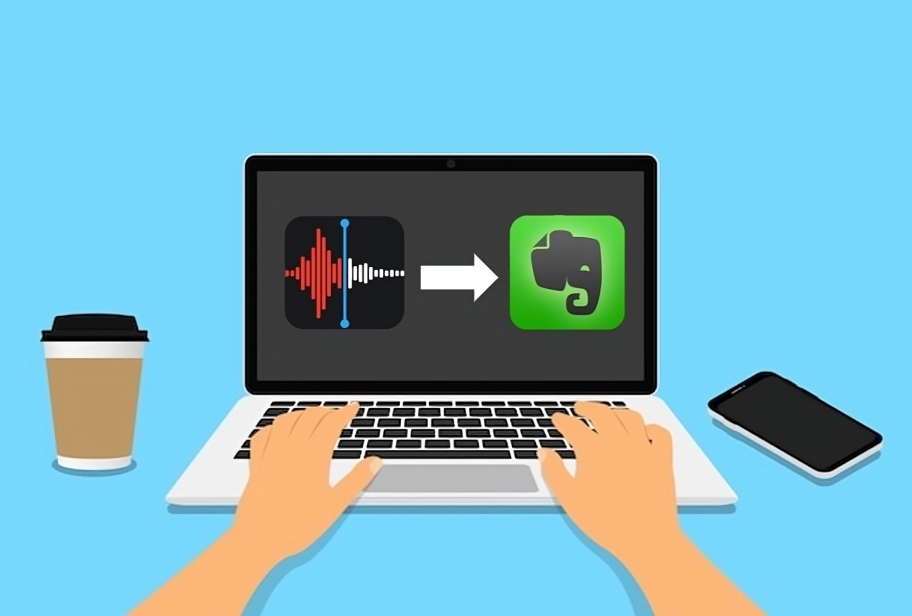
Evernote streamlines your workflow by eliminating the need to use different apps to transcribe audio and edit text because you can do both in Evernote, including audio to text on Evernote . Whether you prefer manual transcription and want to use the playback slider in the note editor to review the audio, or you need to generate a transcription in a time crunch - Evernote is the transcription tool for you.
Evernote allows users to upload audio recordings and convert speech to text in real-time by activating the microphone during a call, ad hoc meeting , or presentation.
The keyboard shortcuts to format text make manual transcription quick and easy in Evernote, because you can be more efficient when you don’t have to constantly move your hands to and from the trackpad, and the playback slider allows you to navigate to different sections in a recording with ease. The speech recognition engine in Evernote delivers transcripts in just a few seconds, including punctuation, so you can switch between manual and automatic transcription without compromising on quality. Record and Transcribe audio with Evernote to be more efficient, as the tool allows you to make accurate, customizable, and easily shareable transcripts in seconds!
Understanding Evernote's Transcription Features
Evernote, the popular note-taking app, has a new feature: audio and video transcription, including the ability to convert mp4 to text . In the past, Evernote didn’t convert audio recordings to text automatically so users had to use their device’s speech-to-text feature to dictate what they wanted to say. Now, Evernote users can record audio within the app for automatic transcription, as well as upload existing recordings. Upload an audio file (in a .mp3, .mp4, .flac, or .wav format) to Evernote and generate an automatic transcript of the recording in seconds, or transcribe a call, meeting, or presentation in real time using mp3 to text .
For users who prefer to manually transcribe audio, the Evernote transcription features a slider that controls playback and keyboard shortcuts for editing text to streamline the process. Evernote provides different ways to transcribe audio files to meet the needs of different users, whether it’s generating a transcript of a virtual meeting in real time or manually transcribing a recorded interview.
Transcribing Audio Files Using Evernote
Evernote allows users to upload audio files for transcription, which is handy for generating transcripts of existing recordings, but it also allows users to record audio in the app and generate a transcript of it in real-time. The Evernote speech recognition tool delivers transcripts in seconds, but the app also accommodates users who prefer manual transcription with features like playback controls and keyboard shortcuts to edit the text. Regardless of the method, automatic or manual, reviewing transcripts is crucial to ensure that they are consistent with the audio and reflect natural speech. Evernote allows users to change the appearance of transcripts, from font size to alignment, as well as offering several keyboard shortcuts for text formatting.
Uploading Audio Files to Evernote
To upload audio files to Evernote, navigate to the bar on the left side of the screen, click on the button with the symbol of an ellipsis (‘...’) to access more upload options, click on the ‘File’ button with the symbol of a paper clip, select the audio file that you want to upload from the folder where it’s saved in your system explorer and then click ‘Open’. Uploading an audio file to Evernote automatically opens the recording in a new note, from where you can insert additional elements (like tasks), assign the note to a date on the calendar, and format the text.
Evernote supports the common audio formats, .mp3, .mp4, .flac, and .wav, but not other formats like AIFF, FLAC, or AAC. Also, it’s important to note that the maximum length of an audio recording that an Evernote user can upload is determined by their subscription: Evernote Free customers are entitled to 25MB per note and customers are entitled to 50MB per note, whereas Premium, Personal and Teams customers can upload audio recordings which take up to 200MB of space.
Using Evernote's Built-in Transcription Tools
To use Evernote’s built-in transcription tool, navigate to the bar on the left side of the screen, and click the ‘Audio’ button with the symbol of a microphone to start a recording and start speaking. Remember that Evernote hides some of the icons when you reduce the size of the app window on a laptop or computer, to make sure there is room for the other tools, so press the button with the symbol of the ellipsis (‘...’) to access the ‘Audio’ button when it is hidden from the main menu. You know when Evernote starts recording audio because a red soundbar appears at the top of the editor to give you an idea of the volume at which you are talking! Press the stop button (the red square) to end the recording when you are finished talking and wait for the audio file to appear as an element on-screen. Listen back to the audio recording by pressing the blue play button, or press ‘Transcribe’ (the button has a green to-blue gradient background) to use Evernote’s automatic transcription function. Evernote takes only several seconds to transcribe audio, after which a notification appears announcing that the transcription is complete and you can copy-paste the text wherever you need to.
The Evernote interface is unique because it mimics a board with post-it notes so users can personalize the way it looks, but the customization doesn’t stop there. Evernote allows users to format the text that the built-in transcription feature generates, namely the appearance of the font, bulleting, and paragraph alignment.
Manual Transcription Tips and Techniques
Evernote accommodates users who want to manually transcribe audio by allowing them to play recordings back and type the spoken content up themselves. Manual transcription is a somewhat painstaking task, as you have to go over each section of the audio multiple times to ensure that the words you write down match the audio, but Evernote makes it easy by including a slider that allows users to navigate through the recording to replay specific moments.
Moreover, Evernote offers keyboard shortcuts so users don’t have to waste time switching between typing and the trackpad while they transcribe: the forward slash key (/) allows you to insert elements (like a header, list, or quote) and the at key (@) allows you to link the note containing the transcript to another note.
Manual transcription is a fine art, and several precautions must be taken to achieve the best results. It is important to find a quiet setting to record in when you are manually transcribing audio with Evernote, both to ensure that the device you’re using can pick up what you’re saying and to minimize the amount of background noise. Also, it’s important to position yourself at such a distance from the microphone (whether it’s built-in to your device or standalone) that it picks up the sound of your voice while avoiding the other sounds in the room.
The distance between your mouth and the microphone when you record audio to transcribe with Evernote needs to be between 6 and 12 inches. Striking a balance between pronouncing every word and speaking naturally is difficult when you’re recording yourself talking, but it’s important to maintain a natural pace when you’re manually transcribing audio within Evernote so you know where you need to place the punctuation marks in the sentences.
Automating Transcription with Third-party Integrations
You can integrate any automatic transcription app with Evernote by uploading an audio file to the app (or recording audio in it), generating a transcript, and copy-pasting the text into a new note. Another way to automate transcription in Evernote with a third-party transcription service is to use the app to generate a transcript (of an audio file or live speech), save the text as a file, and then upload the file directly to Evernote where it will appear as a new note! Tech-savvy Evernote users can write code to connect transcription software to their accounts, but this isn’t an accessible solution for most users since the average person doesn’t have the necessary programming skills!
Reviewing and Editing Transcribed Audio
No automatic transcription software can guarantee 100% accuracy, even if they deliver near-perfect transcripts. Reviewing AI-generated transcripts is crucial to ensure that they don’t contain any inconsistencies with the audio, spelling mistakes, or grammatical errors. Moreover, it’s important to proofread automatically generated transcripts to ensure that they reflect natural speech, to avoid the risk of the text sounding artificial.
A good way to review a transcript is to listen to the audio recording while reading the transcript, checking that the transcript misses nothing from the audio and making sure that the text is consistent (in terms of spelling and formatting). A great tip for reviewing transcripts for accuracy is to get another pair of eyes on the case - ask for feedback from a friend or colleague after you have thoroughly proofread the text yourself.
Evernote allows users to play recordings back to check that the automatically generated transcript is consistent with the audio, including a slider in the note editor to navigate to specific moments, but the app also has a variety of options for editing and annotating the text. To change the appearance of a transcript in Evernote, highlight the text you want to edit, then open the 'More' dropdown menu in the bar at the top of the note editor to customize the font size, color, and alignment. Evernote also has several keyboard shortcuts to make the text bold (Ctrl + B), italic (Ctrl + I), underlined (Ctrl + U), and highlighted (Ctrl + Shift + H) so certain words or phrases stand out.
Exploring Evernote's Speech Recognition Tool
The speech recognition tool in Evernote allows users to upload audio recordings for automatic transcription, manually transcribe audio by playing the recording back in the app, and generate transcripts for live speech in real time. Evernote is an incredibly versatile tool that allows users to add information from a variety of sources to their notes - photos, audio recordings, documents from their device - as well as offering multiple options for transcribing audio.
Evernote is a great option for speech-to-text tasks because it delivers near-perfect transcripts within seconds and gives users comprehensive text editing options.
Using your voice to type is significantly faster than using your hands, so the Evernote speech recognition tool enhances your productivity by allowing you to write more in less time without worrying about the quality of the text - whether you are taking notes, planning projects, reduce meeting cost , or journaling! However, Evernote restricts the size of recordings that users can make or upload according to their subscription (users on the Free plans are limited to 25MB and 50MB of audio in each note) which is detrimental to some projects.

Common Issues with Evernote Transcription
The most common problems that people encounter when they transcribe audio are mispronunciation of words, overlapping speech, and background noise. When you are recording audio for transcription it is important to do so in a quiet environment, with minimal disruption from other people, and place yourself between 6 and 12 inches from the microphone so it picks up your voice without picking up background noise.
According to the Evernote User Forum, there are two small issues with the speech recognition tool: sometimes the language of the AI-generated transcript doesn’t match the language of the speech and recordings can only be played back on the device they were recorded on (eg. notes which contain audio recordings made on a mobile device cannot be played on a desktop and vice versa).
The speech recognition tool automatically identifies the language being spoken in a recording and transcribes it accordingly, but sometimes the software gets it wrong, so to select the language you want the transcript in you have to adjust the language settings of the entire device. Evernote developers are working to rectify the second issue so that recordings made on desktop devices can be played on mobile devices (and vice versa).

A Better Solution for Audio Transcription: Transkriptor
Integrating a transcription tool into the Evernote platform frees users from having to use multiple apps to complete the same task, of transcribing audio, which saves them time. Evernote supports manual transcription, by allowing users to playback recordings in the note editor, and gives users the option to generate an automatic transcript within seconds. Transkriptor is an automatic transcription tool that has all the same capabilities as Evernote, as well as additional features like coverage of more than 100 languages, one-click sharing, and simultaneous editing!
Transkriptor uses a state-of-the-art speech recognition engine that delivers 99% accurate transcripts in less than 2 minutes, making it the best choice for users who need transcripts in a time crunch without having to learn how to use sophisticated software.
The Superior Choice for Audio Transcription
Evernote provides a useful set of transcription features, but its limitations—such as file size restrictions, device playback issues, and occasional inaccuracies—make it less ideal for users with high transcription demands. While it supports both manual and automatic transcription, Evernote's functionality is limited by its subscription plans, and its speech recognition may struggle with language accuracy at times.
Transkriptor, by contrast, offers a more comprehensive solution. Its speech recognition engine provides far greater accuracy, processing transcripts faster and with better precision. The tool supports over 100 languages and allows for seamless editing and one-click sharing. These features make Transkriptor the ideal choice for users needing dependable transcription, especially in time-sensitive or multilingual contexts.
With a more reliable and streamlined process, Transkriptor surpasses Evernote, offering superior transcription services that better meet the needs of professionals.