NewTranskriptor launches Custom Vocabulary. Add your key terms for more accurate transcripts.Learn More

Amazon S3 and Transkriptor logos connected by a dotted line, illustrating the seamless integration between the two platforms.

Amazon S3 Integration with Transkriptor

Integrate Transkriptor with Amazon S3 to automatically upload your transcripts, summaries, and media recordings to your own AWS bucket. Every file lands in a clean, organized folder structure — giving you full control over storage, access, and compliance.

How to Integrate with Amazon S3?

Follow these simple steps to integrate Transkriptor with Amazon S3 and streamline your transcription storage workflow.

Screenshot of the Transkriptor dashboard highlighting the "Integrations" menu item with an arrow.
Screenshot showing Transkriptor integration options, highlighting Amazon S3 integration with a mouse cursor ready to click "Connect."
A pop-up window prompts the user to input an Access Token and Private Key to connect to Amazon S3.
A screenshot of Amazon S3 integration settings for Transkriptor, showing options to select region, bucket name, and toggle saving of transcripts, summaries, and media files.
A screenshot of the Transkriptor integration page, highlighting Amazon S3 integration.
A screenshot of the Amazon S3 console showing a bucket named "your-bucket" with a folder named "Transkriptor/" inside it.
Screenshot of the Amazon S3 console showing the Transkriptor bucket with Media, Summaries, and Transcripts folders.

Key Benefits of Transkriptor + Amazon S3 Integration

Automatic Cloud Backup: Every completed transcription or meeting is automatically uploaded to your Amazon S3 bucket — no manual exports, no scattered files across local drives.

Organized Folder Structure: All files are saved under a clean Transkriptor folder with dedicated subfolders for Transcripts, Summaries, and Media, so everything stays sorted from the moment it lands in your bucket.

Full Storage Control: Files are stored in your own AWS account, in the bucket and region you choose — giving you complete ownership over your data, access policies, and compliance requirements.

Flexible File Types: Choose exactly what gets uploaded — full transcripts, AI-generated summaries, and original media recordings can each be toggled on or off to match your storage and workflow needs.


How to Set Up Amazon S3 Integration in Transkriptor

Connect Amazon S3

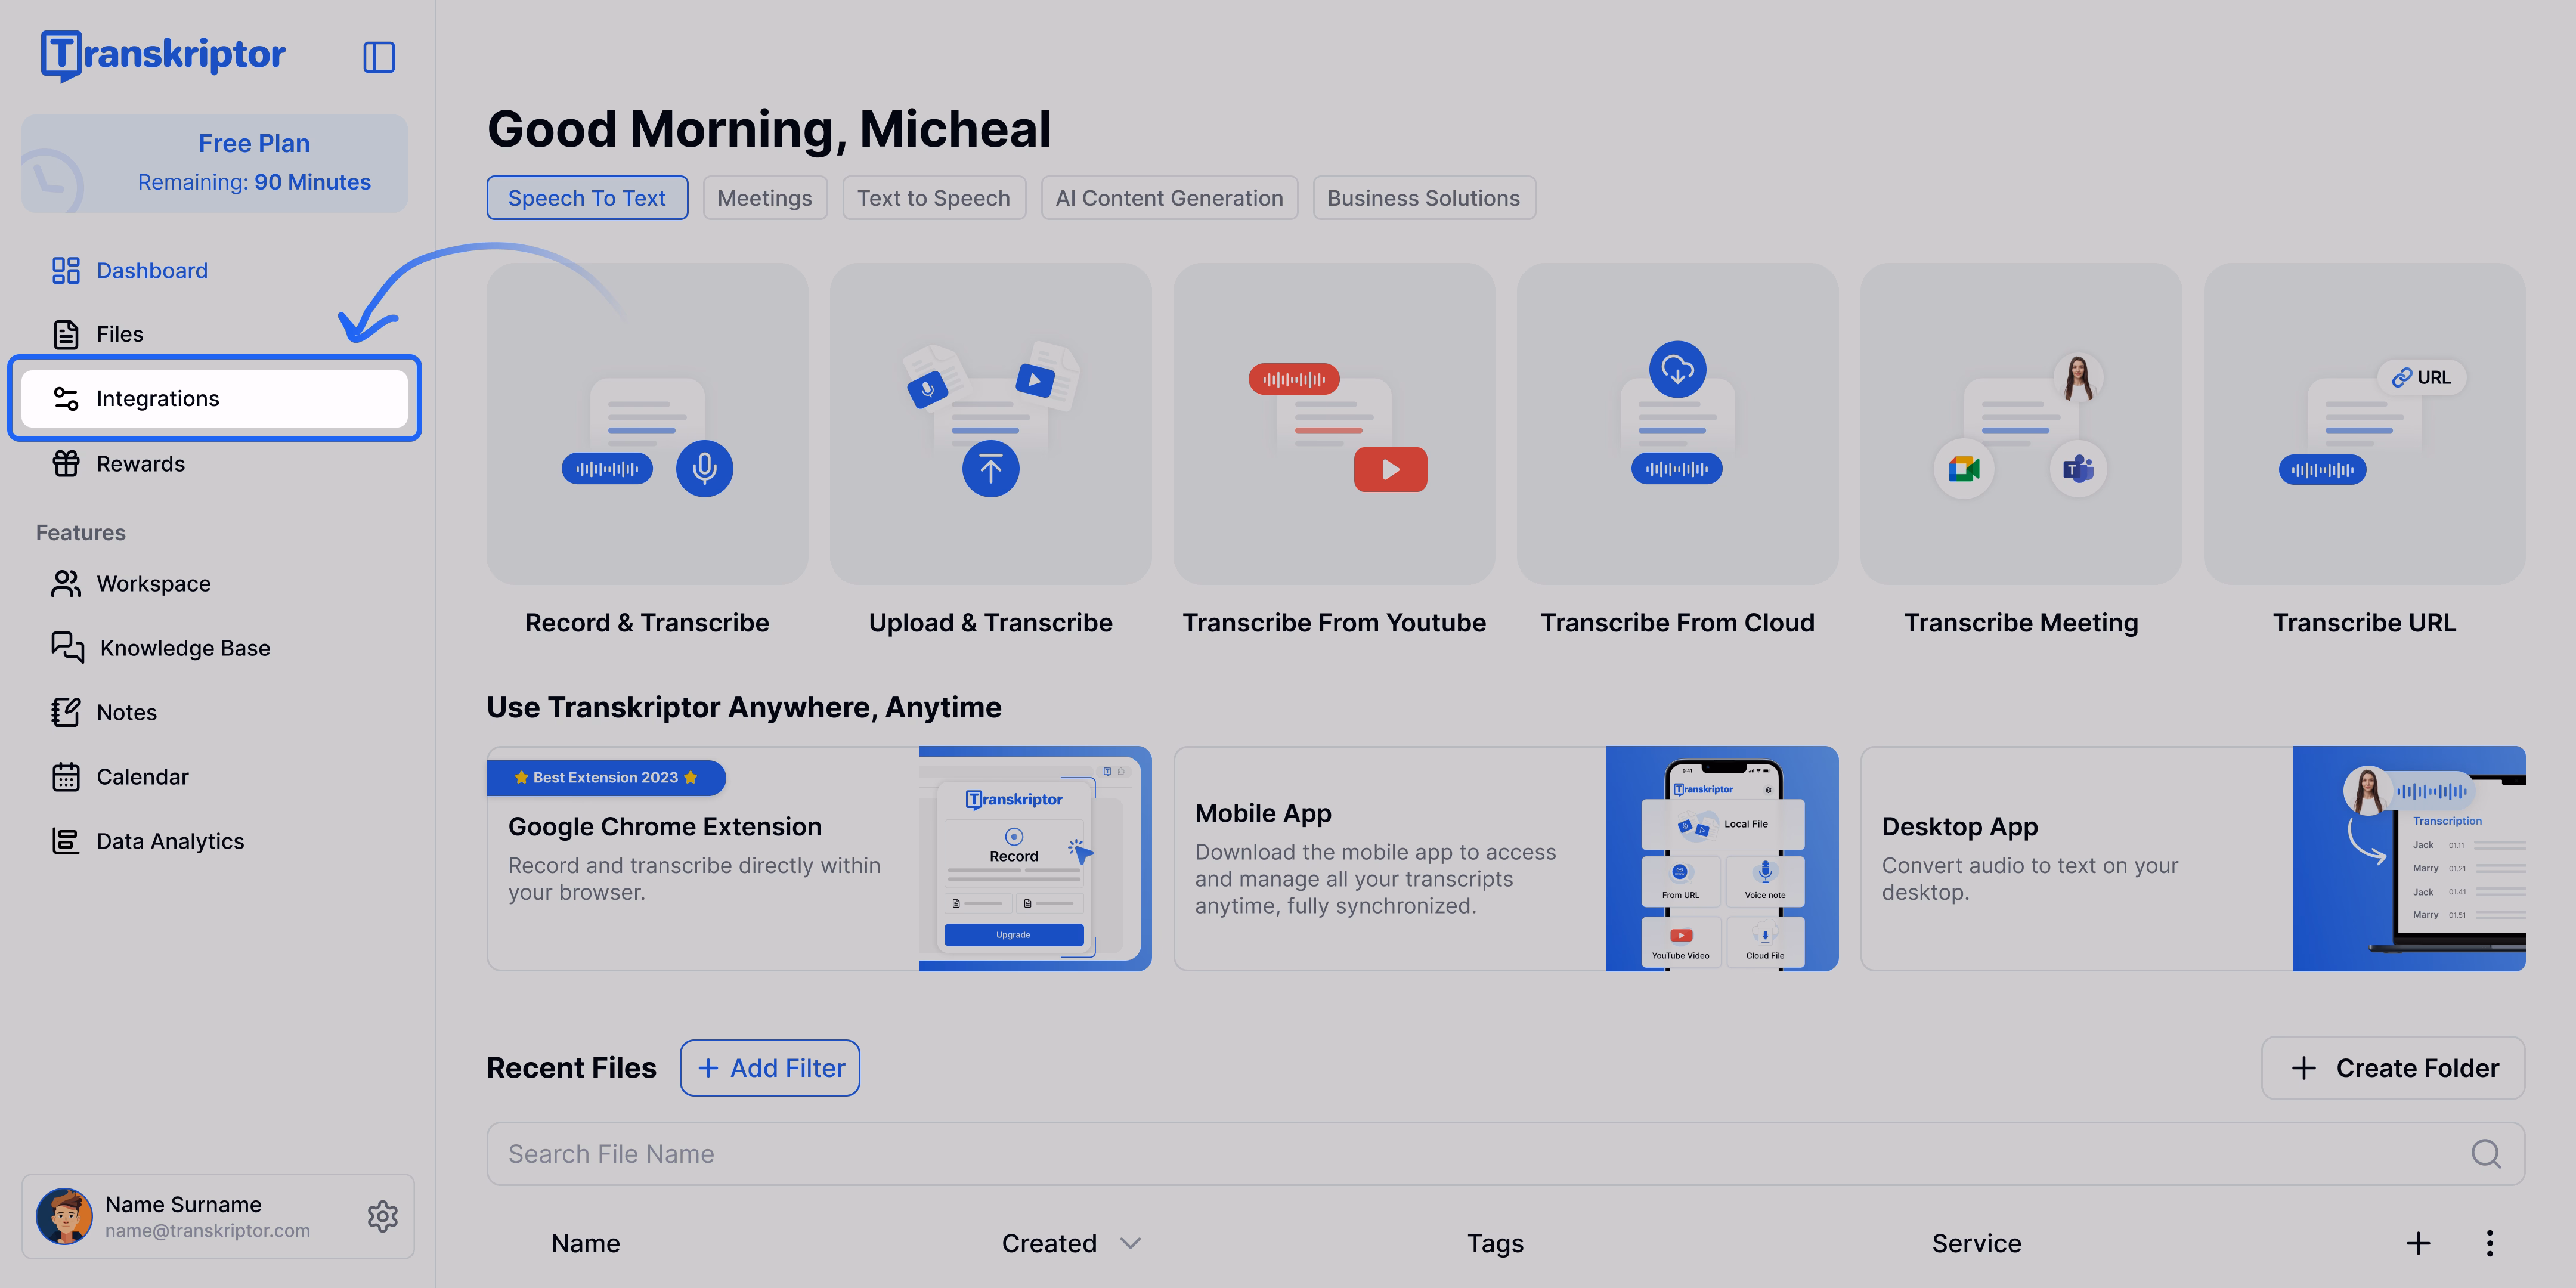
Go to the Integrations tab in your Transkriptor dashboard.

Screenshot of the Transkriptor dashboard highlighting the "Integrations" menu item with an arrow.
The Transkriptor dashboard shows the "Integrations" tab selected.


Find Amazon S3 and select it.

Screenshot showing Transkriptor integration options, highlighting Amazon S3 integration with a mouse cursor ready to click "Connect."
Seamlessly integrate Transkriptor with Amazon S3 for automatic cloud synchronization.

Click Connect, then enter your Access Key ID + Secret Access Key to authorize Transkriptor's access to your S3 bucket.

A pop-up window prompts the user to input an Access Token and Private Key to connect to Amazon S3.
Connect to Amazon S3 by entering your Access Token and Private Key.


Configure Your Bucket

Once connected, select your AWS region and choose the S3 bucket where your files will be stored. Transkriptor supports the following regions: US East (N. Virginia, Ohio), US West (N. California, Oregon), Europe (Ireland, London, Frankfurt), and Asia Pacific (Tokyo, Singapore, Sydney).

A screenshot of Amazon S3 integration settings for Transkriptor, showing options to select region, bucket name, and toggle saving of transcripts, summaries, and media files.
Configure your Amazon S3 integration with Transkriptor for automatic cloud sync.

You're Connected!

Your integration is now live. Configure your upload preferences below to control what gets saved to your bucket.

A screenshot of the Transkriptor integration page, highlighting Amazon S3 integration.
Seamlessly integrate Transkriptor with your favorite tools, including Amazon S3.

See Your Files in Amazon S3

That's it — every transcribed meeting or transcription will now be uploaded to your S3 bucket inside a dedicated Transkriptor folder, automatically organized into Transcripts, Summaries, and Media subfolders.

A screenshot of the Amazon S3 console showing a bucket named "your-bucket" with a folder named "Transkriptor/" inside it.
Screenshot of an Amazon S3 bucket containing the Transkriptor folder.
Screenshot of the Amazon S3 console showing the Transkriptor bucket with Media, Summaries, and Transcripts folders.
The Amazon S3 console displays Transkriptor folders for media, summaries, and transcripts.


Configure the Amazon S3 Integration

When a transcription or meeting is completed, the related files are automatically uploaded to your Amazon S3 bucket under an organized folder structure: Transkriptor/Transcripts, Transkriptor/Summaries, and Transkriptor/Media. You can customize what gets uploaded through the settings below.

Save Transcript

Enabled by default. When turned on, the full transcript is exported as a .txt file and uploaded to the Transcripts folder in your S3 bucket. This gives you a clean, plain-text version of every transcription — ready for archiving, search, or downstream processing.

Save Summary

Enabled by default. When turned on, the AI-generated summary is saved as a .txt file and uploaded to the Summaries folder in your S3 bucket. Perfect for quickly scanning meeting outcomes without opening the full transcript.

Save Media

Disabled by default. When turned on, the original audio or video recording is downloaded and uploaded to the Media folder in your S3 bucket. For meetings, this can be an MP4 video or MP3 audio file. For regular transcriptions, the MP3 audio file is uploaded.

Frequently Asked Questions

Once connected, Transkriptor automatically uploads your transcripts, summaries, and media files to your S3 bucket whenever a transcription or meeting is completed. Files are organized into a Transkriptor folder with dedicated subfolders for each file type.

Transkriptor requires your AWS Access Key and Secret Access Key to authorize access. You'll also need to select the bucket and region where files will be stored. Your credentials are used only to upload files and are stored securely.

Transkriptor supports the following regions: US East (N. Virginia, Ohio), US West (N. California, Oregon), Europe (Ireland, London, Frankfurt), and Asia Pacific (Tokyo, Singapore, Sydney). Choose the region that matches where your S3 bucket is hosted.

All files are saved inside a top-level Transkriptor folder, with three subfolders: Transcripts (.txt files), Summaries (.txt files), and Media (audio/video recordings). This structure keeps your bucket clean and your files easy to find.

Yes. Each option — Save Transcript, Save Summary, and Save Media — can be toggled on or off independently in your integration settings. Only the file types you enable will be uploaded.

Transcripts and summaries are uploaded as .txt files. Media files are uploaded in their original format — MP4 for meeting videos or MP3 for audio recordings and standard transcriptions.

Yes. Files are uploaded directly to the S3 bucket in your AWS account, meaning you retain full ownership and control over storage, access policies, and compliance settings.

Back Up Every Transcript to Your Own S3 Bucket