
DaVinci Resolve is a powerful video editing tool renowned for its advanced capabilities and innovative features. Whether you're an experienced editor or just starting, adding text to your videos can significantly enhance your content.
This guide offers a comprehensive, step-by-step approach to incorporating text in DaVinci Resolve, ensuring you can customize your visuals to align with your creative vision and audience needs. You’ll explore how to add text to video in DaVinci Resolve using tools like Transkriptor to simplify generating captions and text overlays.
Whether you’re crafting a corporate video, a cinematic masterpiece, or a social media clip, this combination of tools will empower you to create polished, engaging content with ease.
Why Add Text to Videos with DaVinci Resolve?
Here are some reasons why add text to videos with DaVinci Resolve:
Create Professional Titles
Use DaVinci Resolve’s title effects for videos to introduce segments, episodes, or topics in a polished way. Titles are the first impressions for your reader. Create professional and attractive titles for your content. Customization options, including fonts, colors, and animations, make it easy to tailor titles to suit your creative vision and project needs.
Enhance Accessibility
Add captions or subtitles to make your videos inclusive for audiences with hearing impairments. People with hearing impairments cannot access your video content, thus they need the written versions of the content.
Boost Viewer Engagement
Use dynamic text effects to emphasize key points and capture the audience's attention. Dynamic text effects can help capture and hold attention by emphasizing critical points, highlighting key statistics, or visually punctuating important dialogue. DaVinci Resolve’s motion graphics features allow you to create animated text that makes your videos more interactive and memorable.
Personalize Branding
Consistent typography and motion graphics reflect your brand’s identity. DaVinci Resolve incorporates consistent fonts, colors, and animations that reflect your brand’s identity. With DaVinci Resolve, you can design and save templates, ensuring your brand’s visual language is consistent across all your video projects.
Generate Text for Video Projects with Transkriptor
Before adding text to your video, you’ll need well-structured content. Transkriptor helps generate accurate and formatted text effortlessly. Here is a step-by-step guide to generating text for your video projects with Transkriptor:
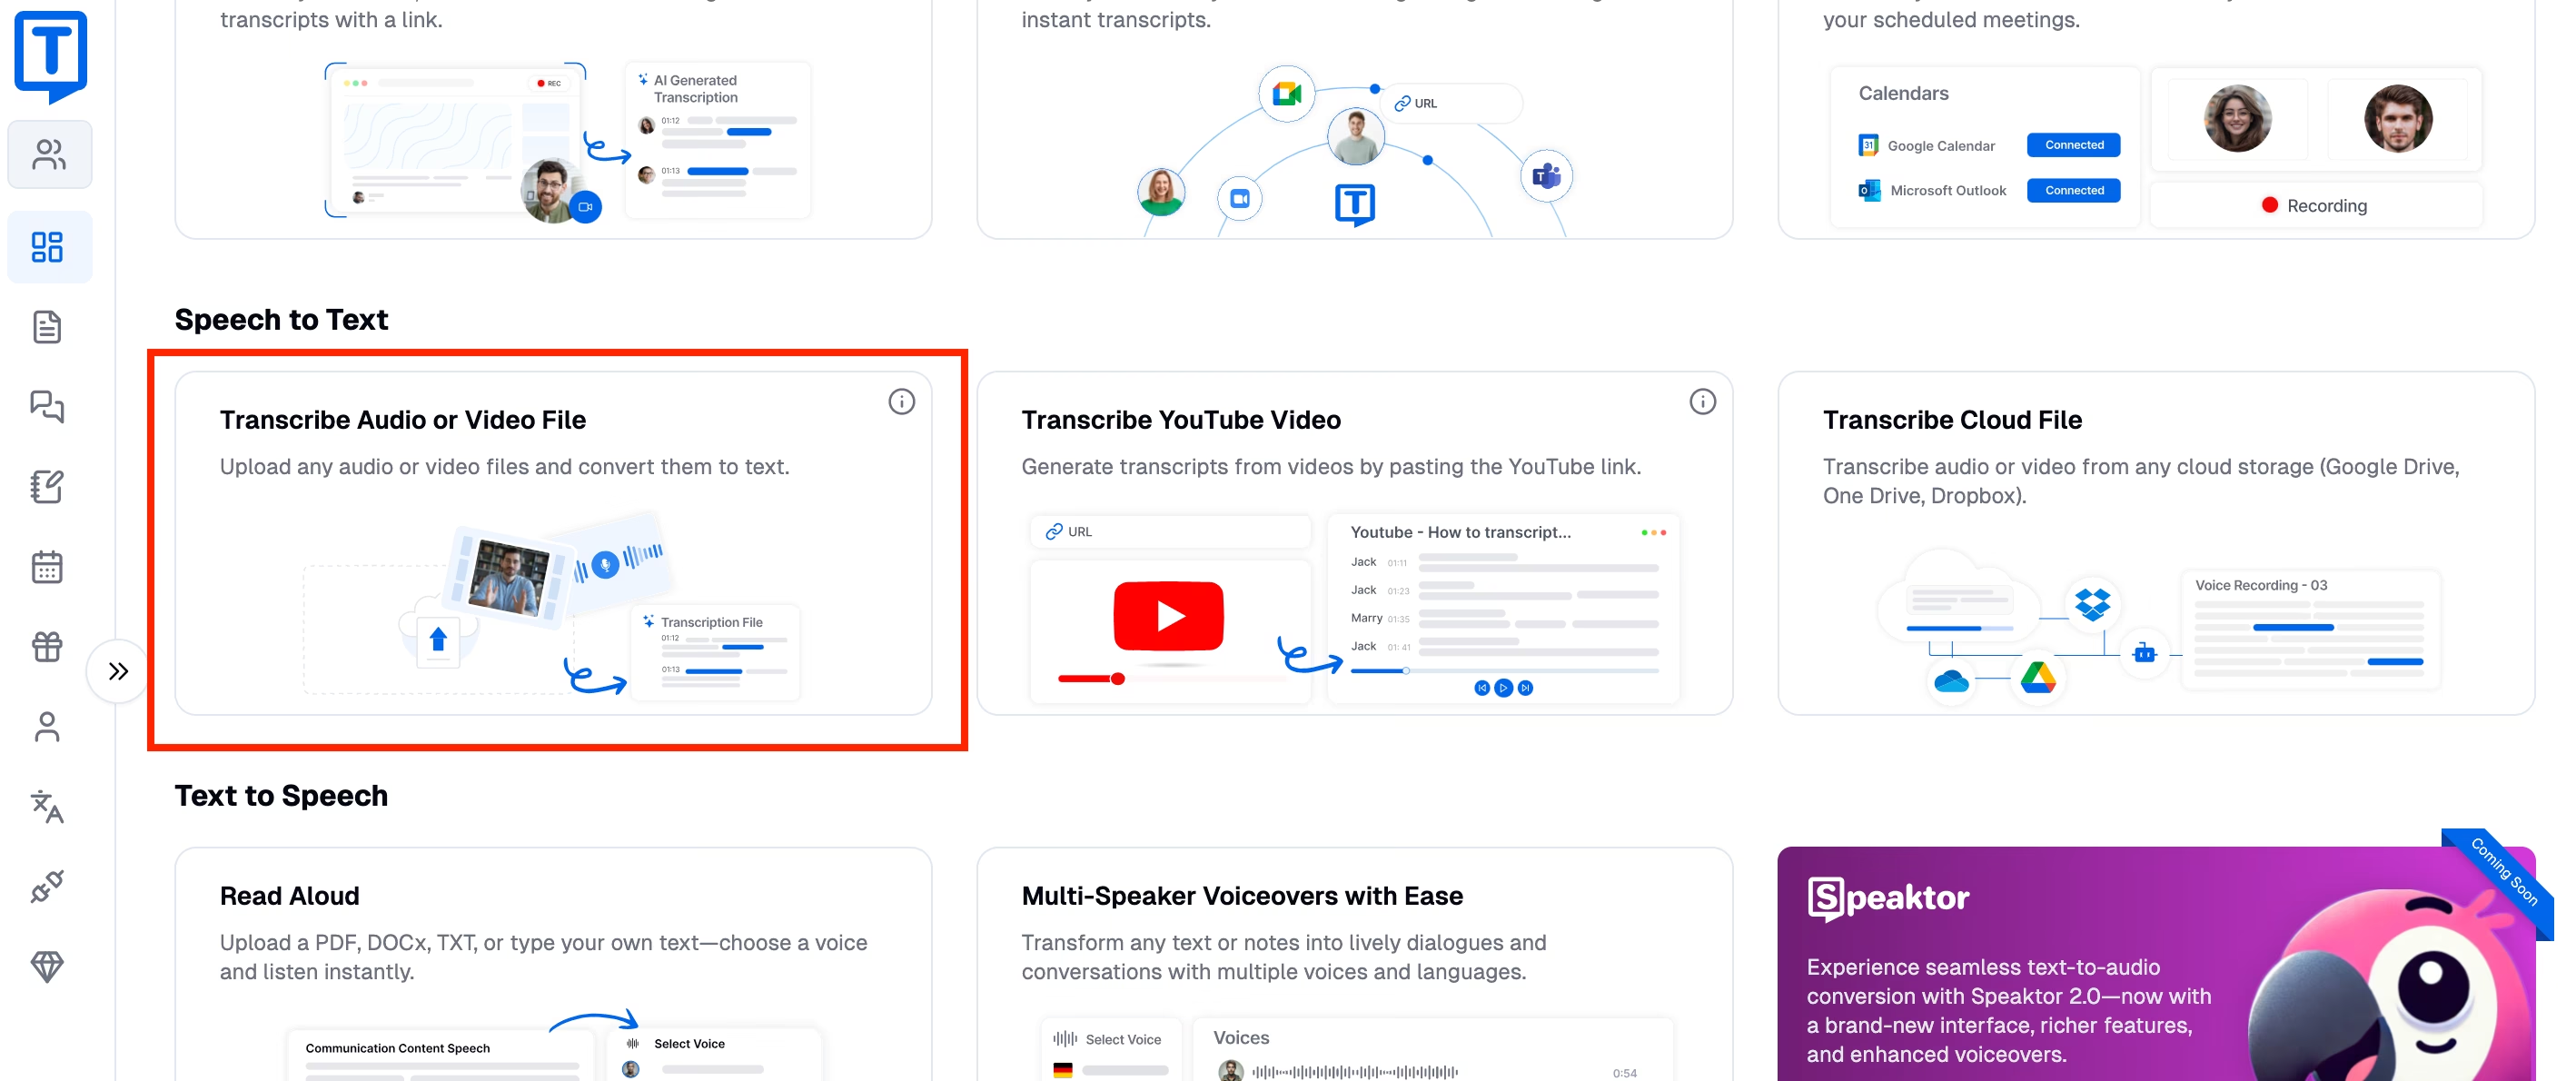
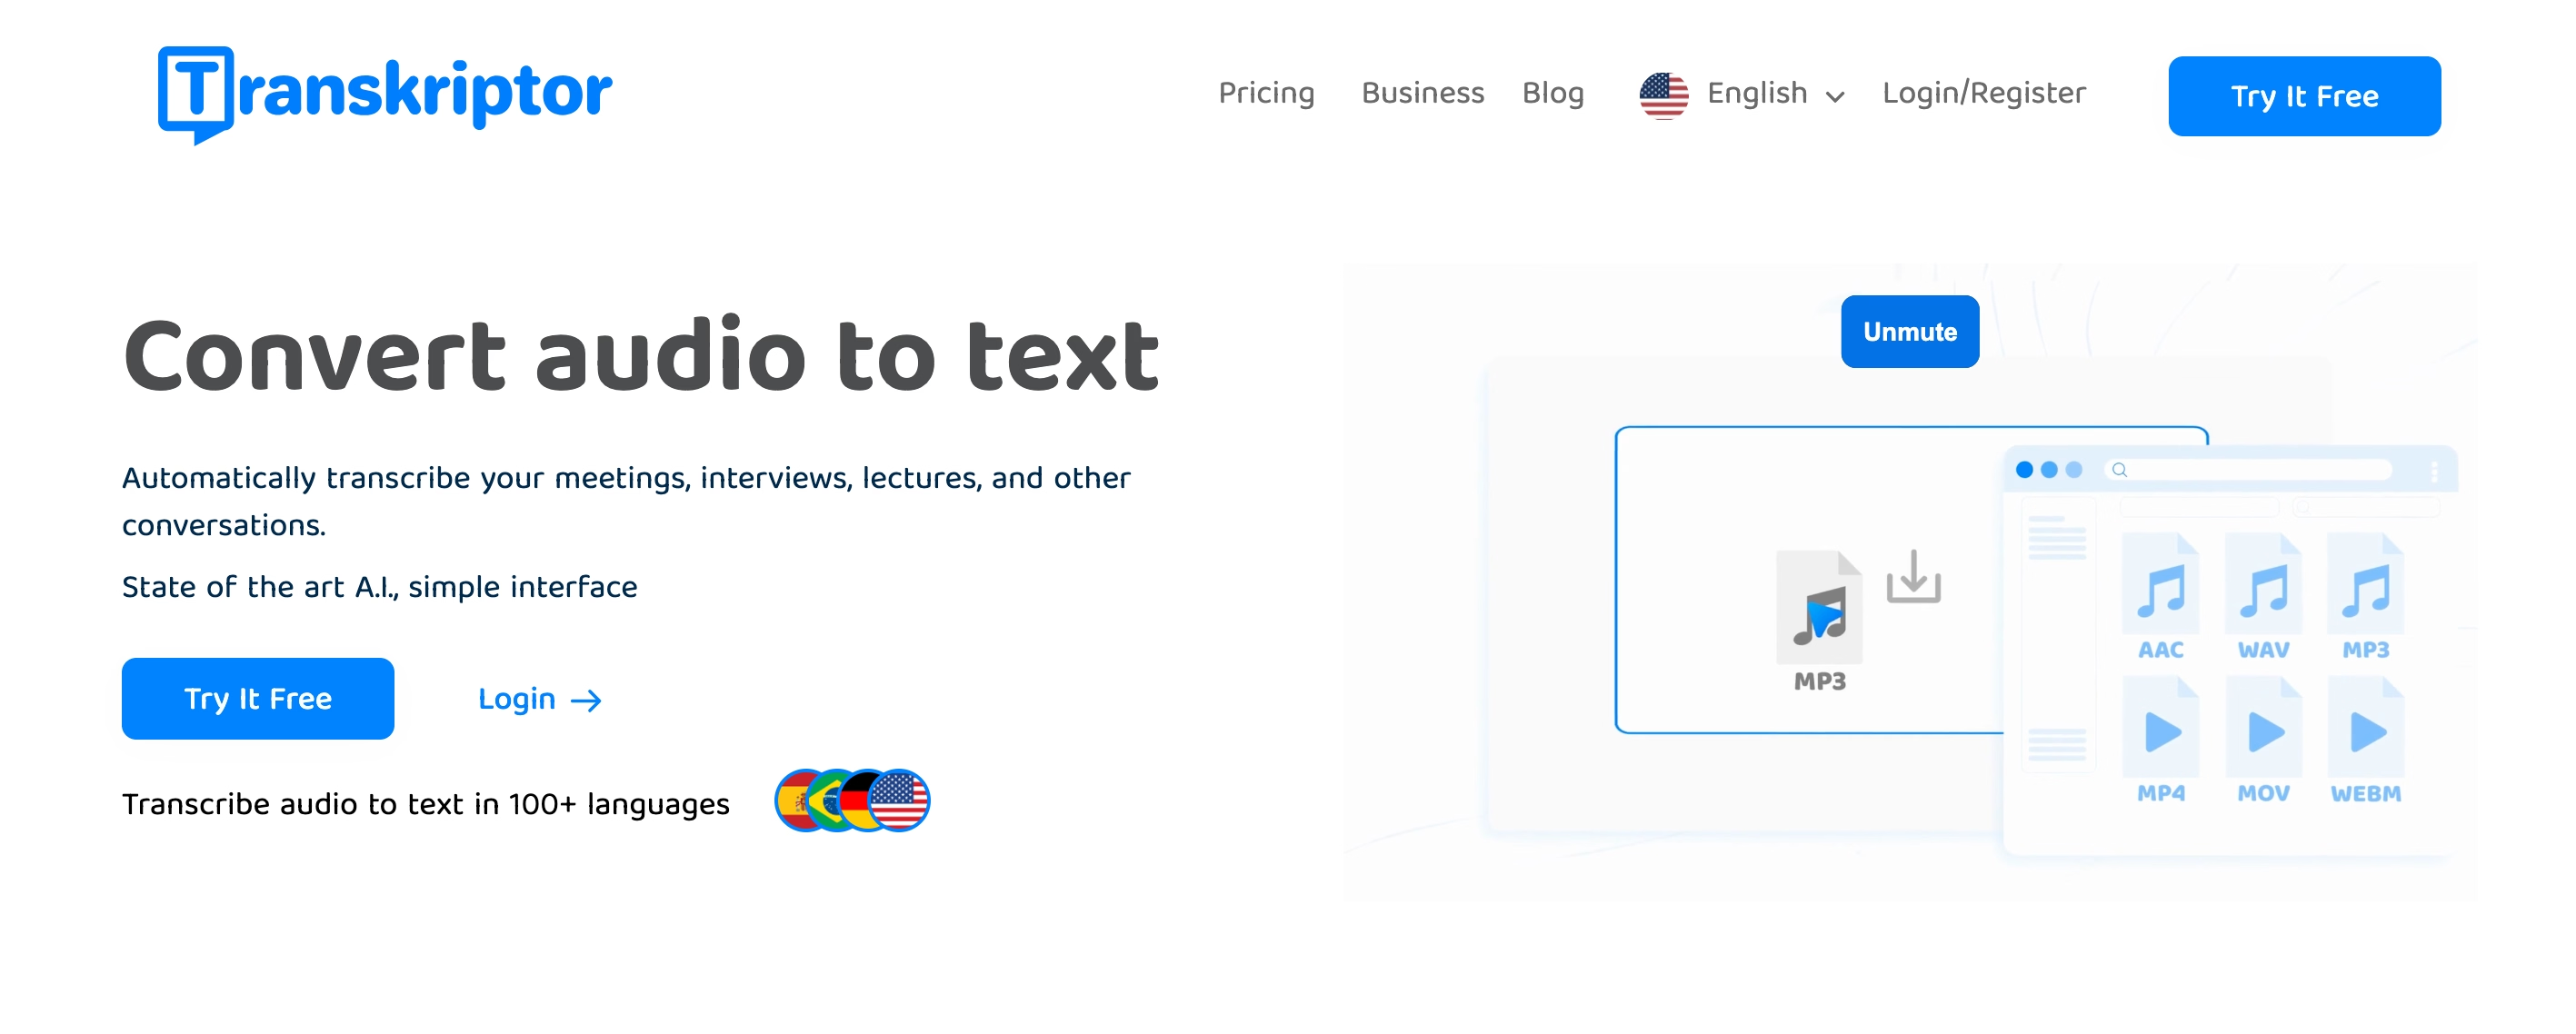
Step 1: Upload Your Video or Audio File
Use Transkriptor to upload your file in MP4, WAV, or MP3 format. Transkriptor supports many file formats so that you can upload any kind of content without converting the format. Go to Transkriptor’s website or app and log in or create a new account. Go to the dashboard to upload your video or audio file.
Step 2: Generate and Review the Transcript
Let Transkriptor’s AI transcribe the dialogue or narration. It will take a few minutes to transcribe your content. After the transcription, make sure that you proofread it to avoid any minor mistakes. Edit the text as needed using the built-in editor.
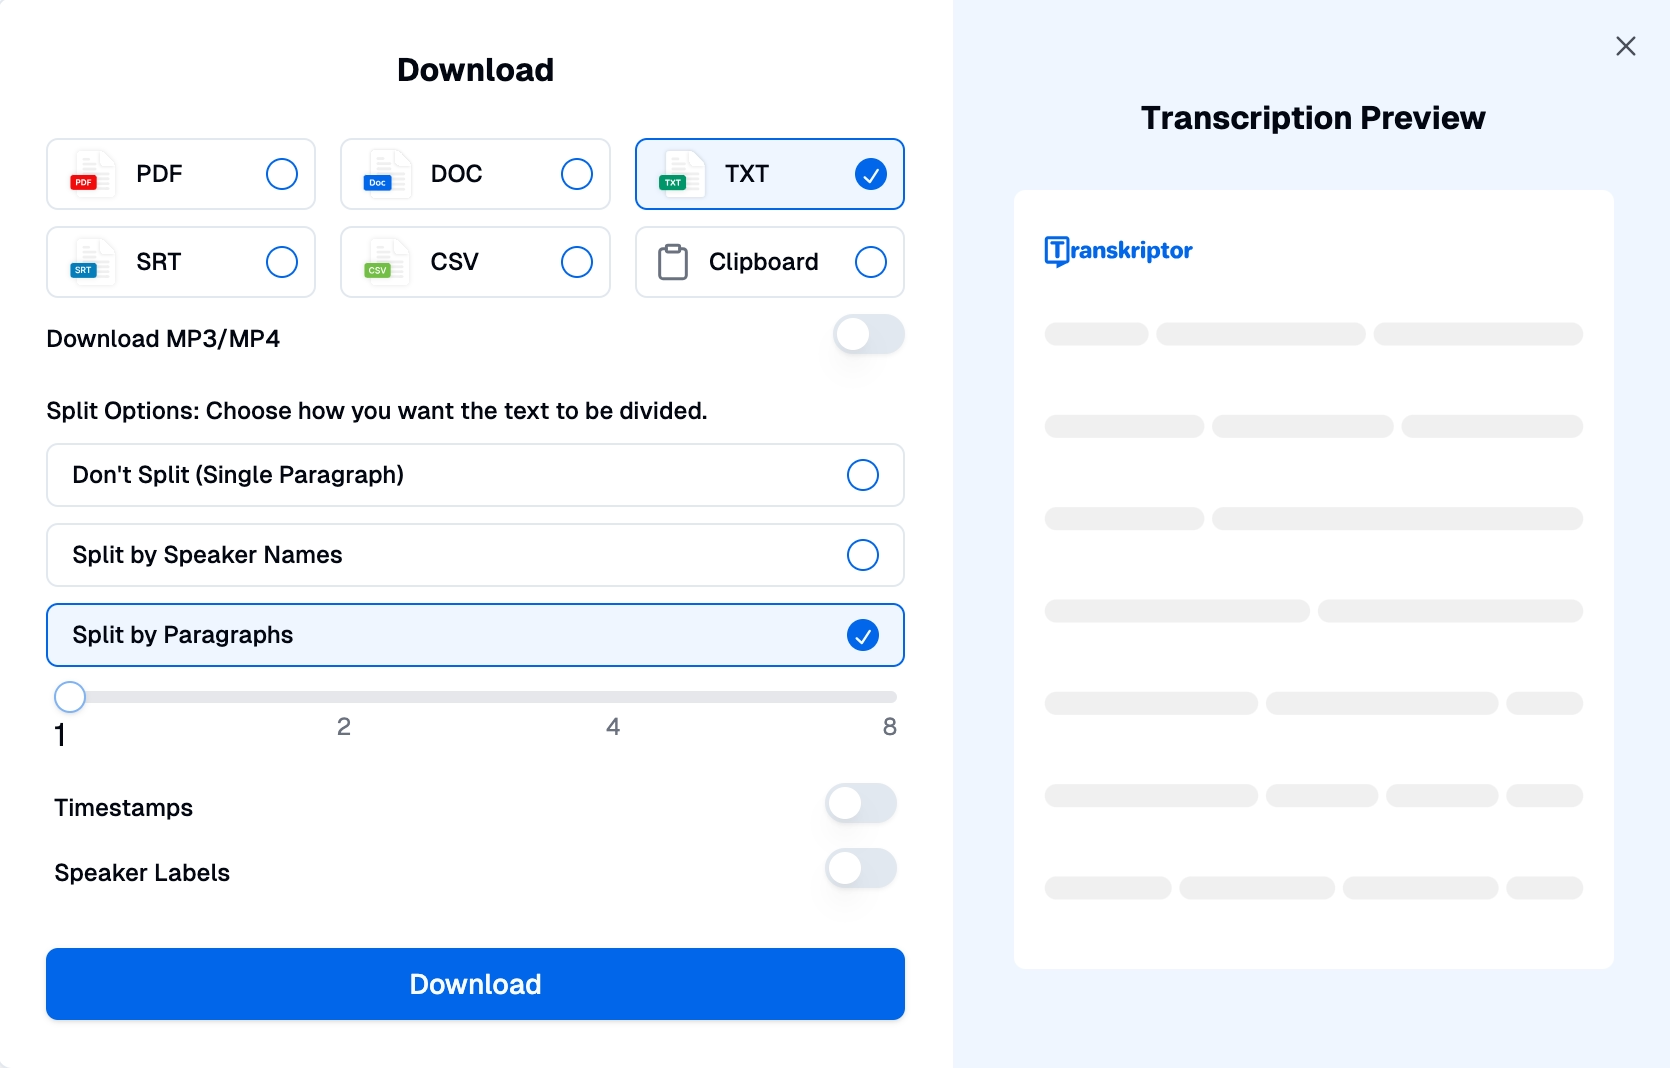
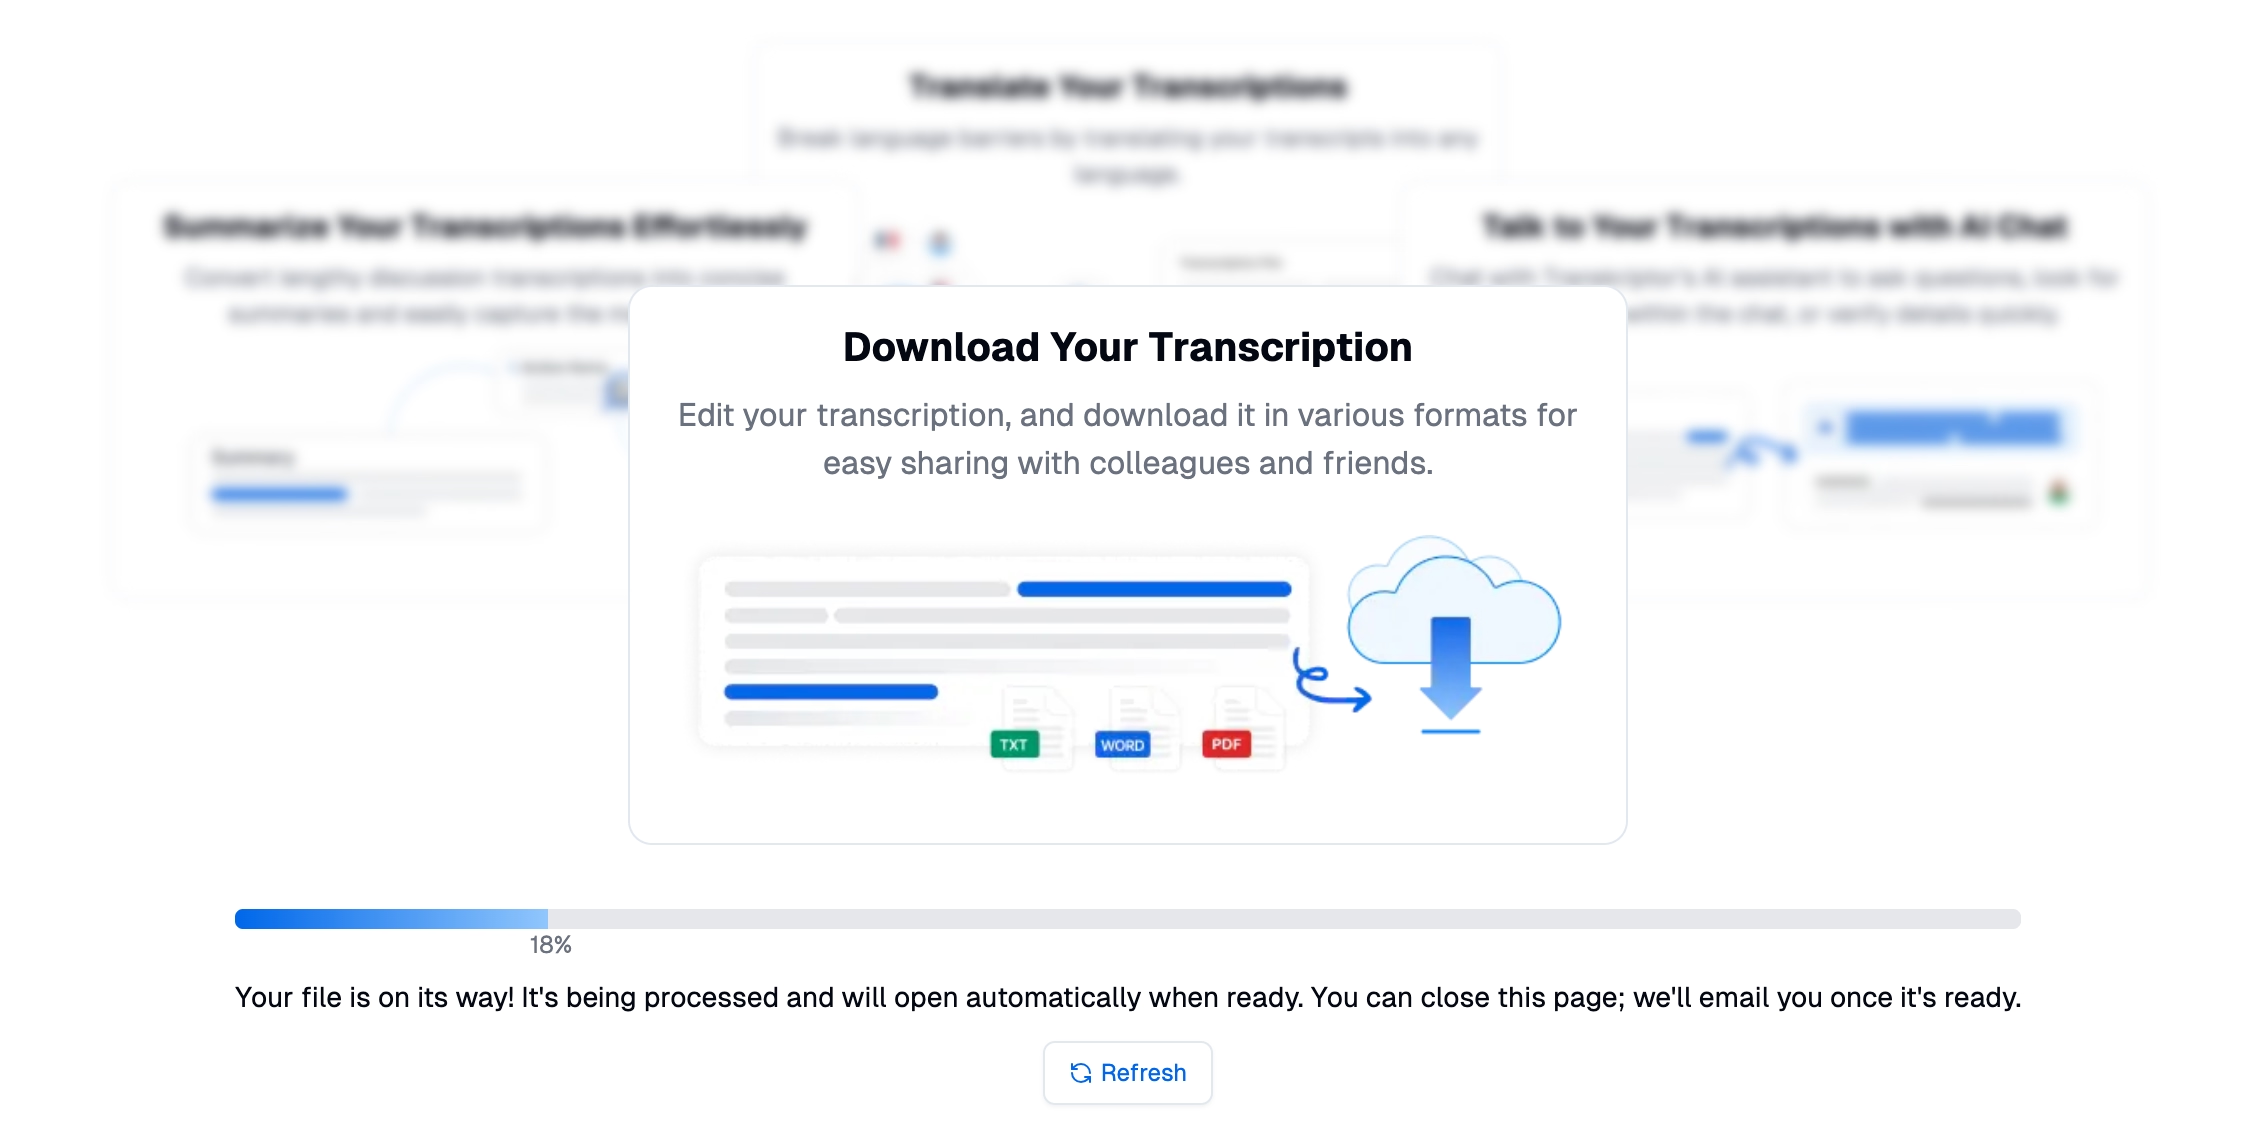
Step 3: Export the Text
Transkriptor offers many different file formats for export. After your review process ends, save the text as a DOCX, TXT, or SRT file. These file formats will provide easy integration into DaVinci Resolve.
Step 4: Plan Text Placement
Organize the text into captions, titles, or overlays based on your video’s flow. Transkriptor provides timestamps so that you know who speaks when exactly. It makes the organizing text process much easier for you.
Step-by-Step Guide to Adding Text in DaVinci Resolve
Here is a step-by-step DaVinci Resolve video editing guide:
Step 1: Open Your Project in DaVinci Resolve
Launch DaVinci Resolve on your computer. Open the video project you want to work on by loading it into the timeline. If you’re starting a new project, import your video files through the Media Pool and drag them into the timeline to set the foundation for your edits.
Step 2: Navigate to the Titles Section
Go to the Edit Page by clicking its tab at the bottom of the screen. Open the Effects Library from the top-left panel. Navigate to the Titles category, where you’ll find various text options.
The “Text” option is simple for basic titles or captions. The “Text+” option offers more customization and animation options. “Fusion Titles” are advanced, pre-designed text animations that can be further customized in the Fusion workspace.
Step 3: Drag and Drop a Title into the Timeline
Browse the Titles section, select a style that suits your project, and drag it directly into your timeline. Place it above the video track at the point where you want the text to appear. You can adjust its duration by dragging its edges in the timeline.
Step 4: Customize Your Text
Double-click the title in the timeline to open the Inspector Panel. You can adjust the font and size. Choose a font that matches your brand or theme. To customize text appearance to suit your video’s aesthetic, change color and opacity. Use X and Y positioning to place the text accurately.
Step 5: Add Text Animations
For dynamic effects, switch to using Text+ or Fusion Titles. Open the Fusion Page to access advanced controls for animations. Here, you can create fades, scaling effects, or custom motion paths.
Use the timeline keyframes in Fusion to control the timing and smoothness of animations. For example, you can animate your text to slide in from the side or fade out gradually.
Step 6: Add Backgrounds or Effects
Enhance your text by adding visual elements that improve readability or aesthetics. Use the Inspector Panel to apply shadows or glowing edges to make your text pop. Create a solid or gradient rectangle behind your text for better contrast. This is particularly helpful when your video background is complex or busy.
Step 7: Preview and Adjust
Play your video in the Preview Panel to check how the text integrates with your visuals. Ensure the timing, positioning, and style are cohesive. Make adjustments as needed, such as refining animations or tweaking colors for better visibility.
Step 8: Render and Export
When satisfied with your text and video edits, head to the Deliver Page for rendering. Choose the appropriate export settings based on your platform such as YouTube, social media, or broadcast. Click Add to Render Queue and then Start Render to finalize your project.
Tips for Effective Text Overlays in DaVinci Resolve
Here are some tips to add text overlays in DaVinci Resolve:
Use Consistent Typography
Maintain a uniform typography across all titles and captions for a professional look. This creates a unified aesthetic and helps reinforce your branding. Choose fonts that align with the tone of your video such as modern sans-serif fonts for sleek corporate videos, or elegant serif fonts for more formal content. Avoid overusing decorative or script fonts, as they are harder to read.
Experiment with Motion Graphics
Explore the Fusion Page to add creative text animation in DaVinci Resolve. Motion graphics add movement and attraction to your content. However, make sure that you don’t overuse them as it can be overwhelming for the audience.
Leverage Text Templates
Use DaVinci Resolve’s pre-built templates to save time while achieving polished results. These templates are designed by professionals and include a variety of styles, from minimalist to cinematic. Drag and drop a template into your timeline, then customize it with your text, fonts, and colors.
Ensure Readability
Ensure your text color contrasts well with your video background to optimize readability. For example, white text on dark footage or dark text on light footage. Opt for clean, legible fonts that are easy to read at a glance.
Avoid overly stylized fonts that might be difficult to decipher. Include a semi-transparent background, shadow, or glow effect to help text stand out against complex or busy video backgrounds.
Add Subtitles for Accessibility
Subtitles are essential for ensuring your videos’ accessibility to a broader audience, including viewers with hearing impairments. You can use advanced tools like Transkriptor to generate subtitles automatically and export them as SRT files.
DaVinci Resolve allows you to import these files into your timeline, ensuring accurate synchronization with your video. Subtitles also improve engagement by allowing viewers to follow along even when watching without sound.
Benefits of Using Transkriptor and DaVinci Resolve Together
DaVinci Resolve is a great tool for video editing, and you can optimize its benefits by using it with Transkriptor. Transkriptor is an advanced tool that converts audio or video into text with high accuracy. You can use these transcriptions to import into your videos as subtitles or captions.
Here is a closer look at the benefits of using Transkriptor and DaVinci Resolve together:
Streamlined Workflow
Integrating Transkriptor with DaVinci Resolve simplifies your video editing process. Transkriptor’s AI-powered tools quickly generate text-based content such as captions, subtitles, or transcripts, which can then be seamlessly imported into DaVinci Resolve.
This streamlined workflow eliminates the need for manual text entry. It allows you to focus on the creative aspects of your project. Whether you’re working on a documentary, tutorial, or corporate video, the combined efficiency of these tools saves valuable time.
Enhance Accuracy and Efficiency
Transkriptor uses advanced AI to deliver highly accurate transcriptions of spoken content. This reduces the need for extensive manual corrections, helping you maintain efficiency throughout your editing process.
Once the transcription is ready, export it as an SRT file or plain text and incorporate it into DaVinci Resolve to add captions or text overlays. By automating tedious tasks, you can allocate more time to perfecting the visual and storytelling elements of your video.
Improve Accessibility
Adding captions and subtitles is essential for creating inclusive video content. With Transkriptor, you can produce precise subtitles that cater to audiences with hearing impairments or those watching without sound.
Import these subtitles into DaVinci Resolve to sync them perfectly with your video. Accessible videos not only reach a wider audience but also enhance viewer engagement by providing clear, readable text that supports your message.
Achieve Professional Results
By combining Transkriptor’s transcription accuracy with DaVinci Resolve’s advanced editing tools, you can produce videos with professional-quality captions and text overlays. Customize your text in DaVinci Resolve with polished fonts, colors, and animations to align with your brand or project theme. Your final video will communicate effectively and also look visually stunning and cohesive.
Conclusion
Adding text to your videos in DaVinci Resolve is a key component for enhancing accessibility, boosting viewer engagement, and delivering a professional look. With the wide range of text tools and customization options, you can create titles, captions, and overlays that align with your brand identity. Thus, you can enhance videos with text in DaVinci Resolve.
Pairing DaVinci Resolve with tools like Transkriptor takes your workflow to the next level by simplifying text creation and ensuring accuracy. Transkriptor’s automated transcription services save time and effort, allowing you to focus on perfecting the visual elements of your project. Whether it’s crafting eye-catching animations or ensuring accessibility with precise subtitles, this combination enhances videos with creative text.