
How to Add Text to Video with Final Cut Pro?
Transcribe, Translate & Summarize in Seconds
To reach more people, adding text to your videos is necessary. Whether you’re a filmmaker, video editor, marketer, or content creator, text overlays are a critical tool for enhancing videos with text effects and more. From boosting viewer engagement to improving accessibility, well-placed text can transform a good video into a great one.
Final Cut Pro, one of the industry’s most versatile editing tools, provides everything you need to create visually stunning text effects, motion graphics, and subtitles. However, when efficiently managing subtitles, tools like Transkriptor can take your workflow to the next level. By automating the transcription process, Transkriptor saves you time, ensures accuracy, and integrates subtitles into Final Cut Pro.
This Final Cut Pro video customization guide will take you through every step of adding text to your videos in Final Cut Pro, from creating subtitles with Transkriptor to customizing text for maximum impact.
Why Use Text in Your Videos?
Here are the reasons why you should use text in your videos:
Improve Viewer Engagement: Text overlays convey critical information and hold your audience’s attention.
Enhance Accessibility: Subtitles and captions make your videos inclusive for non-native speakers and the hearing impaired.
Add Professionalism: Custom text effects and animations give your videos a polished, high-quality finish.
Support Branding: Integrate logos, branded fonts, and consistent styles to reinforce brand identity.
Improve Viewer Engagement
Text overlays convey critical information, highlight key points, or emphasize dialogue. Whether it’s a title screen, a call-to-action, or critical scene annotations, text helps to grab and hold your audience’s attention. For example, lower thirds in interviews or pop-up facts in documentaries can create a dynamic viewing experience that keeps audiences engaged.
Enhance Accessibility
Subtitles and captions make your videos inclusive, catering to non-native speakers, the hearing impaired, or anyone watching without sound. Accessibility is essential in today’s globalized and diverse content landscape.
Add Professionalism
Well-designed text effects, title effects for video editing, and animated typography instantly elevate the production value of a video. Whether you’re crafting a corporate presentation or a creative short film, polished text elements can give your project a high-quality finish.
Support Branding
Consistent use of logos, branded fonts, and color schemes reinforces brand identity in marketing videos. Text overlays are the perfect place to integrate these elements subtly while maintaining audience focus on your main content.

How to Add Text to Video with Final Cut Pro
Here below is a step-by-step guide on how to add text to a video with Final Cut Pro:
Step 1: Generate Subtitles with Transkriptor (Optional)
Step 2: Open Your Project in Final Cut Pro
Step 3: Access the Titles and Generators Sidebar
Step 4: Add Text or Titles to the Timeline
Step 5: Customize the Text
Step 6: Integrate Subtitles (Optional)
Step 7: Review and Export
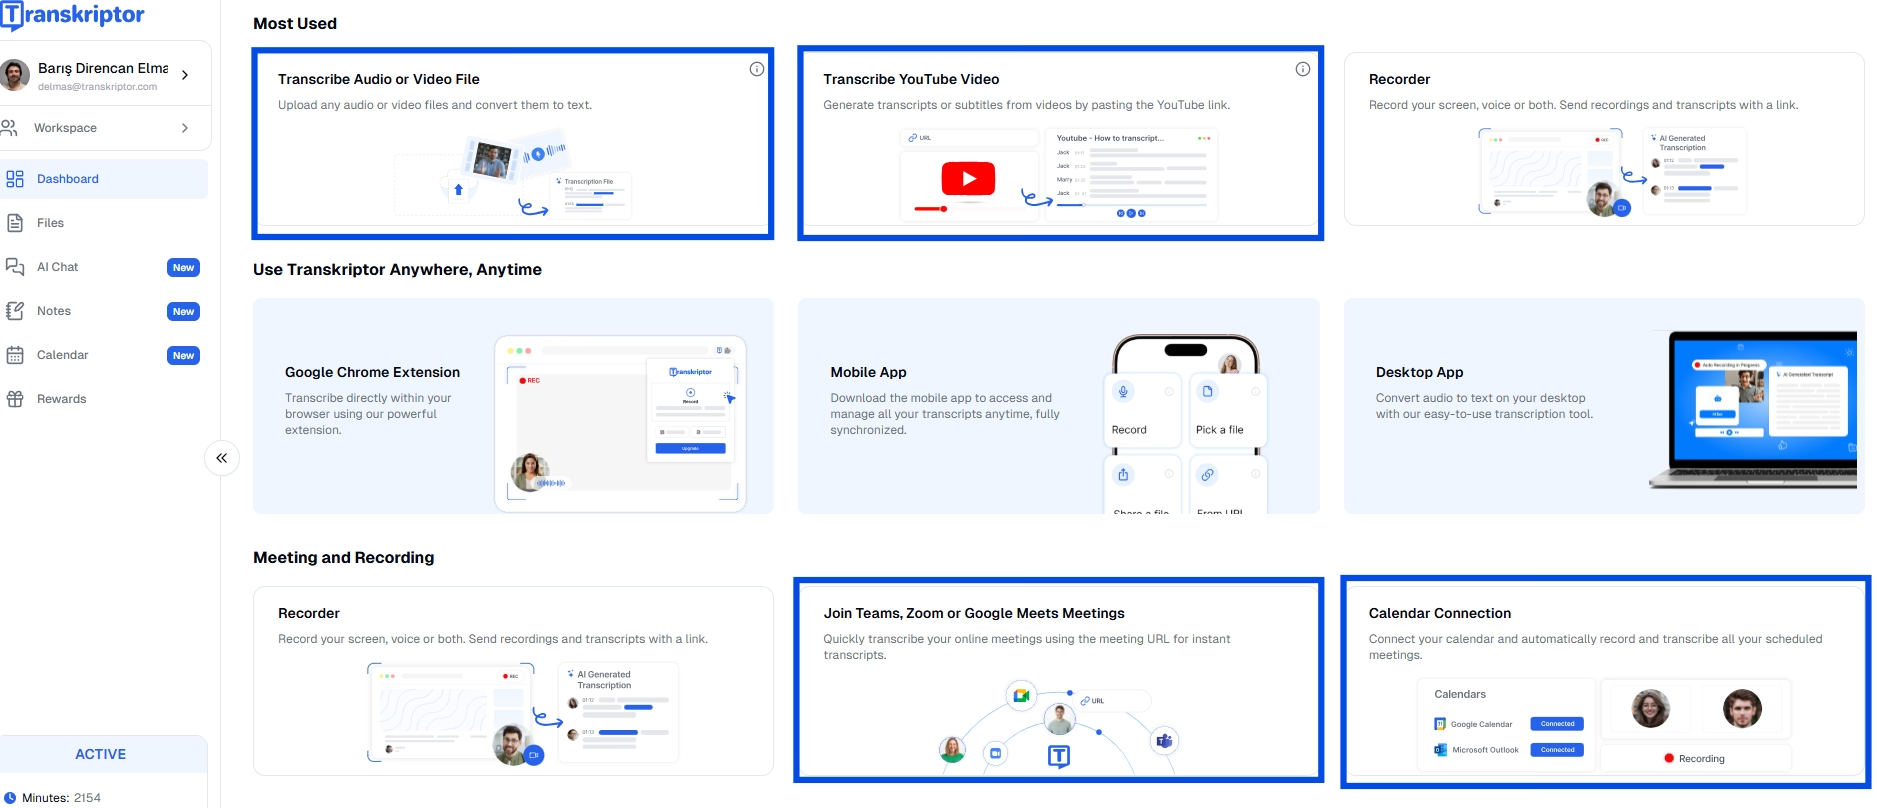
Step 1: Generate Subtitles with Transkriptor (Optional)
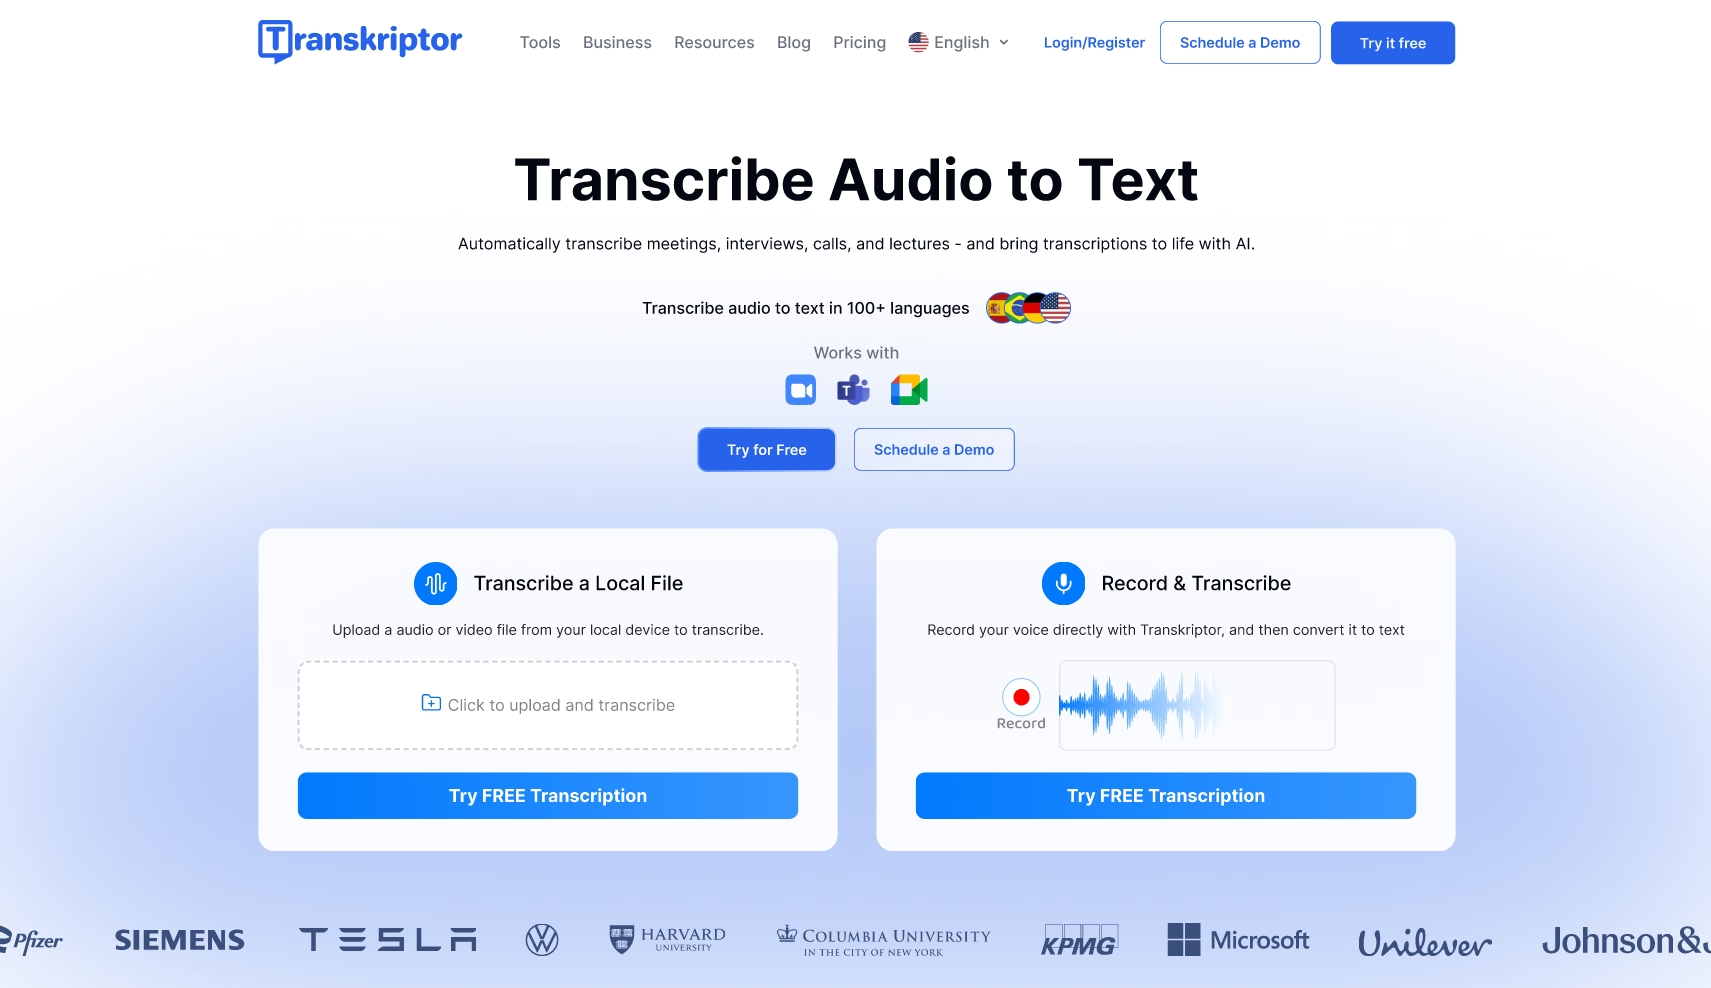
If your project involves subtitles, use Transkriptor to automate the transcription process. This tool simplifies subtitle creation by converting speech to text efficiently.
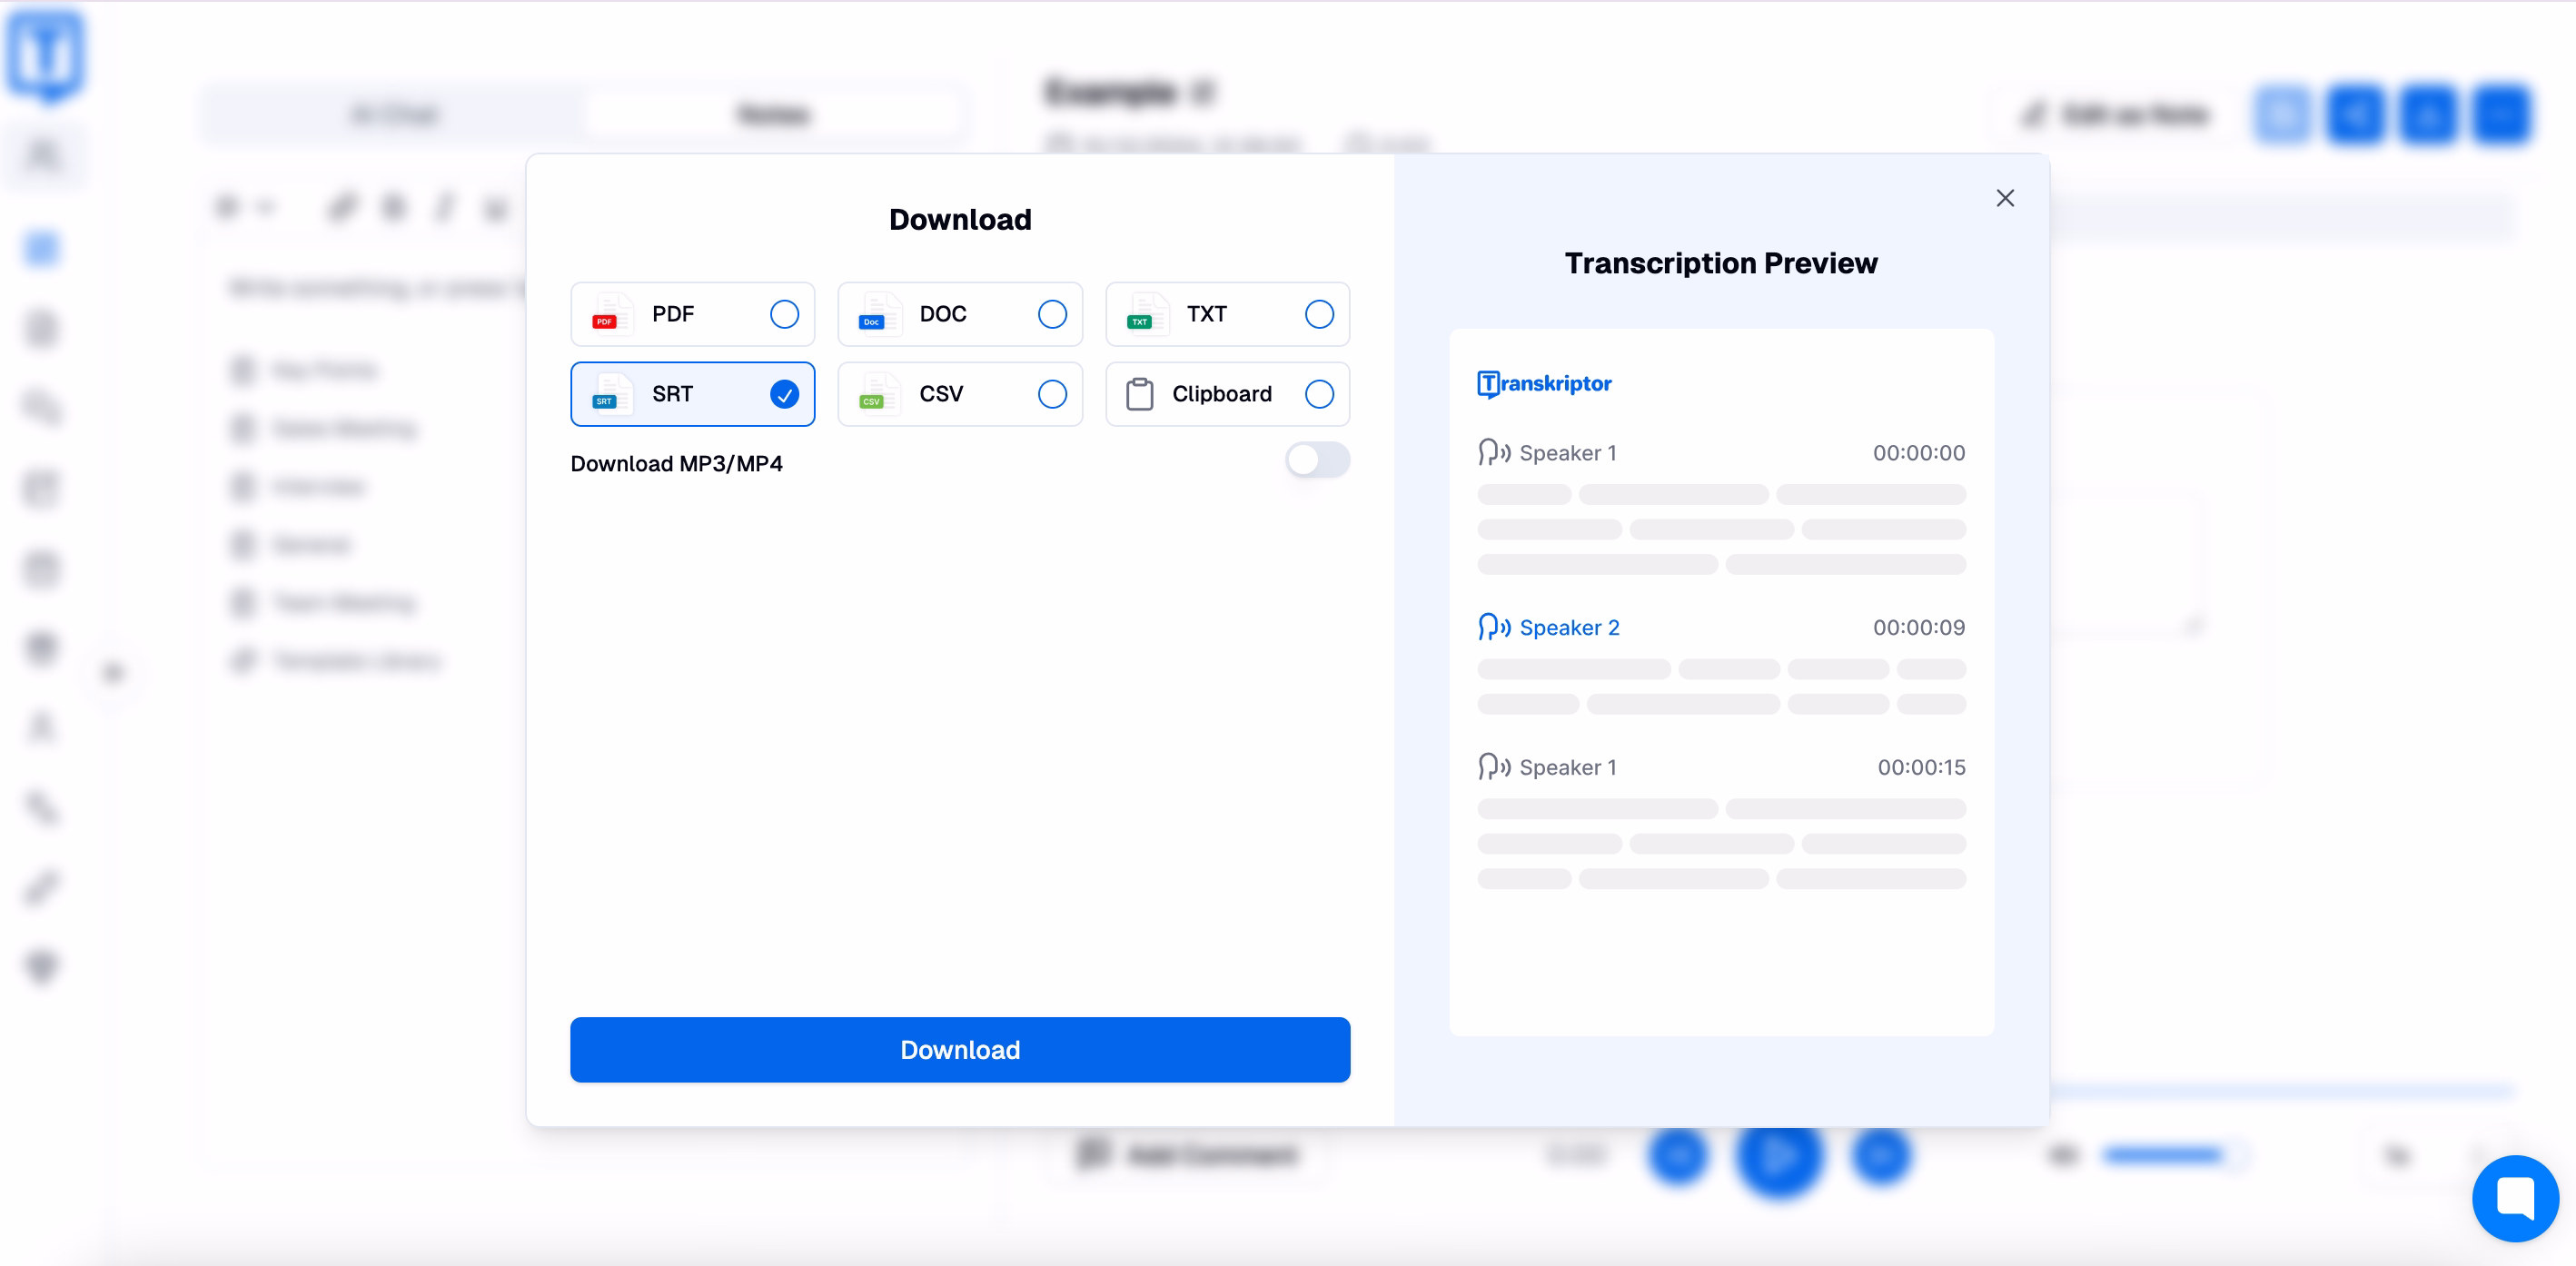
Upload your video file to Transkriptor. Edit the generated transcript for accuracy. Export the subtitles as an SRT or plain text file, compatible with Final Cut Pro.
Why use Transkriptor?
Transkriptor provides highly accurate transcriptions within seconds, saving time. Its advanced technology ensures accuracy even with long and complex audio and video files. Transkriptor also supports multiple languages, making it ideal for creators managing large or multilingual projects. It provides a wide variety of export options, which makes it suitable for everyone’s use.
Step 2: Open Your Project in Final Cut Pro
Begin by loading your video clips into the Final Cut Pro timeline. Ensure your project is well-organized by renaming video clips and arranging them sequentially. A tidy timeline makes it easier to add and adjust text elements.
Step 3: Access the Titles and Generators Sidebar
The Titles and Generators sidebar in Final Cut Pro offers a wide range of text styles and templates. Open this panel by clicking the "T" icon or navigating to Window > Titles and Generators.
Here, you can browse basic text templates for simple overlays, animated titles for dynamic effects, and lower-thirds for professional labeling of speakers or locations.
Step 4: Add Text or Titles to the Timeline
Drag and drop a desired text template from the Titles and Generators sidebar onto the timeline to add text. Position the template above the video clip where the text should appear. Adjust the text’s length on the timeline to control how long it stays on screen.
Step 5: Customize the Text
Personalize your text using the Inspector Panel. Here, you can edit content, adjust font and size, change colors, add shadows or outlines, and animate text. Replace the placeholder text with your message to edit the text.
Choose from a variety of fonts and set the appropriate size for visibility. Pick colors that contrast with your video’s background. Enhance legibility by applying text shadows or outlines. Use built-in motion effects like fade-ins, slide-ins, or zooms to add dynamic flair.
Step 6: Integrate Subtitles (Optional)
If you’ve generated subtitles with Transkriptor, import the SRT file into Final Cut Pro. Navigate to File > Import > Captions and select the SRT file. Final Cut Pro will automatically sync the subtitles with your video’s timeline. Adjust the positioning and styling of the subtitles to match your project’s aesthetic.
Step 7: Review and Export
Before finalizing your project, preview the video to ensure text overlays and subtitles are properly aligned and visually appealing. Make any necessary adjustments to timing, font size, or effects. Export the project in your desired format, ensuring all text elements are sharp and clear in the final video.
Tips for Effective Text Overlays in Final Cut Pro
Here are the text overlay tips in Final Cut Pro:
Use Contrasting Colors: Ensure the text is legible against the video background.
Keep It Concise: Use short phrases or sentences to avoid cluttering the screen.
Sync with Video Content: Time text overlays will appear during key moments for better impact.
Experiment with Motion Graphics: Use animations to add flair, but avoid overusing effects that can distract viewers.
Maintain Consistent Styling: For a cohesive look, use the same font, size, and color scheme throughout the video.
Use Contrasting Colors
Always ensure your text stands out against the video background. For example, light text works best on dark backgrounds, while dark text is ideal for bright scenes. Adding a semi-transparent background box behind your text can further enhance legibility.
Keep It Concise
Avoid cluttering the screen with long sentences. Stick to short, impactful phrases or keywords that complement the video’s visuals. Long sentences make it difficult to follow the text and the video simultaneously.
Sync with Video Content
Time your text overlays to align with key moments in the video. For instance, display a title screen as the video transitions to a new section or reveal key points during voiceovers.
Experiment with Motion Graphics
Final Cut Pro’s animation tools can make your text more engaging. Creating motion graphics in videos like fades or slides draws attention without overwhelming the viewer. Do not overuse the motion graphics so that your video stays in the foreground.
Maintain Consistent Styling
Choose a font, color scheme, and text size that aligns with your brand or video’s theme. Consistency ensures a professional and cohesive look throughout your project. Try not to use overly styled fonts and colors to look professional.
Why Use Transkriptor for Subtitle Generation?
Here are the reasons why you should use Transkriptor for subtitle generation:
Speed and Accuracy: Transkriptor automates transcription, saving time and reducing errors.
Easy Integration: Export subtitles in compatible formats in Final Cut Pro for direct use.
Multi-Language Support: Translate subtitles for multilingual projects.
Speed and Accuracy
Manual transcription can be time-consuming and prone to errors. Transkriptor automates the process, delivering accurate subtitles in minutes. This efficiency can be a game-changer for content creators and filmmakers working on tight deadlines. Instead of spending hours manually typing out dialogue or captions, Transkriptor allows you to focus on other creative aspects of your project.
Easy Integration
One of the standout features of Transkriptor is its seamless integration with tools like Final Cut Pro. It supports popular subtitle export formats such as SRT and plain text, ensuring you can easily import and sync subtitles with your video timeline. This compatibility eliminates technical hurdles and simplifies your post-production text editing in Final Cut, especially for beginners.
Multi-Language Support
Transkriptor’s ability to handle multiple languages is invaluable for multilingual projects or content with a global audience. You can easily translate the transcriptions you get from Transkriptor, making your videos accessible to a broader demographic. Whether you’re creating tutorials, promotional content, or films, this feature allows you to reach non-native speakers easily.
Conclusion
Adding text to your videos in Final Cut Pro is a creative opportunity to captivate your audience, improve accessibility, and elevate the overall quality of your content. With the help of Final Cut Pro’s intuitive features and external tools like Transkriptor, the process becomes even easier and more efficient.
Transkriptor’s automated transcription capabilities save you time and make your videos accessible to a broader, multilingual audience. Combining these tools ensures that your workflow is smooth and your final product is polished.
Open Final Cut Pro, explore the tools at your disposal, and use Transkriptor to simplify subtitle creation. With these resources at your fingertips, you’ll be able to produce videos that are accessible, engaging, and truly outstanding.