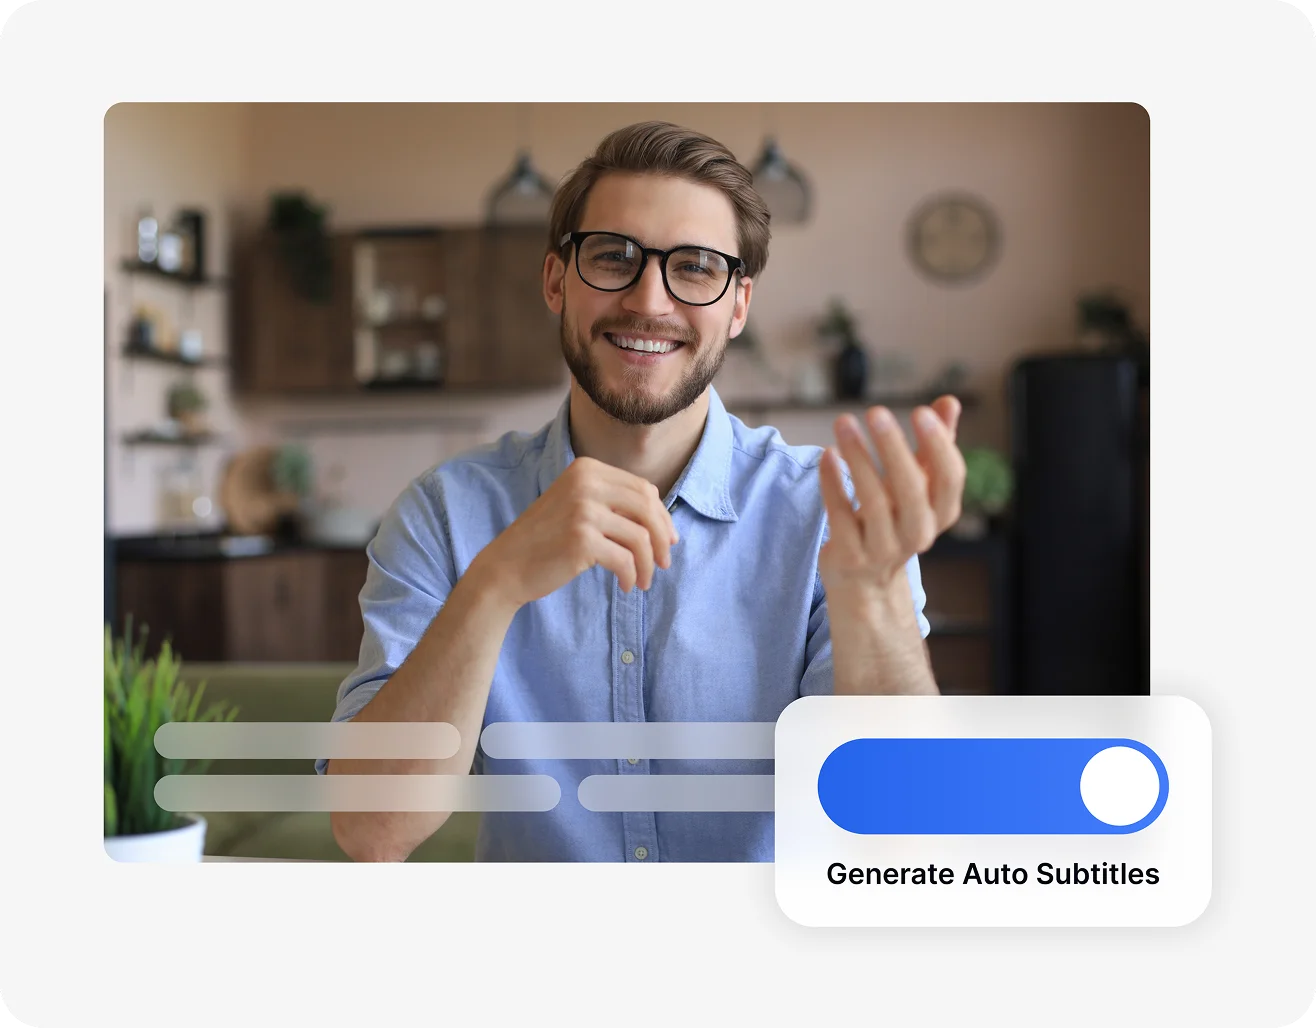
Subtitle Generator
Transkriptor's AI generates 99% accurate subtitles for videos in 100+ languages in seconds. Upload your video, select language, and download ready-to-use SRT files for YouTube, TikTok, or any platform.
Generate subtitles in 100+ languages
Generate Subtitles from a Local File
Click to upload and get subtitle
Generate Subtitles from a YouTube Video
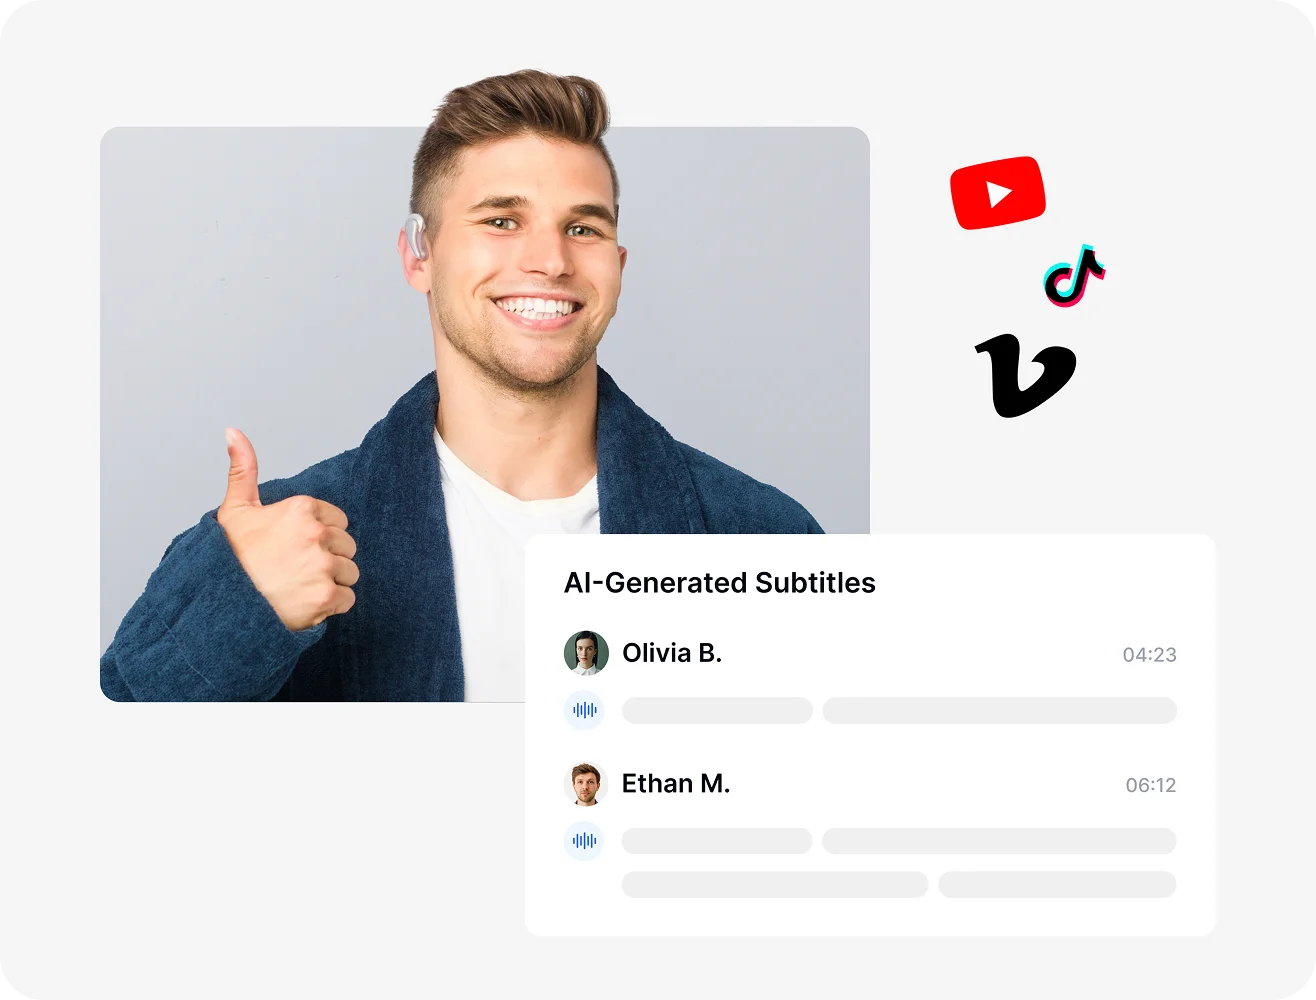
Create Accessible Content with AI-Generated Subtitles
Subtitles address a variety of needs, including hearing impairments, language differences, and cognitive diversity. According to the World Health Organization, over 430 million people worldwide live with disabling hearing loss. For individuals who are deaf or hard of hearing, subtitles offer visual access to spoken content.
They also support non-native speakers by pairing video with clear, readable text. Subtitles can improve comprehension and information retention for neurodiverse viewers as well. For example, platforms like YouTube prioritize accessible content in their algorithms, meaning subtitled videos often reach wider audiences and perform better in search results.
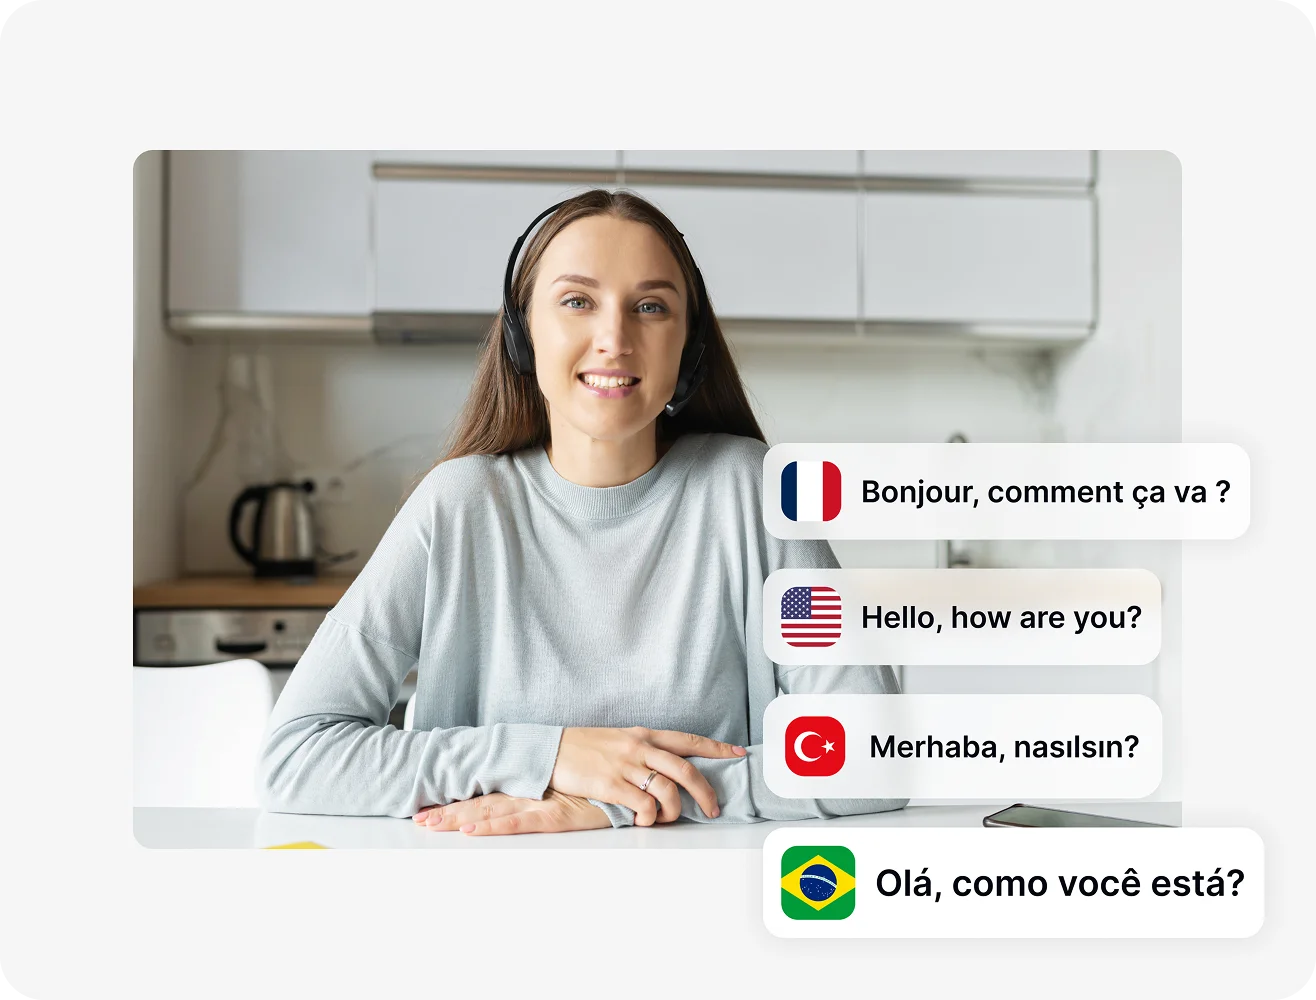
Translate Subtitles into 100+ Languages
You can make your subtitles accessible to a global audience in seconds. After generating your subtitles, you can translate them into over 100 languages using our built-in video translator.
There's no need to switch tools or copy-paste into external translators. Just select your language and download the translated subtitle file. This is ideal for repurposing content for international viewers, building multilingual training materials, or increasing accessibility in different regions.
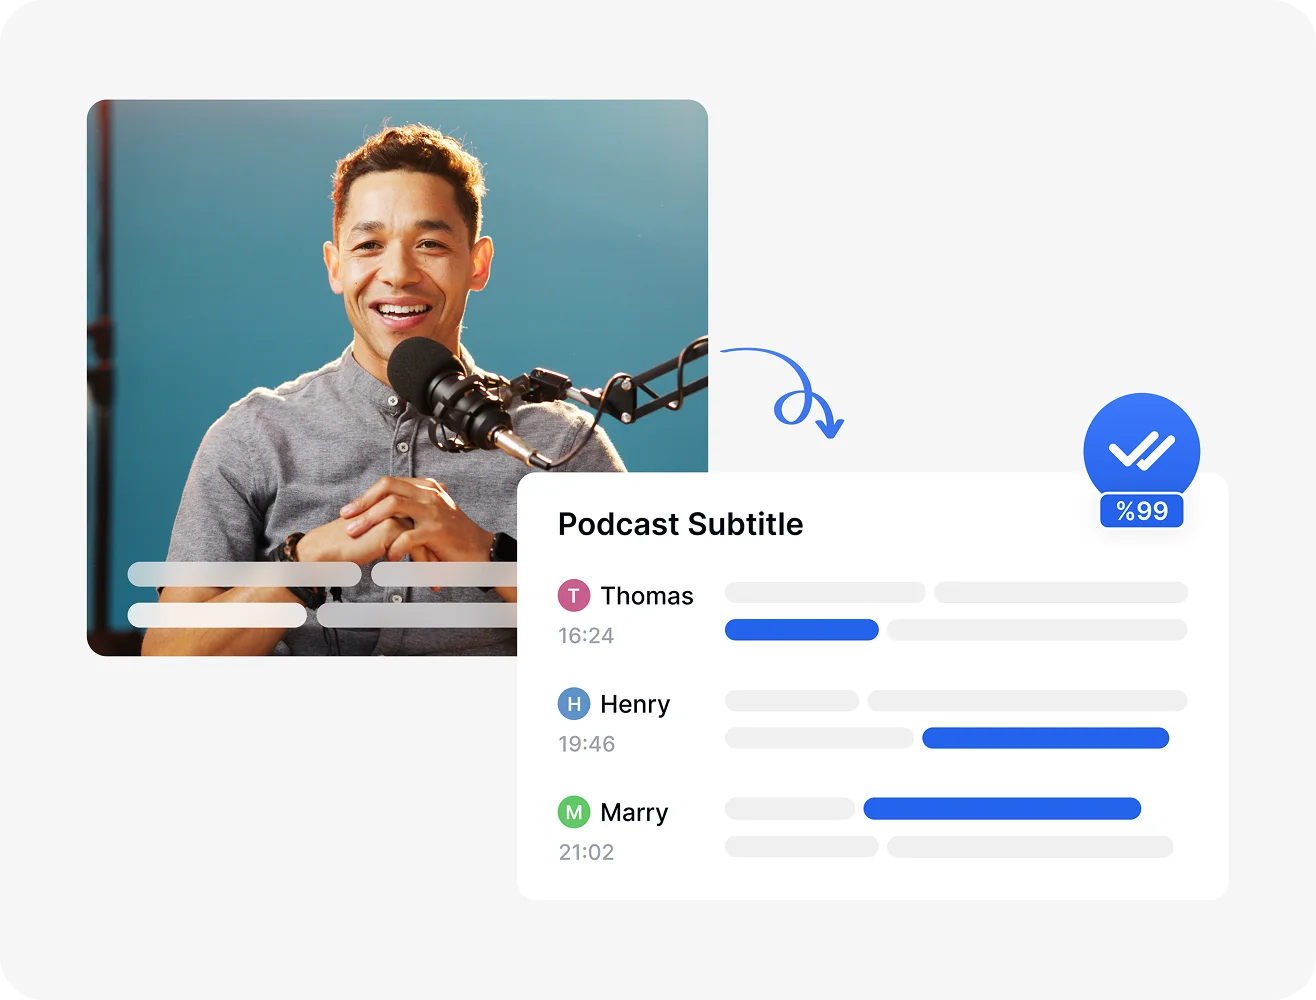
Generate Subtitles with 99% Accuracy
Transkriptor's AI delivers subtitles with up to 99% accuracy, so you spend less time fixing errors and more time publishing your content. Our speech recognition technology is built to handle various accents, speech speeds, and even background noise.
Need to make a few tweaks? Use our intuitive subtitle editor to adjust text, fix timing, or format your captions the way you like. No steep learning curve or extra software required. Spend less time editing and more time sharing your content.
Other Subtitling Features
How to Auto Generate Subtitles for Video?
- 1STEP 1
Upload Your Video
Import your video (MP4, WebM, AVI, MOV, and so on) file or paste a YouTube link.
- 2STEP 2
Generate Automatic Subtitles
Select the source language and let our AI subtitle generator create subtitles for your video.
- 3STEP 3
Edit, Translate, and Export
Customize subtitles, translate into 100+ languages, and export in SRT, TXT, or other common formats.
Discover More Features
What Our Users Say
Game-changer for my YouTube channel!
Super accurate subtitles in seconds! Got about 100% of my words right even with my accent. Easy editor for quick fixes. Love the YouTube link feature. It's definitely worth it!

Sarah M.
Content Creator
Perfect for international content
Translation feature is incredible - generate in English then translate to other languages instantly. Saved us hundreds of hours on training materials. SRT files work perfectly with our systems.

Miguel R.
Corporate Trainer
Frequently Asked Questions
Start by uploading your file to Transkriptor, select the spoken language, choose "Subtitle" as service and click "Transcribe." You can then edit and download the subtitles in SRT or TXT format to upload or embed in your video.
First generate your subtitles by uploading your video to Transkriptor and selecting the source language. Once the subtitles are created, use the built-in translation feature to instantly translate them into over 100 languages. You can then download the translated subtitles in SRT or TXT format for global sharing.
The best subtitle generator is Transkriptor. With support for speaker labeling, precise timestamps, and an easy-to-use editor, Transkriptor makes it simple to generate, edit, and translate subtitles.
Yes, Transkriptor offers a free subtitle generator you can try online. Upload your video file, and the AI will automatically generate accurate subtitles in seconds.
Adding subtitles to your video improves accessibility, boosts viewer engagement, and helps you reach a wider audience. Subtitles make content easier to understand for non-native speakers, support viewers watching without sound, and increase retention on social media platforms.
Upload your file to Transkriptor and select the spoken language. Transkriptor's AI will generate accurate, time-synced subtitles in seconds. You can edit them using the built-in editor and download the subtitles in SRT or TXT format to use on any video platform.