To achieve this seamless process, Mac speech-to-text tools or others with better functionality, like Transkriptor, work best. Transkriptor not only enhances readability but also summarizes key points and generates subtitles with timestamps. This guide will help you understand video-to-text conversion and its benefits.
What Is Video-to-Text Conversion on Mac, and Why Do You Need It?
Speech-to-text on Mac is a simple process of converting spoken words from video to skimmable text. This voice-to-text technology in Mac makes content easy to access and manageable.
Key Benefits of Video-to-Text Conversion for Mac Users
Have a look at these core benefits for a better grasp:
-
Improved Productivity:
By using video-to-text tools like Transkriptor, you can save half of the time compared to manual typing. -
Accessibility Enhancements:
Converting video-to-text on Mac improves accessibility for those with hearing disabilities and broadens audience reach. -
Simplified Content Repurposing:
Video-to-text tools convert videos into SEO-friendly content, enhance the value and reach across various platforms.
Improved Productivity
Voice-to-text technology saves half of your time compared to the manual typing method. Instead of spending hours transcribing a one-hour video, try tools like Transkriptor for quick work. This allows you to focus on other important tasks.
Accessibility Enhancements
Converting video to text on Mac makes your content accessible for those with hearing difficulties. According to the DSpace Repository captions, transcripts, and audio descriptions ensure all users regardless of their abilities can engage and get benefits from digital content.
Simplified Content Repurposing
Meeting notes voice-to-text for Mac users turns video interviews into blog posts and converts meeting notes transcription. This creativity helps you to maximize the value of your video content across numerous platforms.
How Does Transkriptor Simplify Video to Text on Mac?
Transkriptor simplifies video-to-text conversion on Mac. This tool automates the transcription audio-to-text process and saves hectic hours of manual effort. It has an easy interface that makes it suitable for beginners.
Real-Life Applications of Transkriptor for Mac
Transkriptor offers some real-time applications such as:
Transcribing Interviews
Journalists and researchers can use tools like Transkriptor to document conversations faster. Statista reports that a survey conducted in 2018 shows that 62% of the US population prefers text over video news. You need to simply upload your video, and Transkriptor will transcribe audio to text on Mac with 99% accuracy.
Converting Class Lectures
Students who face problems listening to long lectures on repeat can use Transkriptor to easily transcribe video to text on Mac. Instead of searching for key points, you can skim through the text and highlight them.
Generating Video Captions for Social Media
Captions on your video help you reach a large audience without a language barrier. Transkriptor can ease this process by generating accurate subtitles with timestamps. You can also edit and use it across other platforms, such as Instagram and YouTube.
What Are the Best Audio-to-Text Tools for Mac?
Here are some of the best Mac video converters:
-
Transkriptor:
Transkriptor is one of the feature-rich audio-to-text tools for Mac that offers transcription in 100+ languages and suits multilingual teams. -
Rev:
Rev is ideal for those looking to record and transcribe interviews, though it might be expensive. -
Descript
: Descript is ideal for content creators who want to take their content on several podcasts and even on YouTube.
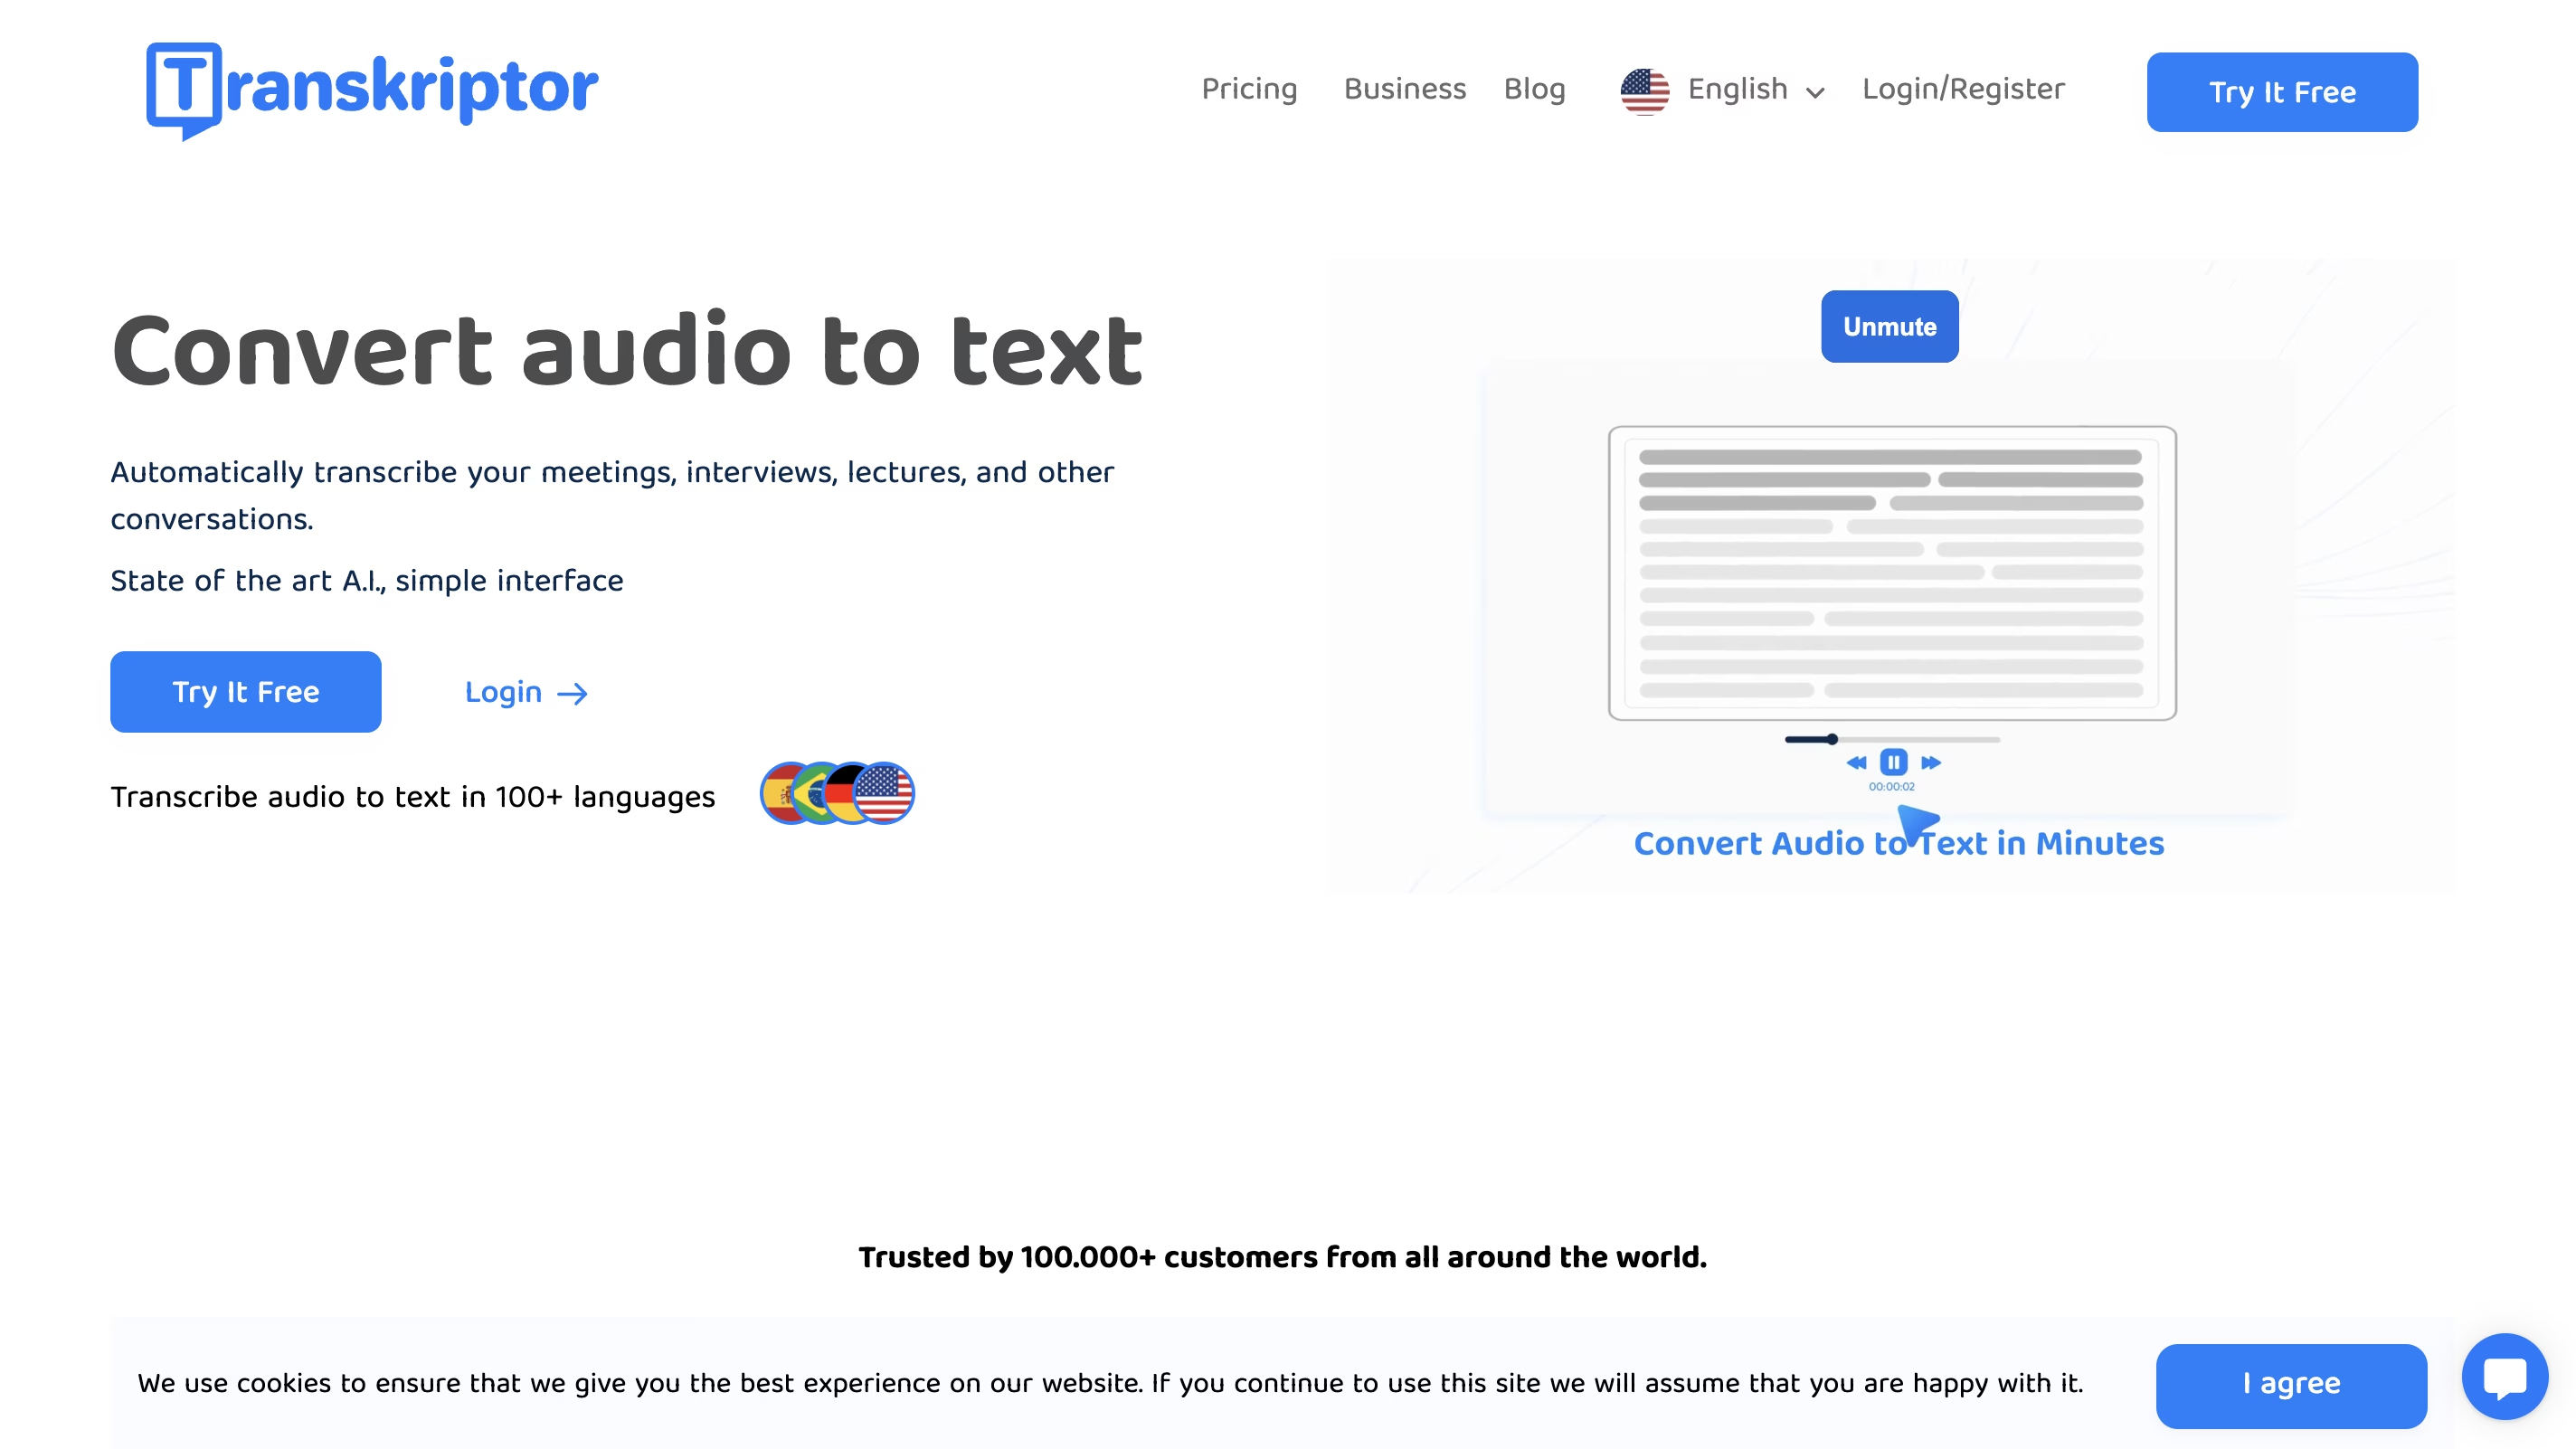
1. Transkriptor
With 99% accuracy and an affordable price, Transkriptor is one of the best transcription software for Macs. Transkriptor captures the voice in over 100+ languages, whether there are one or more speakers. It has an easy and interactive interface that makes it suitable for beginners, too.
Smart speaker detection, AI-powered transcription, and quick response ease your transcribing task. But for the best and most accurate response, always use high-quality audio.
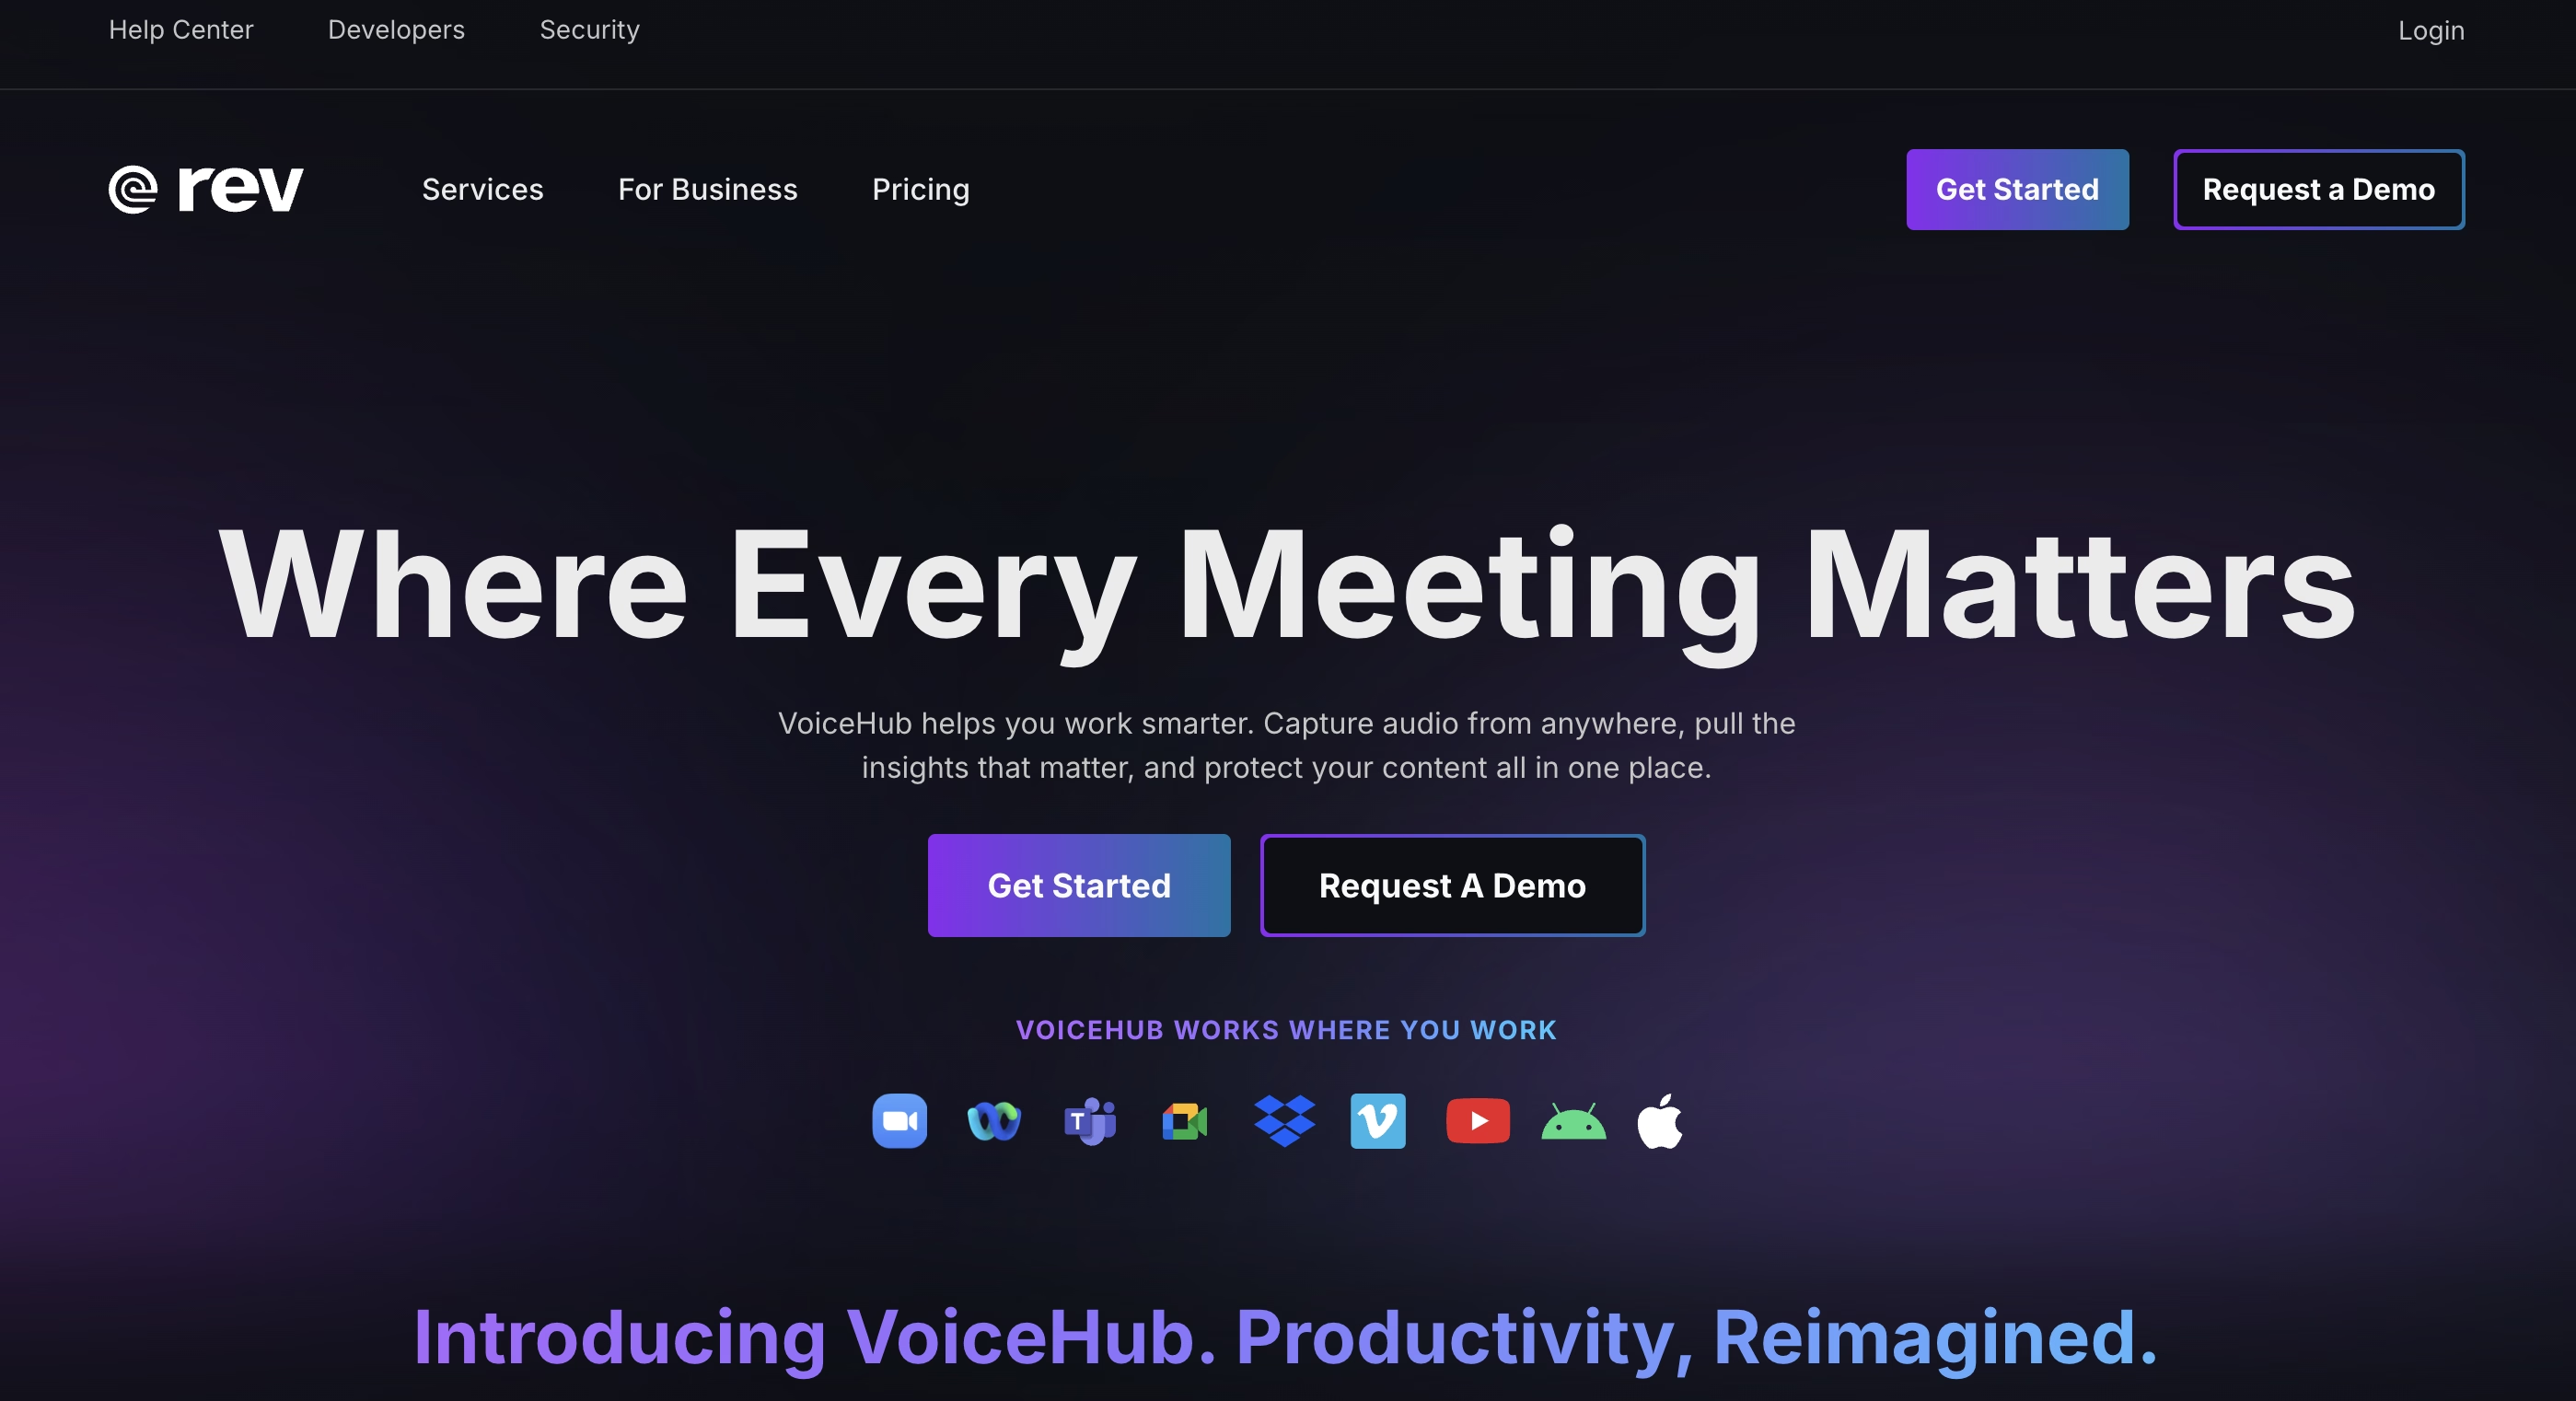
2. Rev
Rev converts recorded audio to text on Mac with options like editing and highlighting quotes. This tool transcribes with AI and is suitable for technical recordings. It is slightly higher in price and offers only 45 minutes of transcription per month. If you need transcription other than English, then it might not be for you.
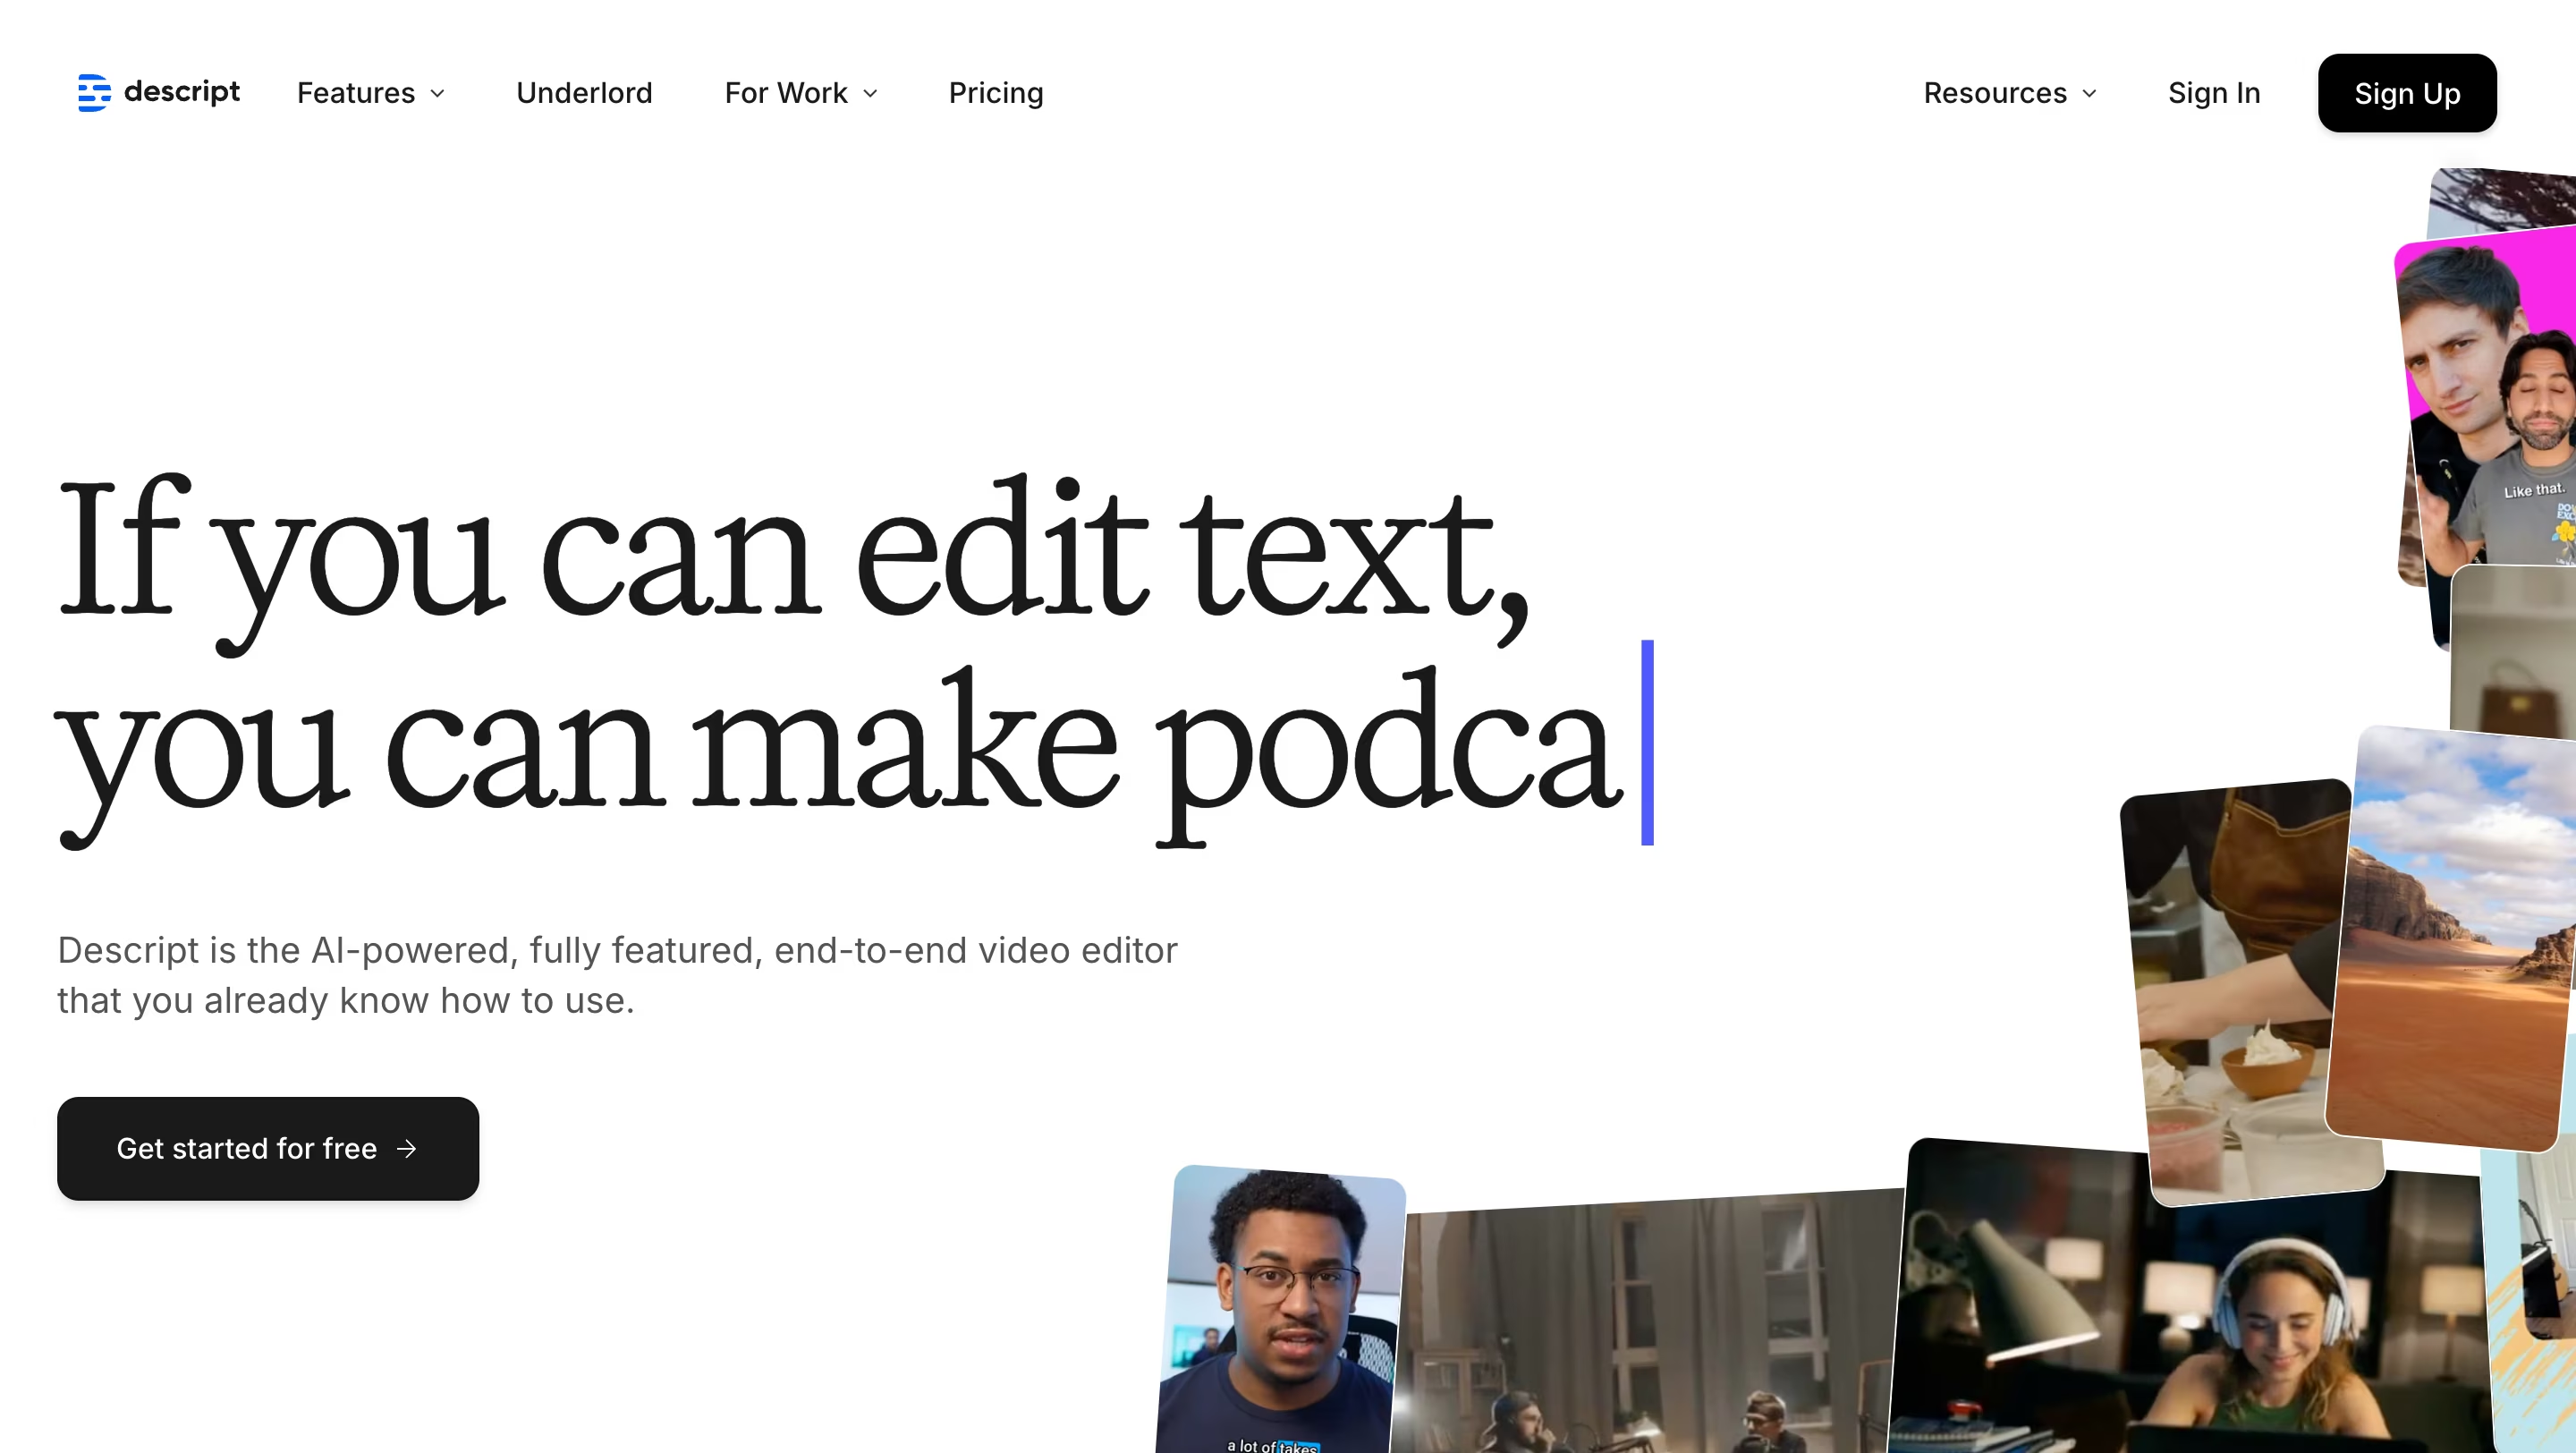
3. Descript
Descript works well in 23+ languages and is highly suitable for podcasts and YouTube videos. Easy editing and highlighting options help you adjust both the script and media and make it one of the best video converters for Mac. This audio transcription software for Mac can make spelling and grammar mistakes.
Comparing Free vs. Paid Transcription Software
Free transcription tools offer a quick solution with some accuracy issues. Premium tools like Transkriptor delivers better accuracy with security. By considering some key points, here is a detailed comparison:
Accuracy
Free audio-to-text software for Mac offers limited accuracy. They may face issues with background noise accents and when more than one speaker is present. On the other hand, paid transcription software on Mac offers up to 99% accuracy. They effectively handle multiple speakers and accents.
Formatting and Punctuation
Free Mac transcription software often lacks automatic formatting and requires manual cleanup. This can lead to time-consuming edits and inconsistent text. Paid audio files to text Mac include automatic punctuation and proper formatting. Paid tools streamline the process and ensure professional-level transcription with minimal effort.
Speaker Differentiation
Speaker distinction may rarely be available in free tools, and there are problems distinguishing between multiple speakers. However, paid tools easily recognize and label speakers, and you can edit them. The speaker distinction feature in paid tools improves accuracy, especially in conversations with several participants.
Security and Privacy
Free tools may lack security and not be suitable for sensitive content. It may lead you to lose your important information before making it official. Paid transcribing software for Mac comes with the best data protection security.
Free tools are good but paid tools like Transkriptor work best for better results and accuracy. Their affordable price does not burn your pocket, and they offer the best features, like timestamps and 100+ languages.
Step-by-Step Tutorial: How to Convert Video to Text on Mac
With a paid transcription tool like Transkriptor, you can learn how to transcribe audio to text on a Mac. These users' transcription software tutorials for Mac will simply convert voice into text, making the process faster and more accurate. The steps are listed below:
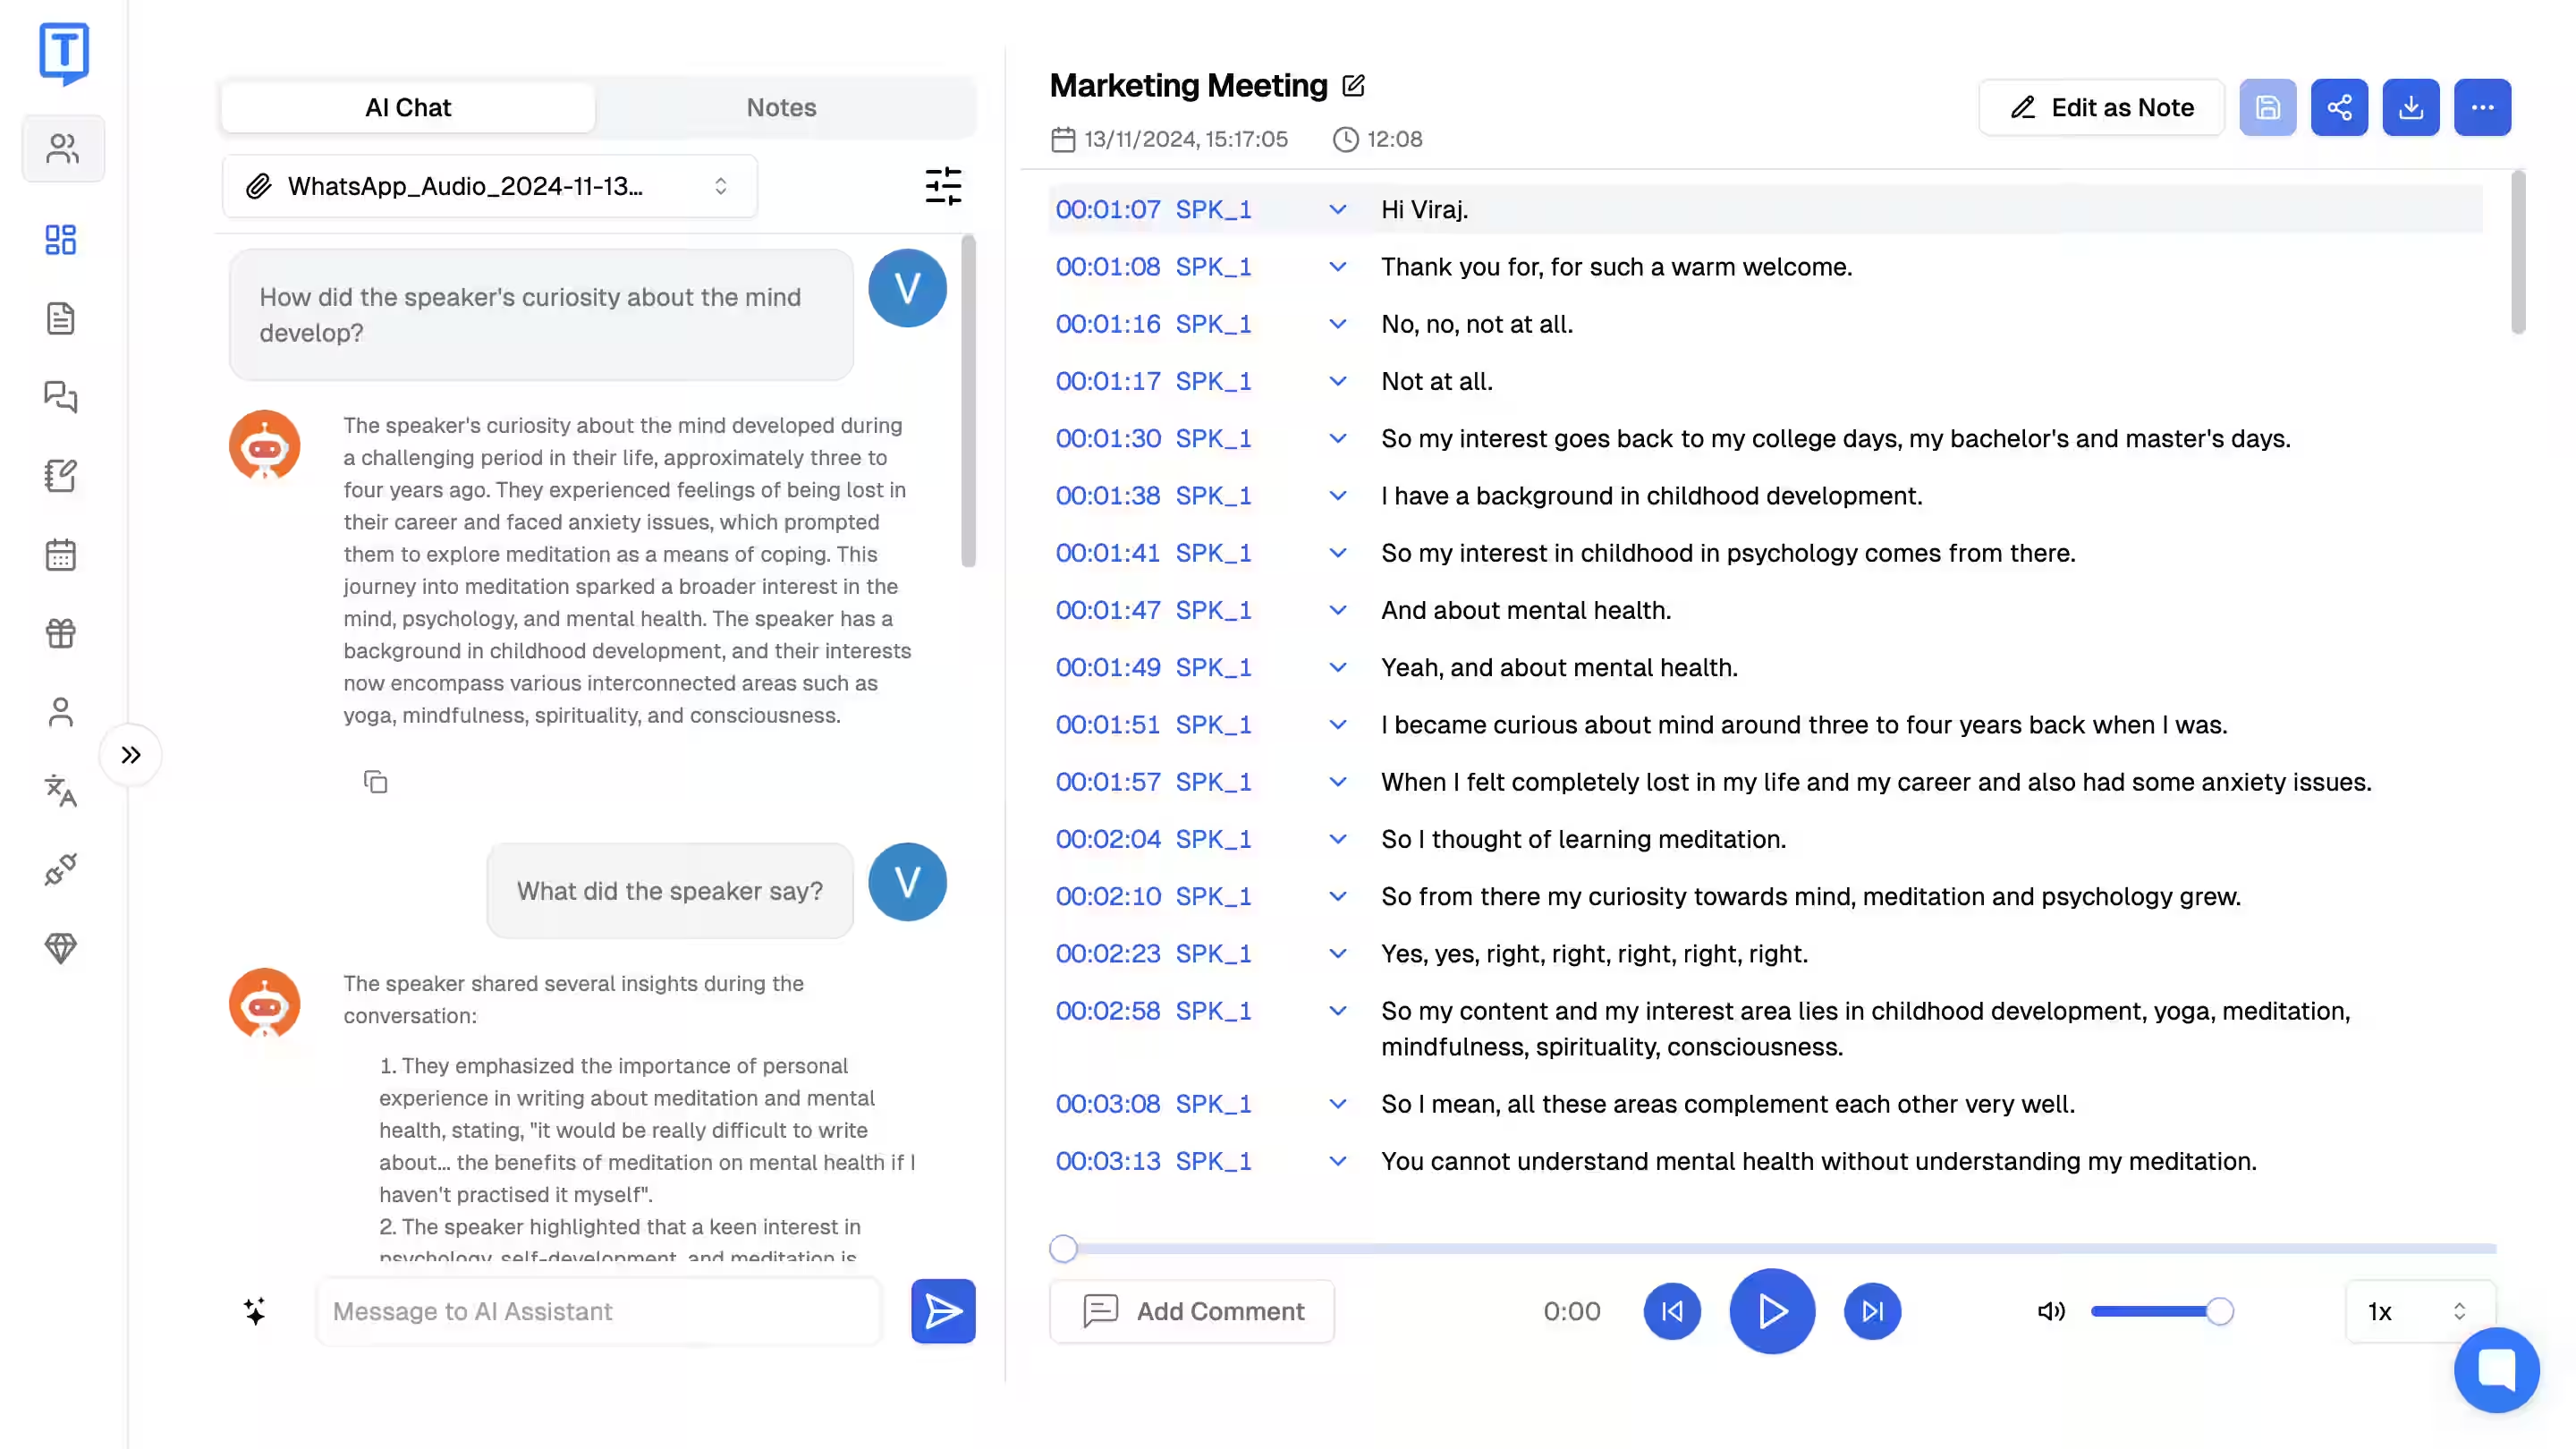
Step 1: Create Your Account
Visit the official website of Transkriptor. Click the "Try it free" button on the right side corner. Here, you will get two options for sign-up, and if you already have an account, simply click on sign in.
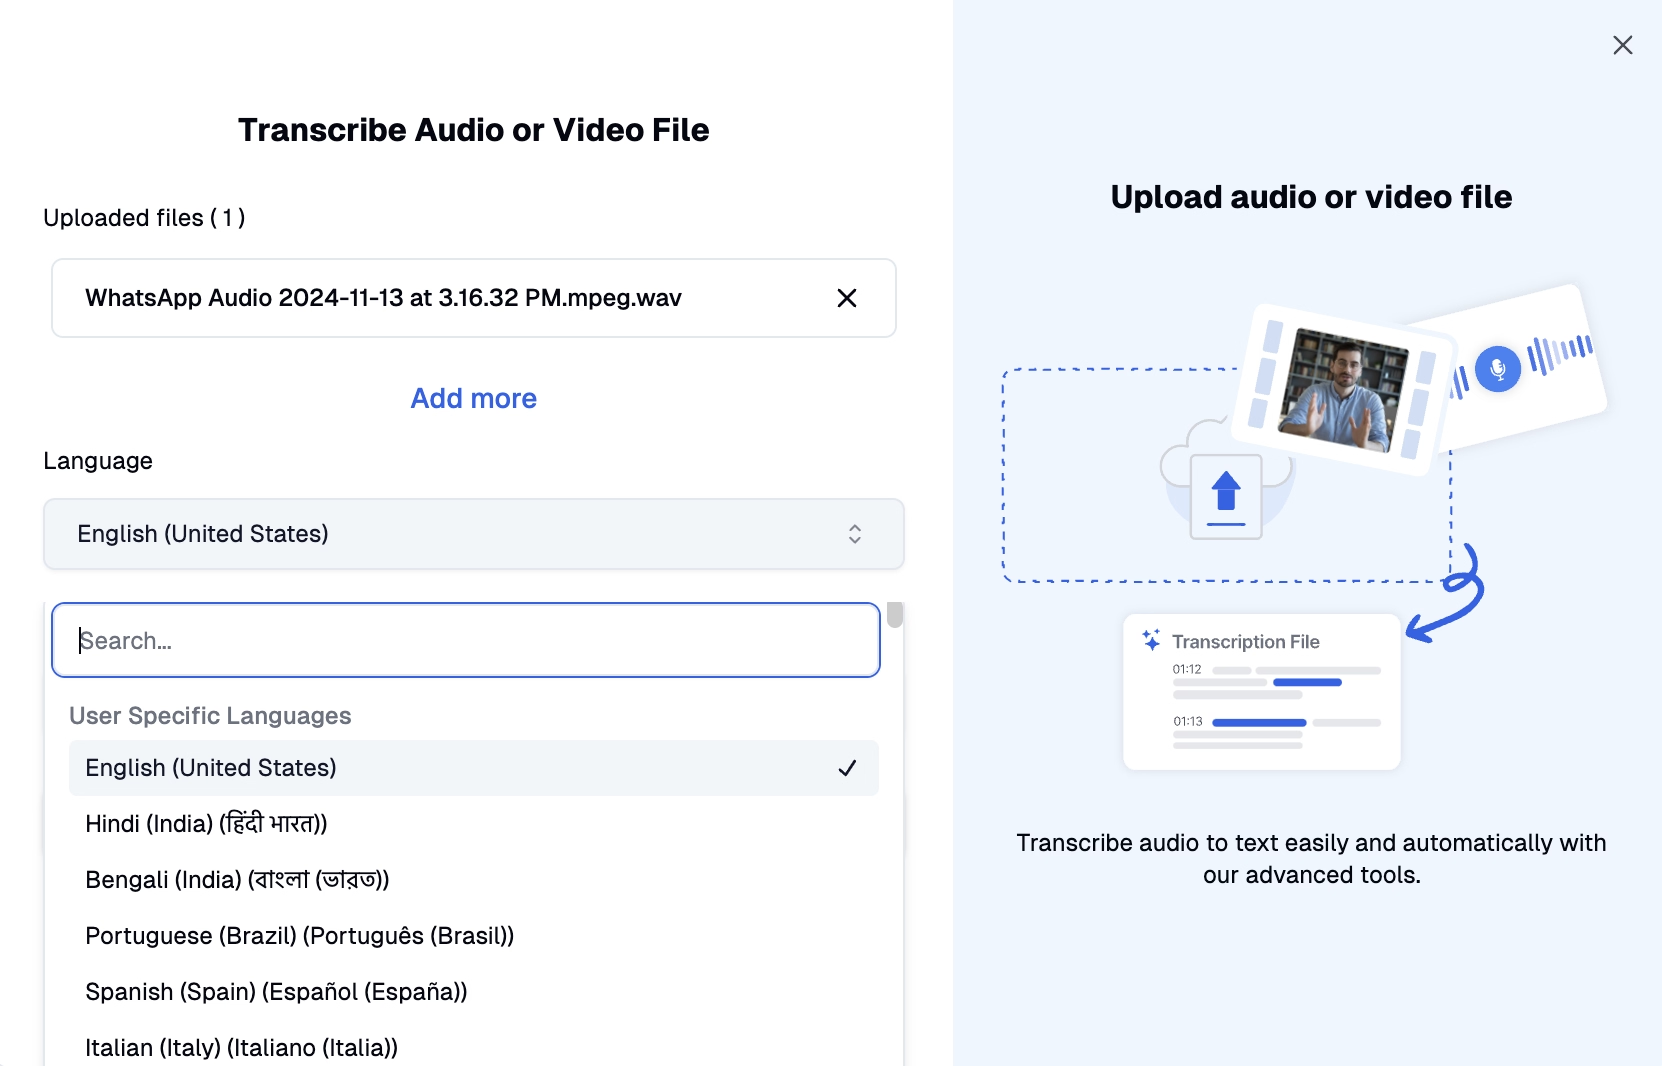
Step 2: Upload Your Video File and Choose Language
On the dashboard, click on the first option, "Upload audio or video." Here, you can upload your video or simply drag it. After uploading, select the language from the dropdown and click enter.
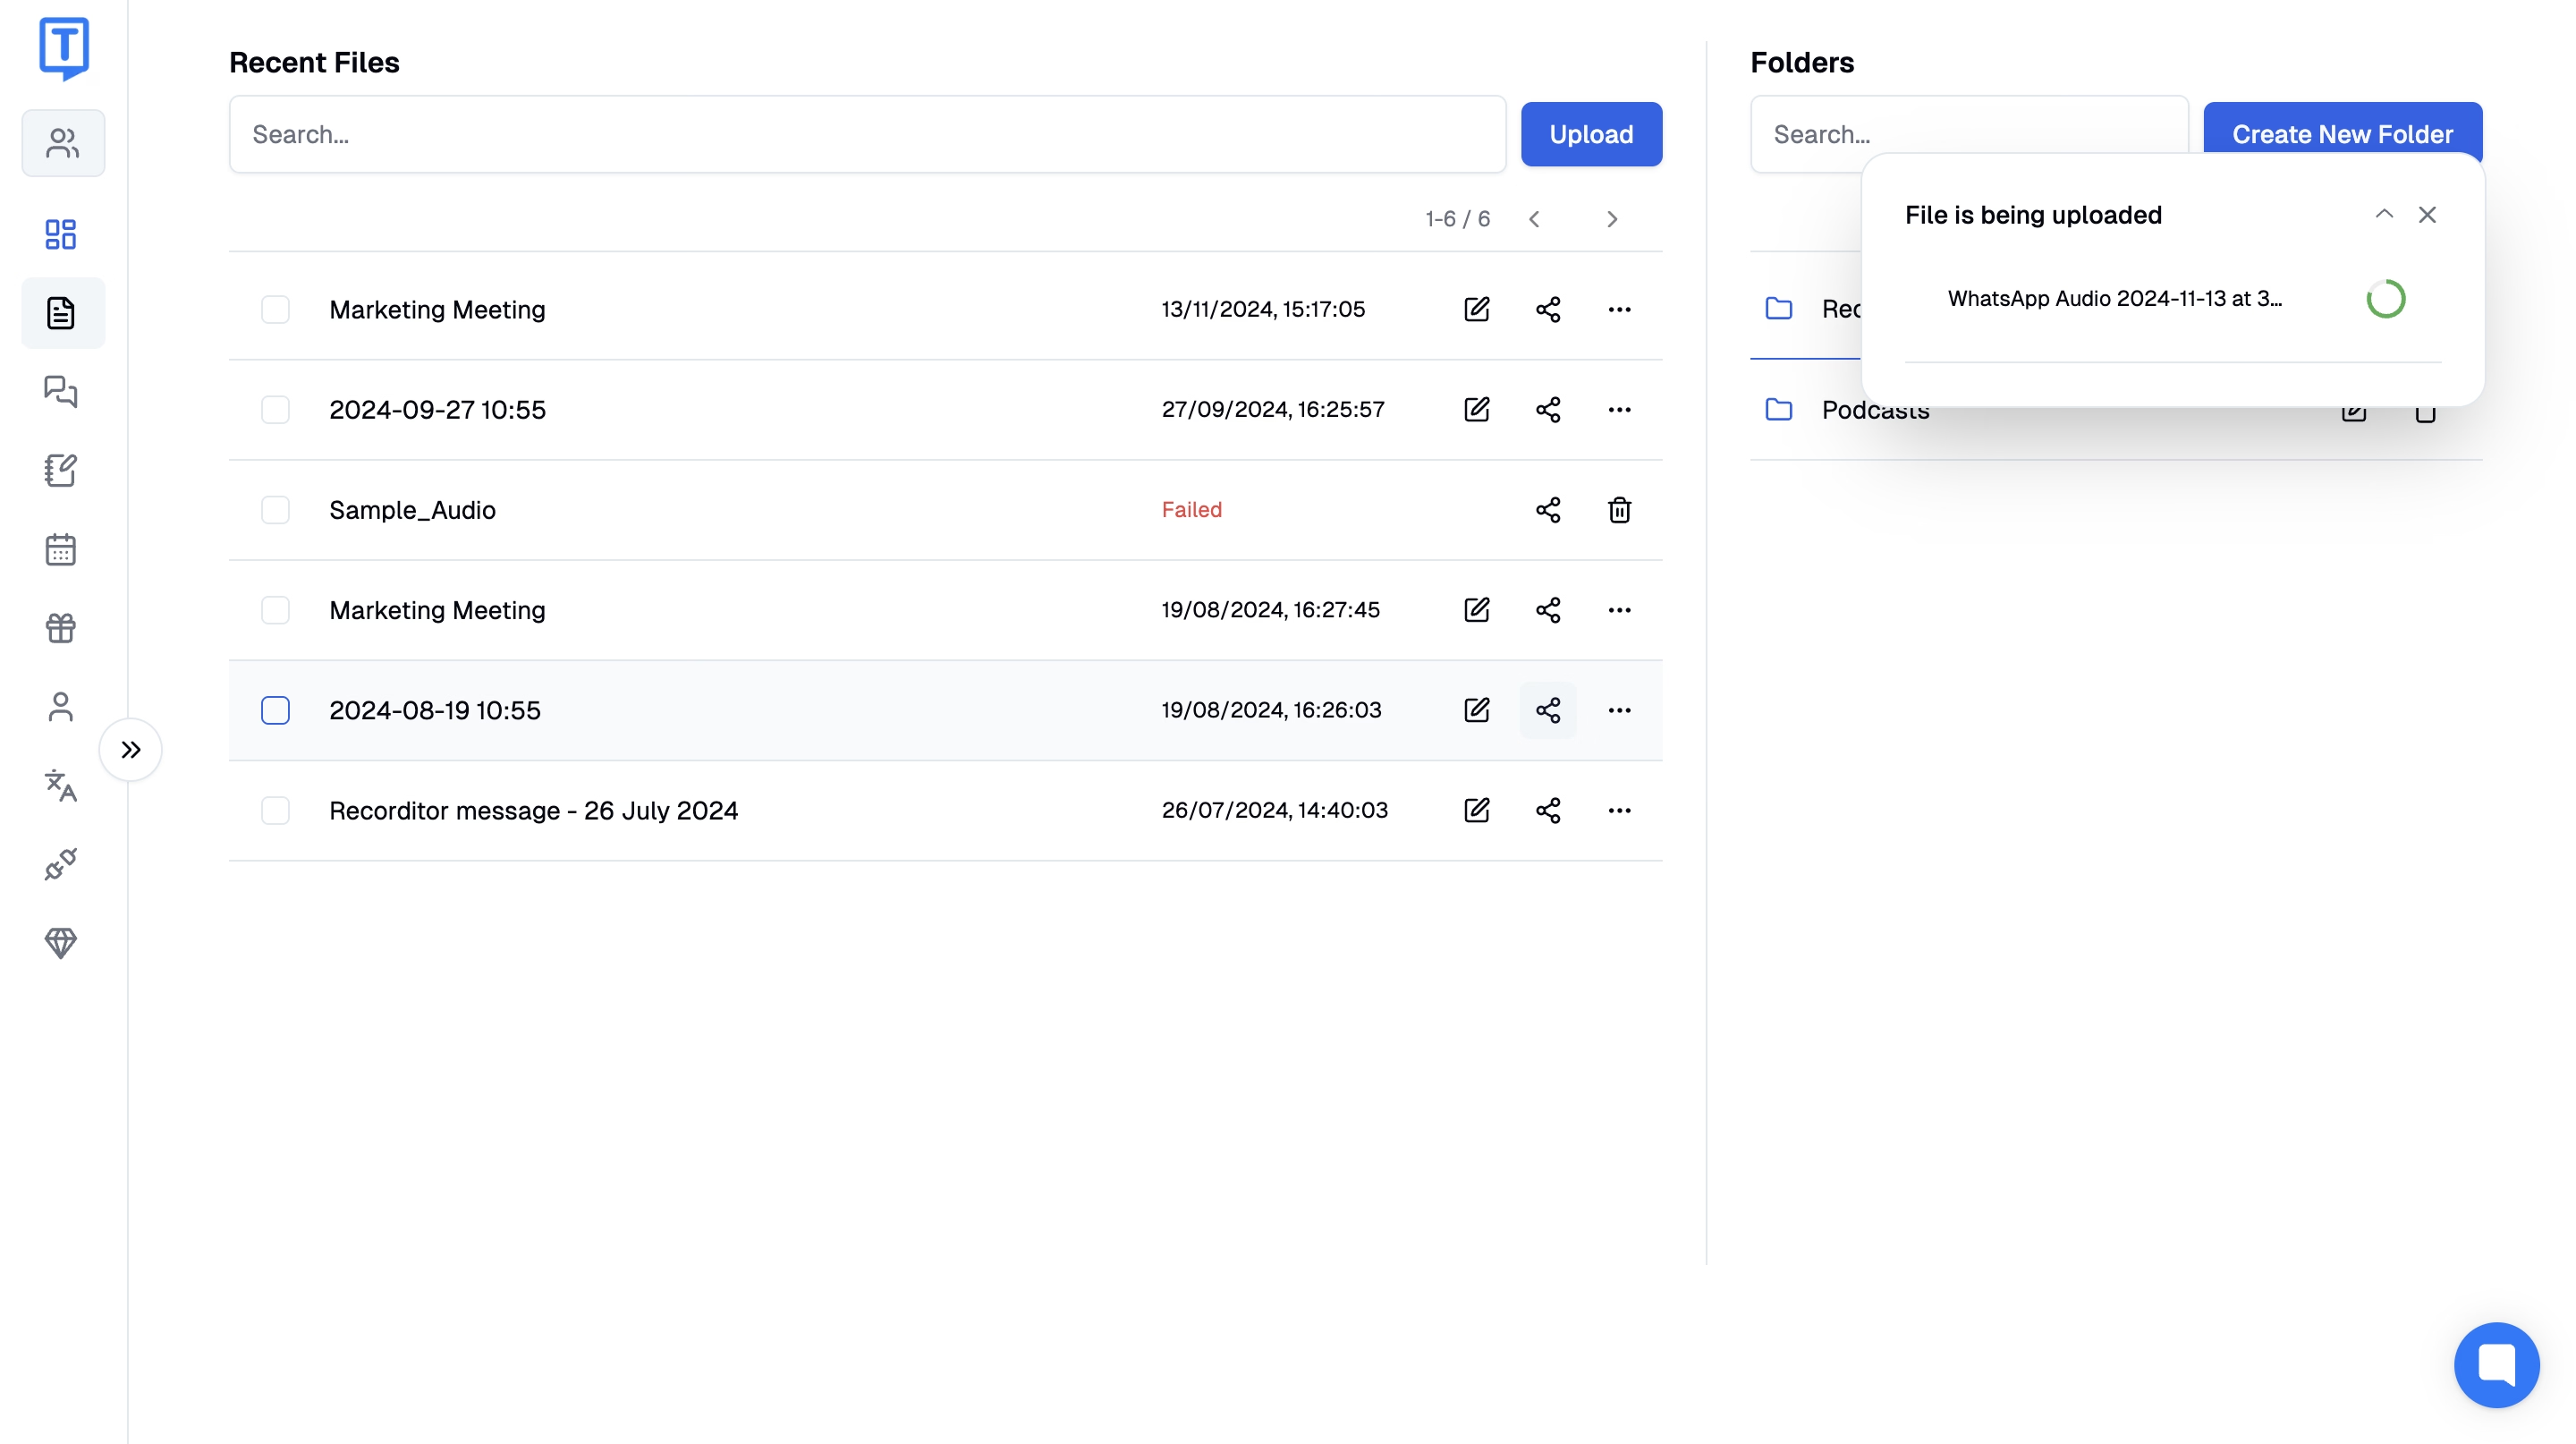
Step 3: Wait Until File Process Complete
After completing the process, Transkriptor starts converting video to text on Mac. Within a few minutes, you will be notified through email about ready-to-use transcription.

Step 4: Read and Edit Your Transcription
Open the transcription and use the built-in editor tool. You can edit if needed, add comments when sharing for some purpose, and highlight the key points. You can also find your AI-powered summary of the video.
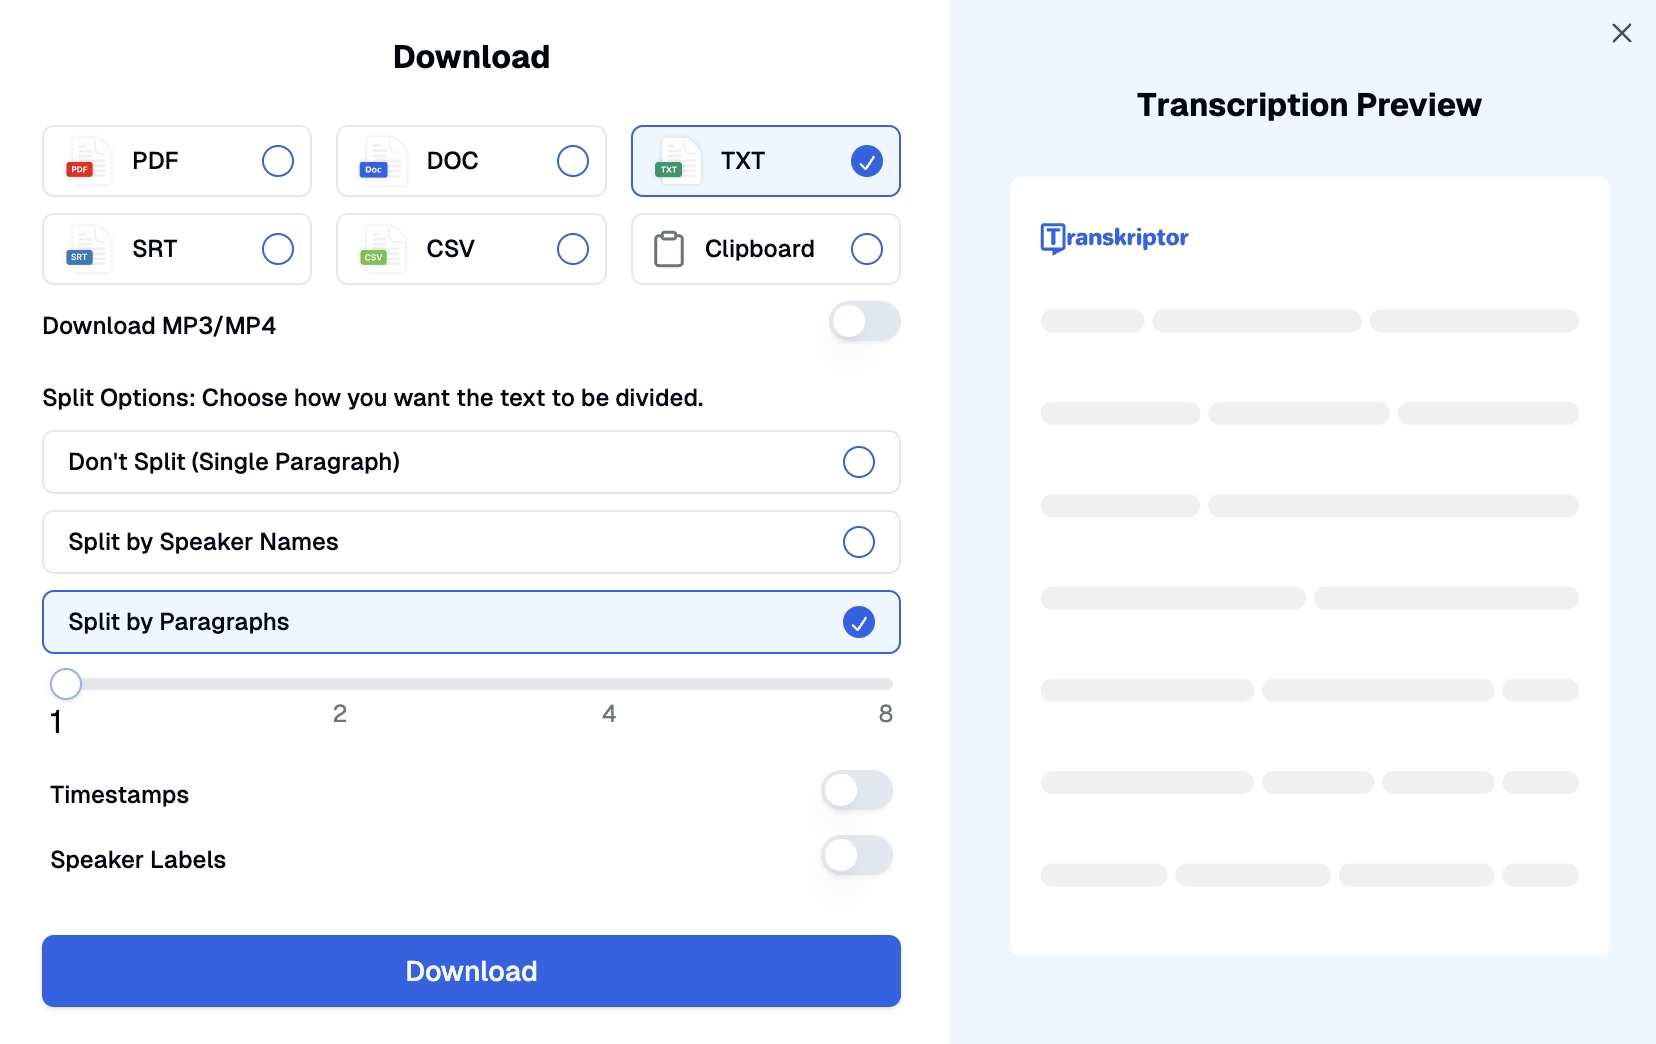
Step 5: Share or Download
After reviewing the text properly, click the download button. Here, you will get format options like PDF, TXT, more paragraph size options, and timestamp options. You can also share the text directly from the tool with your team.
Setting Up Your Transcription Tool for Best Results
Talk-to-text Macbooks work best when the quality of audio and file format are adequate. A noise-free audio with a quality microphone and MP3 and MP4 formatting ensures accurate transcription. Proper preparation reduces the chances of errors and speeds up the process. Here are some tips for the best results:
Tips for Uploading Clear Audio
For the best results, record the video in a quiet place with minimum echo. Use high-quality microphones, and position the microphone properly. Ensure the speaker uses clear words with proper pauses. If multiple speakers are involved in the video, make sure they speak one by one.
Tips for Choosing the Right File Format
Always use the format that tools support, like MP4, MOV, AVI, and WMV. For better sound quality, try using WAV files that record clear sound. Large files can take longer to transcribe, so you can compress them while maintaining the audio quality.
Editing and Formatting Your Transcription
After transcription, carefully review for spelling and grammar mistakes. You can use a text editor to correct the mistakes and add speaker names. Tools like Transkriptor also offer timestamps. While downloading, choose single-line or double-line paragraphs for better readability. Choose a file format that fits your needs.
Tips for an Efficient Video-to-Text Workflow
Take a closer look at tips for better results:
-
Organize video files before uploading:
Arrange and name video files in folders for quick upload, easier access, and smooth workflows. -
Use shortcuts within transcription tools:
Tools like Transkriptor offer shortcuts like skipping, rewinding, and adjusting video speed for faster transcription. -
Proofreading using built-in editing tools:
Use built-in editing feature to correct errors, add comments, and modify speaker identification for accurate transcription.
Organize Video Files Before Uploading
Arrange your video files with clear labels in a different folder. It helps you to quickly upload files and save plenty of time that might be wasted in confusion. Proper organization of video files also ensures easier access for future edits. It eases collaboration, streamlines your workflow, and enhances productivity.
Use Shortcuts Within Transcription Tools
When converting video to text on Mac, tools like Transkriptor offer shortcuts. For instance, enter the split paragraphs option and click the +right button to rewind and skip 5 seconds. Control+9 and Control+0 work to speed up and slow down the audio. These shortcuts enhance efficiency, making transcription smoother and faster.
Proofread Using Built-in Editing Tools
After transcription, use built-in tools to correct errors and ensure accuracy. You can also add comments and timestamps for clear understanding. There, you also get an option for speaker distinction, which you can disable and enable accordingly. This flexibility ensures a seamless workflow tailored to your needs.
Leveraging Mac-Specific Features for Transcription
You can boost up your transcription process by using macOS tools like Voice Memos. Voice Memo is user-friendly and efficient and eliminates the need for third-party apps. Here is how you can streamline your workflow on Mac:
Voice Memos
By using voice recognition features, you can easily transcribe audio on a Mac. However, a downside is that you can not directly edit the transcription by typing. But, for improvement, you need to do it directly from audio.
Limitation:
Voice Memos’s transcription feature only works on macOS version 15.1 or later. This functionality is not available in earlier versions, making it a limitation of the app for users on older macOS.Common Challenges and How to Overcome Them
When audio-to-text converts on Mac, some common issues, like audio quality and strong accents, can affect transcription quality. To improve the audio quality, record in a quiet space or use a better-quality microphone.
Advanced Tips for Troubleshooting
Audio edit tools can be used to improve the audio clarity before transcription. Available tools can help remove background noise, adjust volume levels, and increase clarity. It ensures that the transcription process captures a clear voice and offers accuracy.
Conclusion: Transform Your Mac Into a Powerful Transcription Tool
Converting video to text on a Mac is a very simple process. But to make it more effective and productive, tools like Transkriptor come in. Whether you are a student, professional, or content creator, this tool improves accuracy and ease of access. Start your transcription journey now and save your time with Transkriptor!
