How to Convert Audio to Text with Google Translate?
Table of Contents
- How to Convert Audio to Text with Google Translate on Desktop?
- How to Convert Audio to Text with Google Translate on a Phone?
- What are the Limitations of Google Translate Audio Transcription?
- How Does Transkriptor Outperform Google Translate for Speech-to-Text?
- What Should I Choose: Google Translate or Transkriptor?
- Conclusion
Transcribe, Translate & Summarize in Seconds
Table of Contents
- How to Convert Audio to Text with Google Translate on Desktop?
- How to Convert Audio to Text with Google Translate on a Phone?
- What are the Limitations of Google Translate Audio Transcription?
- How Does Transkriptor Outperform Google Translate for Speech-to-Text?
- What Should I Choose: Google Translate or Transkriptor?
- Conclusion
Brief Answer: Converting audio to text with Google Translate is simple, as you first need to access it, select your language settings, and enable microphone access. Then, speak into the microphone or play an audio, and Google Translate will transcribe it in real time. Once done, copy the text and use it as intended.
Google Translate offers a quick way to convert speech to text, ideal for short translations and conversations. Here’s what it can and can’t do:
- Real-time voice transcription
- Supports 200+ languages
- Transcribe short conversational snippets
- Can’t identify speakers
- No extended conversations
How to Convert Audio to Text with Google Translate on Desktop?
Google Translate is a free platform where you can speak directly or play a pre-recorded audio to convert audio to text. However, please note that you cannot upload a recorded audio file, and the platform allows for transcription of up to 5,000 characters. Now that you are ready, here’s how to convert audio to text with Google Translate.
Quick Step Guide
- Launch Google Translate: Open Google Translate on your web browser.
- Choose Language Settings: Select the input and output language.
- Activate Microphone/Transcribe Mode: Click the microphone to activate the speech recognition of Google Translate.
- Speak or Play Audio: Either speak directly or play recorded audio into the microphone.
- Copy or Share the Result: Copy the generated transcription and use it wherever you intend to.
Now, take a detailed look at how to use Google Translate for audio-to-text translation and transcription on your computer.
1. Launch Google Translate
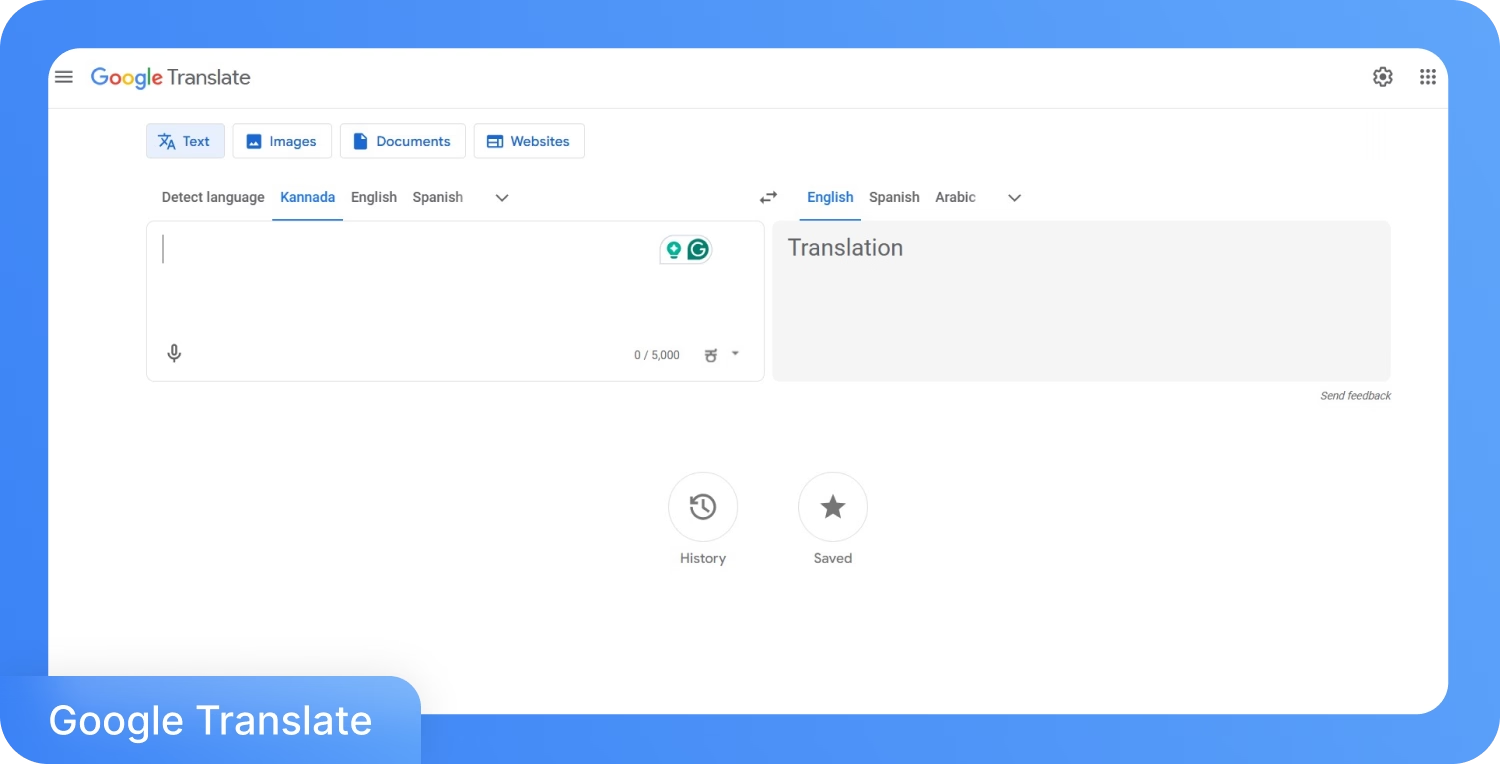
Open your preferred web browser and access the Google Translate website. Other than voice, you can use the tool to translate text from other apps, handwriting, and even translate conversations in real time.
2. Choose Language Settings
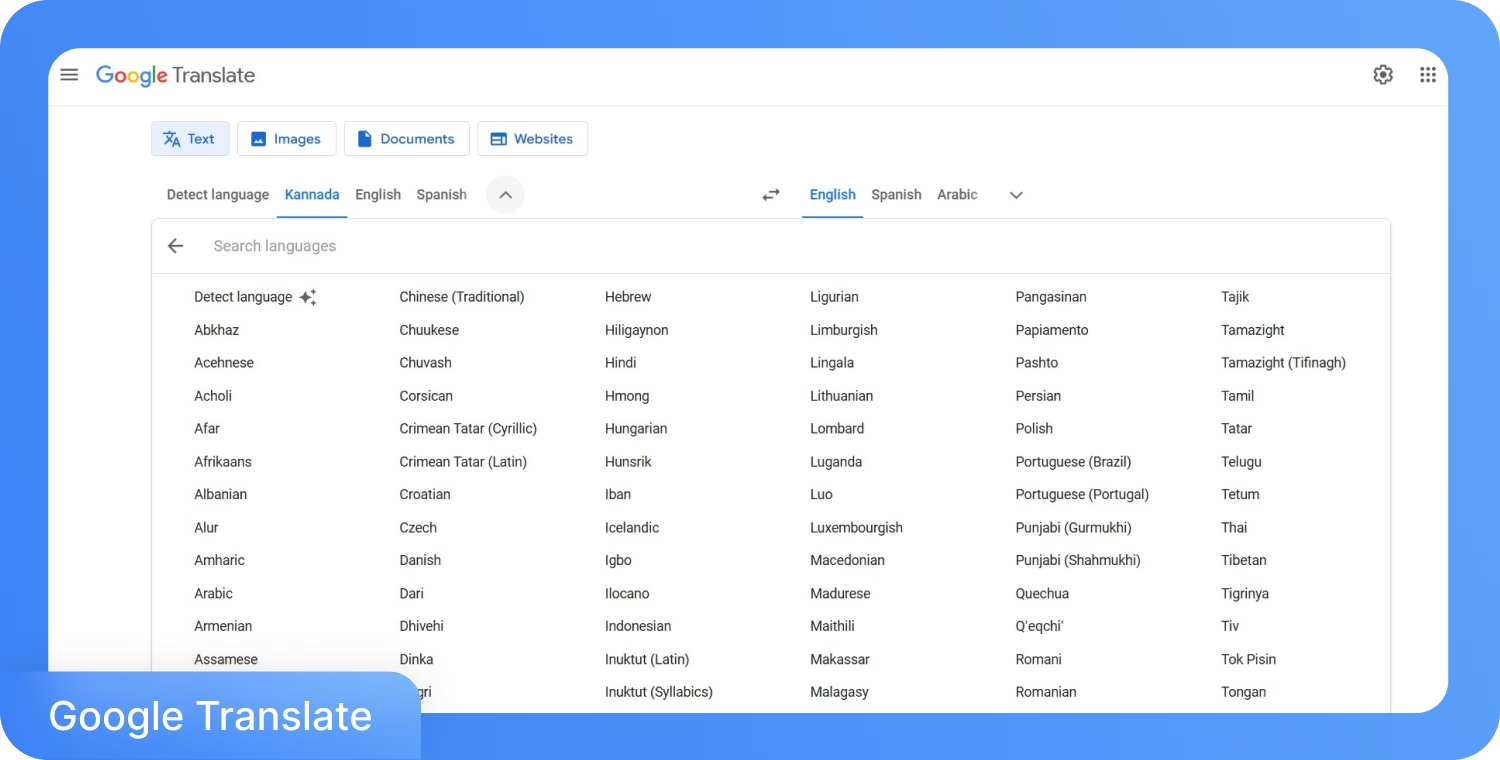
Select the source language of the audio and the output language. Click the dropdown menu above the left and right text boxes to choose the respective languages. Google Translate also offers a “Detect Language” feature that automatically detects the language spoken in the audio. Although handy, the feature can identify the language incorrectly.
3. Activate Microphone/Transcribe Mode
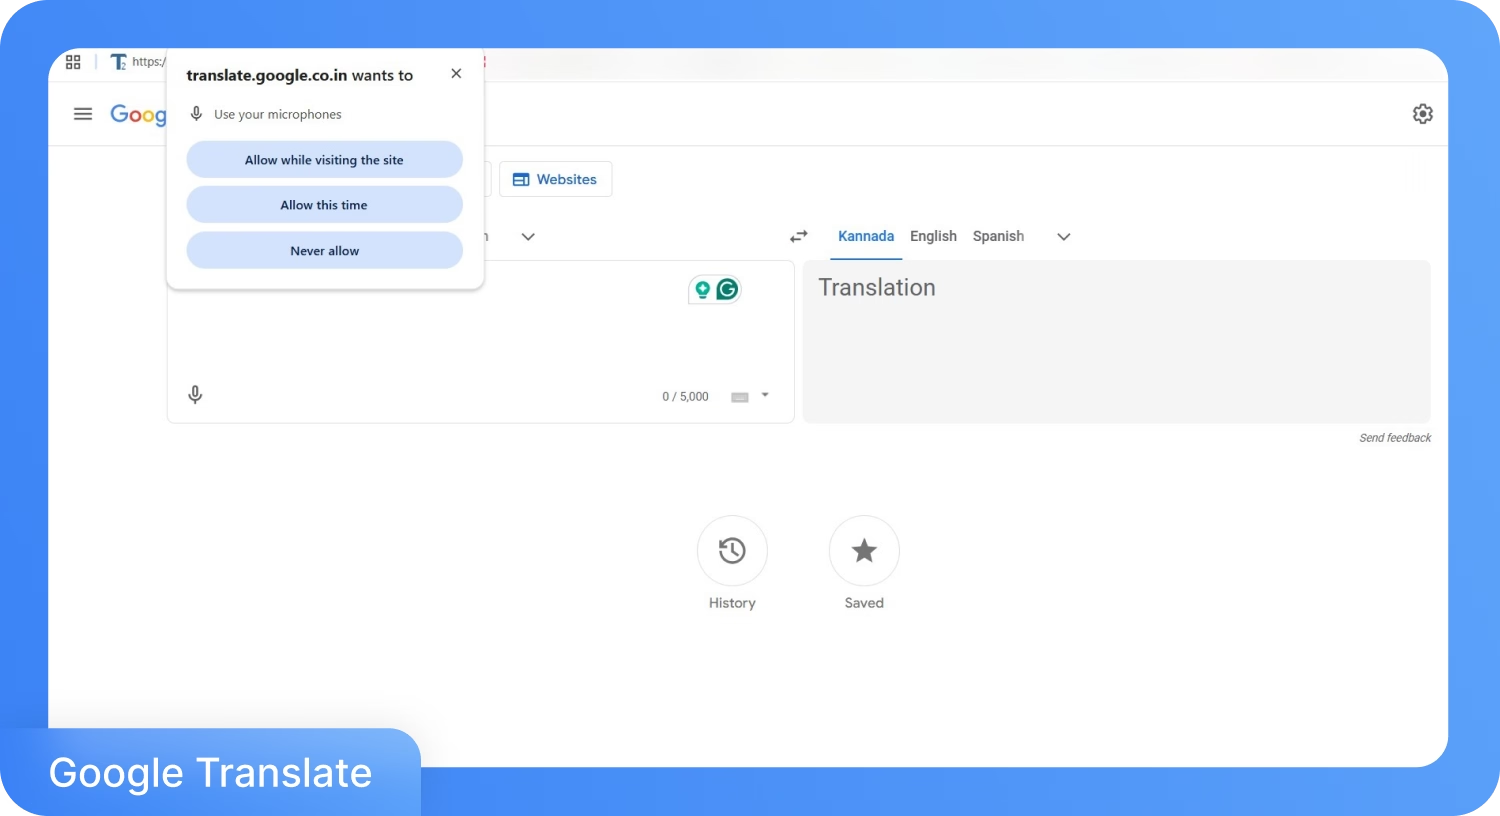
Click the “Microphone icon” to activate the transcription mode of Google Translate. Provide necessary permissions and allow Google to send the transcription data to its server. Then, move on to the next step, where you start speaking to transcribe.
4. Speak or Play Audio
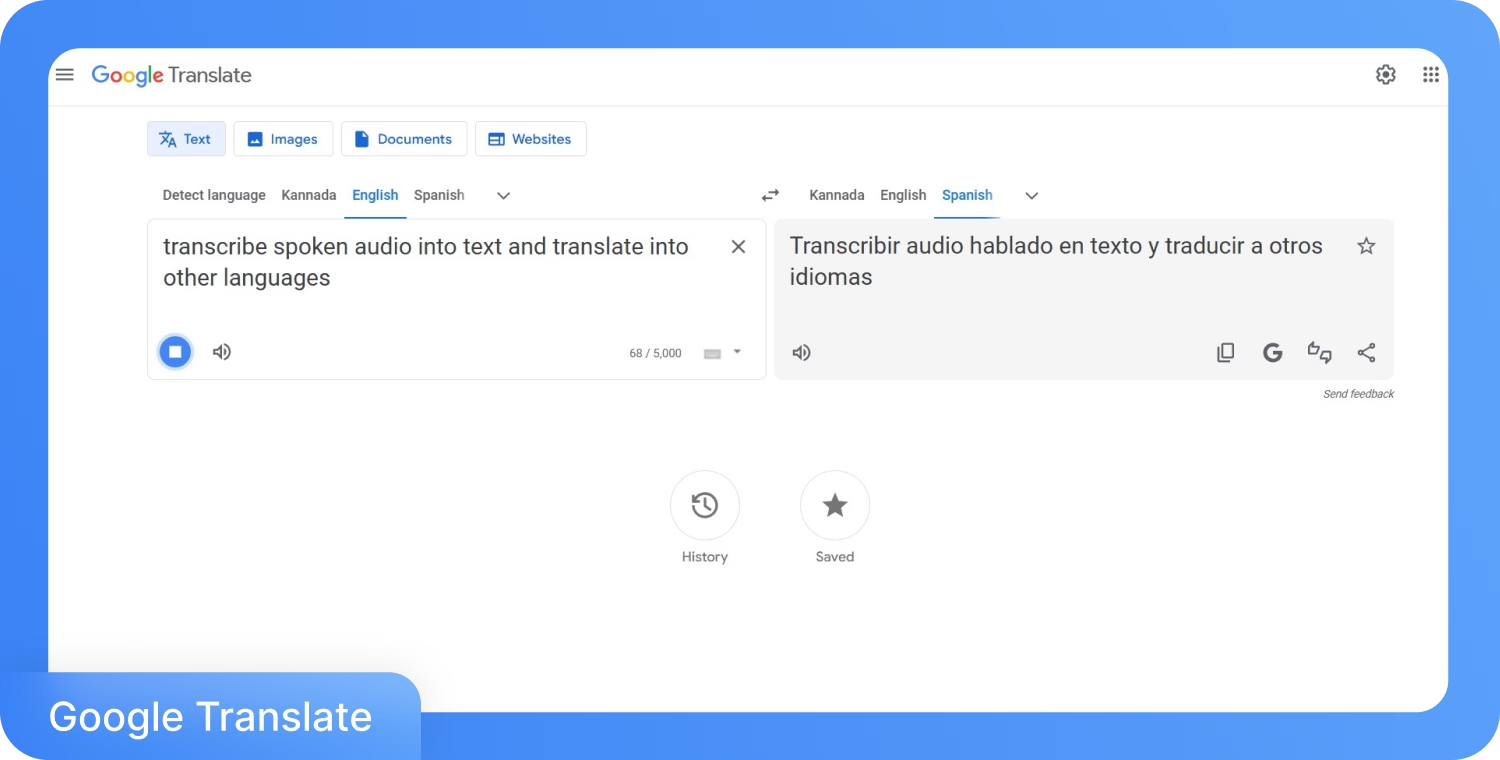
Speak directly into Google Translate’s microphone, and it automatically starts transcribing. Maintain a slow pace while speaking and enunciate each word while retaining a natural speaking rhythm. You can also play a pre-recorded audio, if needed. Just make sure the audio is clear and there aren’t any background noises.
5. Copy or Share the Result
Review the transcription once done and make corrections manually. Then, copy and use it wherever you intend to.
How to Convert Audio to Text with Google Translate on a Phone?
Converting audio to text with Google Translate on a phone is straightforward, as you simply launch the app, activate the transcription feature, select your languages, and speak into the microphone. The app will automatically translate the spoken words.
Google Translate is one of the most popular and widely used Google apps. According to Statista, there were around 8.68 million downloads in 2024. It ranks sixth as the most popular app, just behind Google Chrome and Google.
Quick Step Guide
- Launch the App: Install the Google Translate app and launch it on your device.
- Enable Voice-to-Text: Tap the Transcribe icon and provide the necessary permission to the app.
- Select Languages: Select source and output languages in the interface.
- Transcribe the Audio: Start speaking, and the app will automatically transcribe the audio.
- Use the Transcription: Edit the text, and copy and paste the transcription wherever you need it.
Here are the detailed steps to follow to use Google Translate for audio-to-text for free.
1. Launch the App
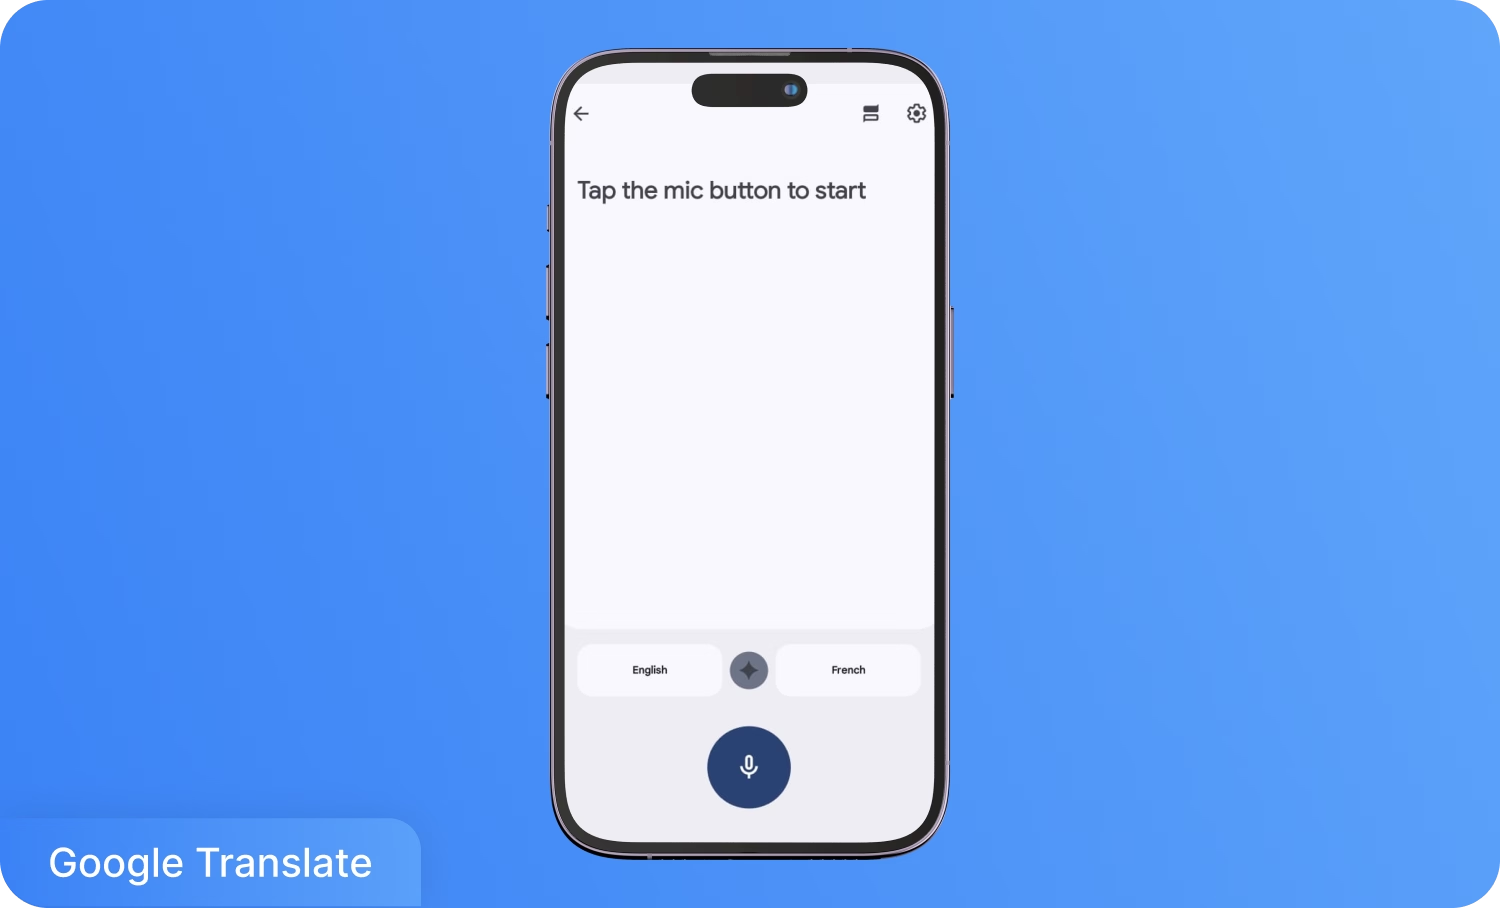
Download the Google Translate app on your Android or iOS device. Once done, install it and open the app to proceed.
2. Enable Voice-to-Text
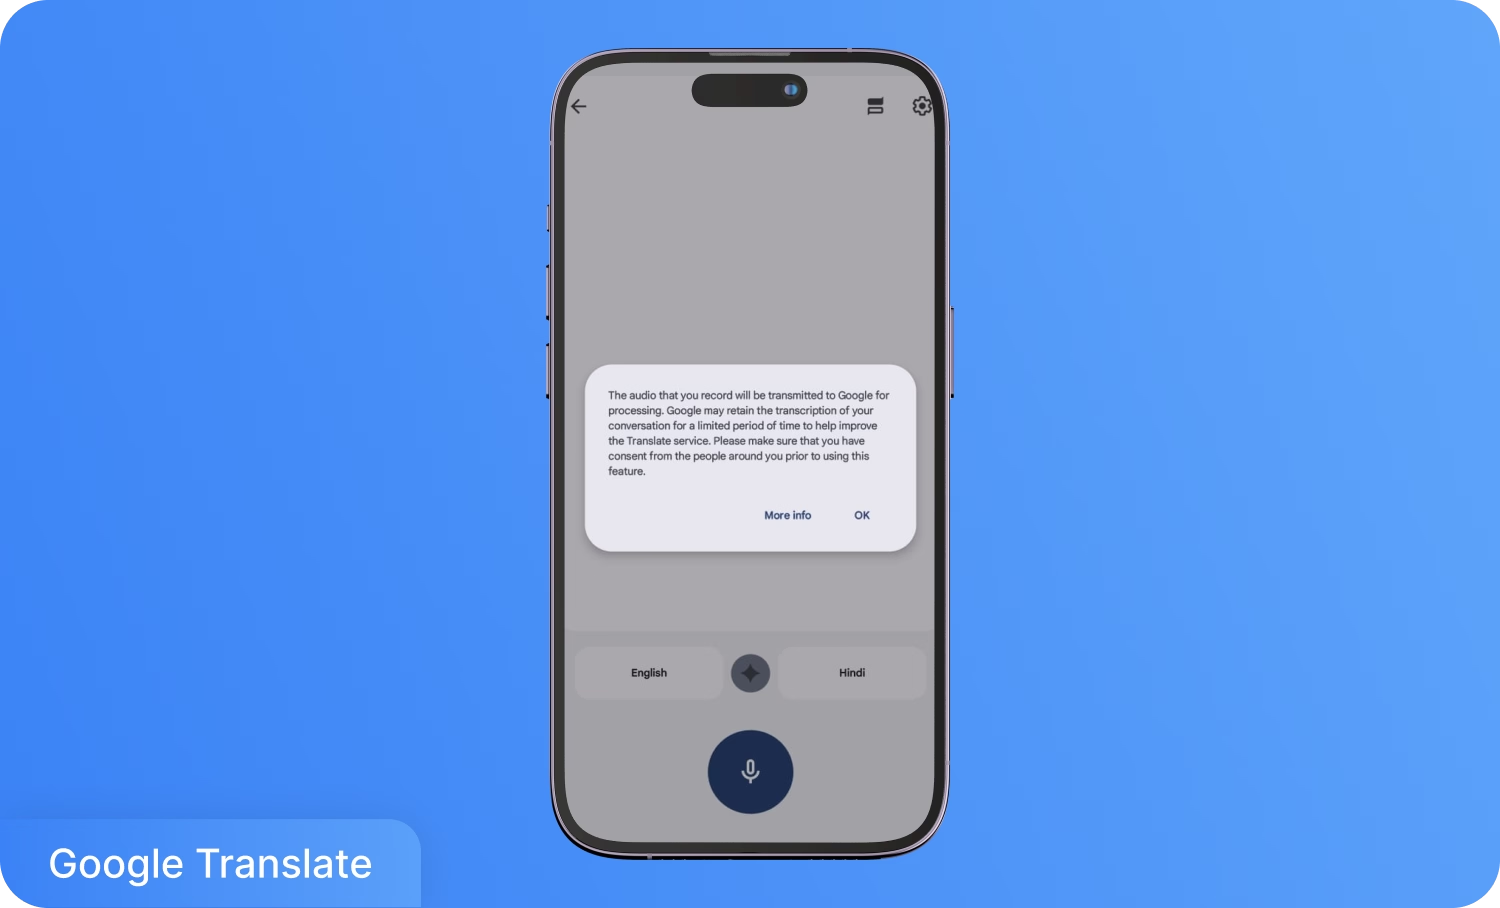
Click the “Conversation” icon on Google Translate’s home screen to activate the feature. Then, Google will inform you that the app will send the audio and transcription data to its servers. Click on “OK” to proceed.
3. Select Languages
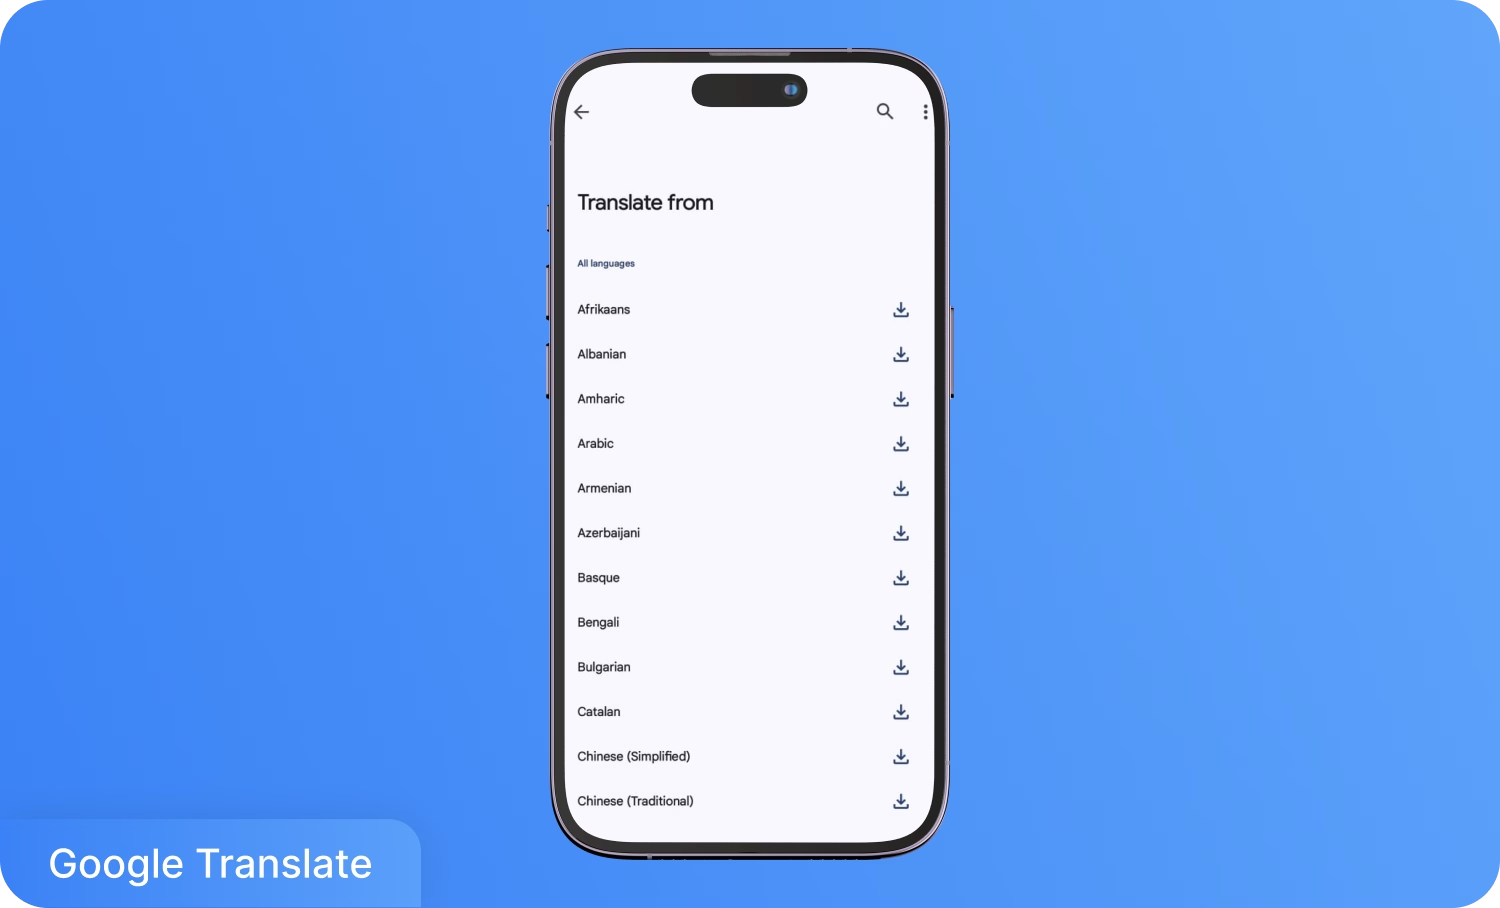
Select the language you’ll speak in, as unlike the web version, the app won’t automatically detect the language. You’ll also need to download the languages by tapping the download icon on the right.
Next, select the language you want your transcriptions in by clicking the dropdown menu on the right.
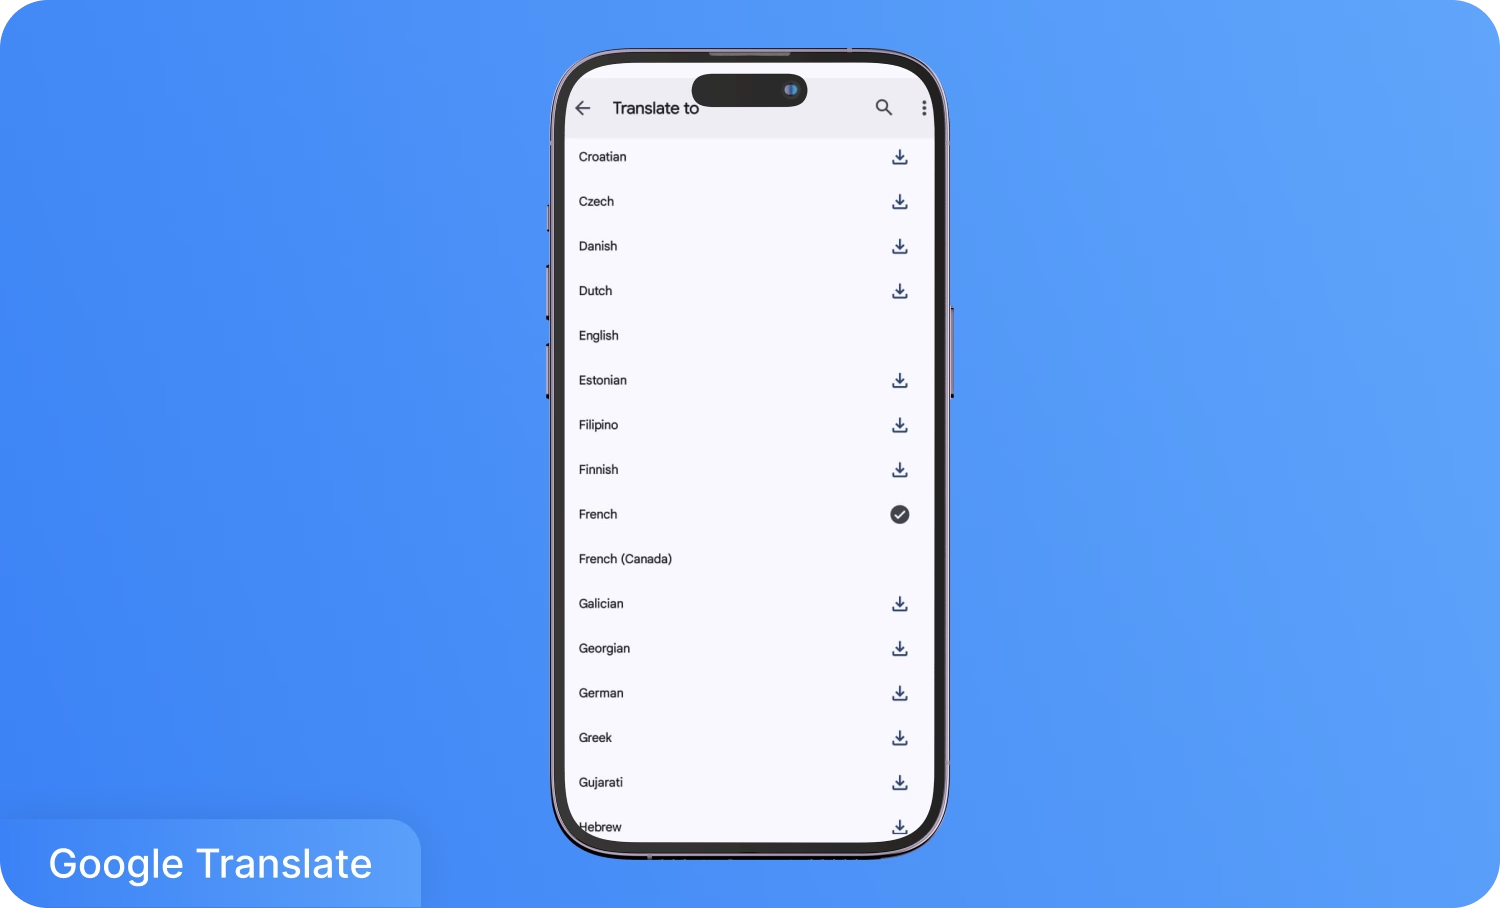
4. Transcribe the Audio
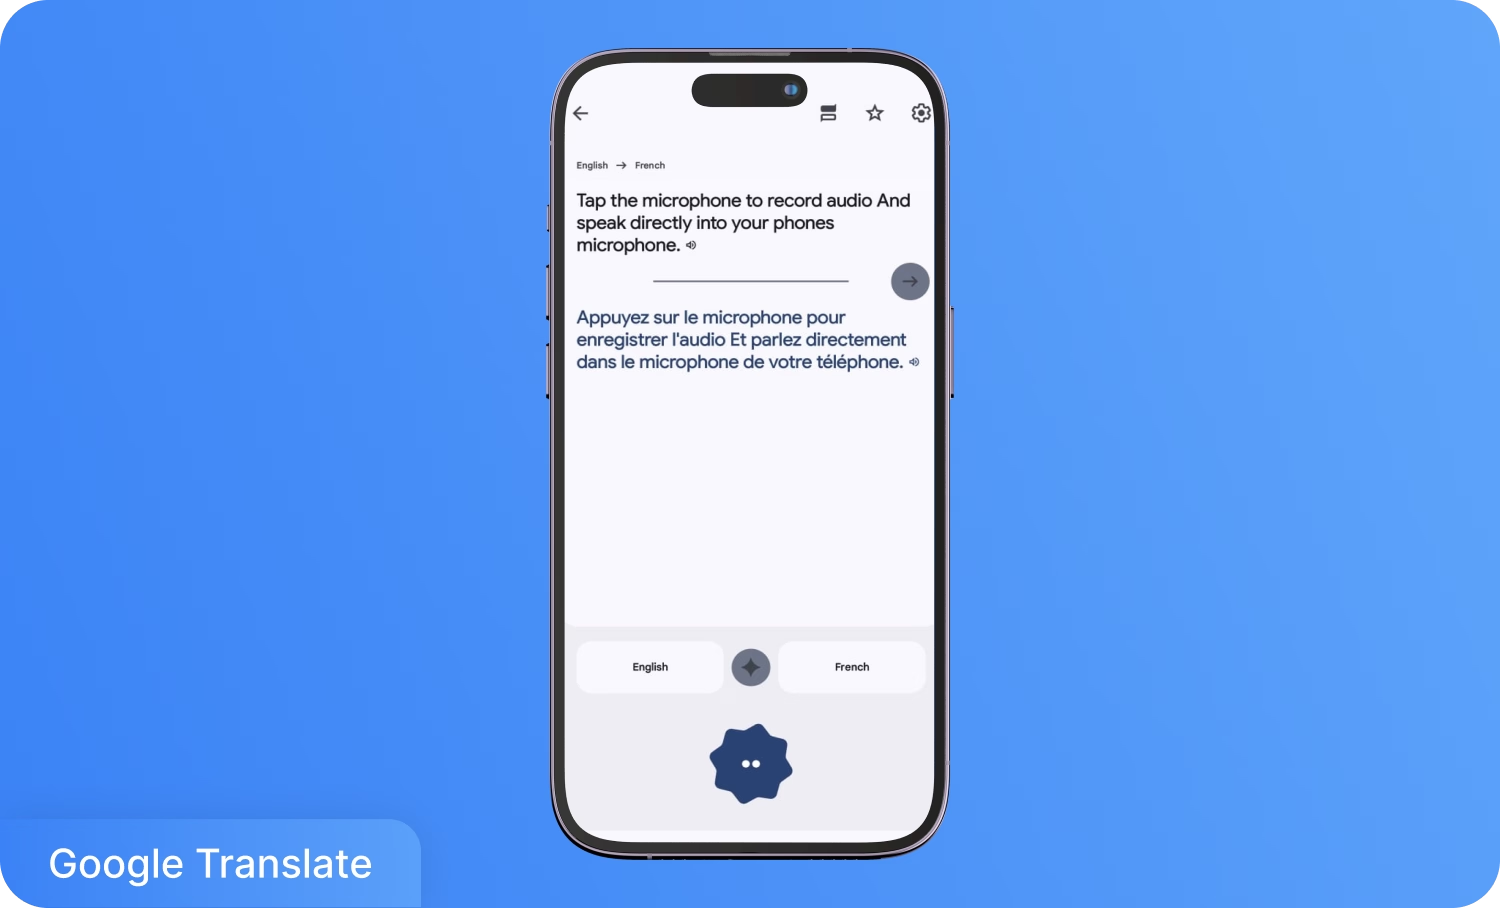
Tap the microphone to record audio and speak directly into your phone’s microphone, or play an audio from a different device. The app will listen to it and convert it to text.
5. Use the Transcription
Review the text and make manual edits, if needed. Then, you can copy and paste the transcription to your desired location.
What are the Limitations of Google Translate Audio Transcription?
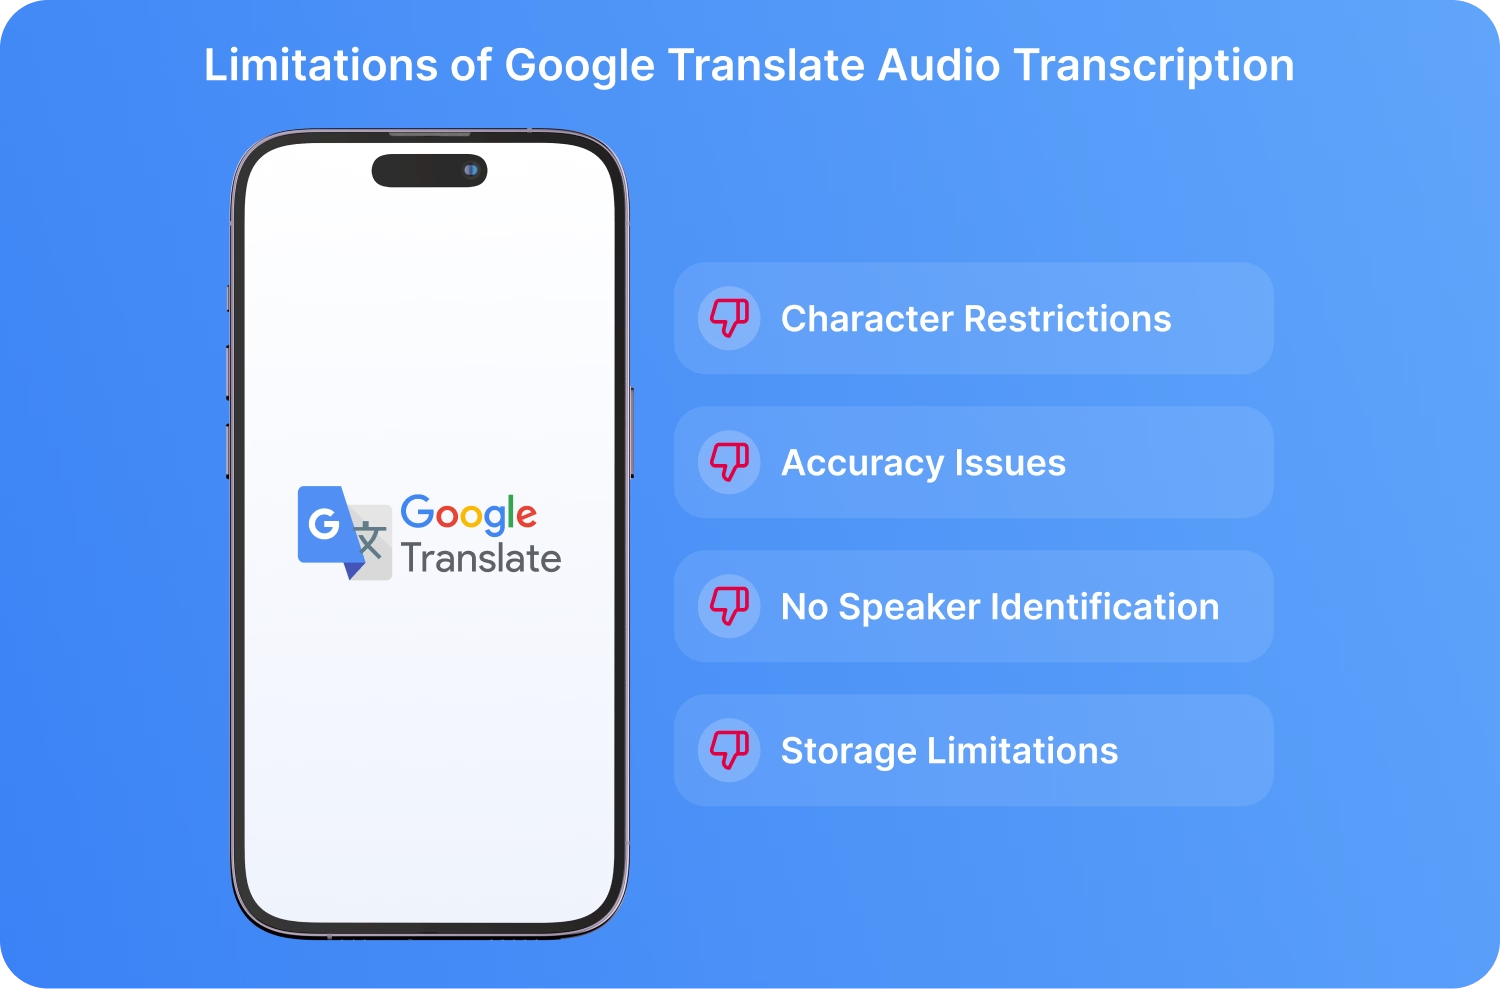
While Google's audio-to-text Translate tool is helpful for quick translations, it certainly has limitations, such as accuracy issues, storage constraints, and no speaker identification. Besides, the app is limited to short conversations and not lengthy meetings. The limitations are detailed below.
- Character Restrictions: Google Cloud Translate is optimized to process smaller requests, and the recommended maximum length per request is 5000 characters at a time. So, despite the support for quick operations and 200+ languages, you can’t rely on it to transcribe lengthy meetings and calls.
- Accuracy Issues: Google Translate struggles with heavy accents, overlapping speech, and technical jargon. So, you must speak clearly, enunciate each word distinctly, and at a moderate pace to generate an accurate transcript.
- No Speaker Identification: Irrespective of how slowly you speak, Google Translate can’t distinguish between speakers. This makes it difficult to understand who said what in multi-person conversations or meetings.
- Storage Limitations: The transcripts are stored in your Google Drive and count towards your storage quota. Unless you’re subscribed to Google’s premium plan, you have limited space to store files.
How Does Transkriptor Outperform Google Translate for Speech-to-Text?
Transkriptor outperforms Google Translate by offering better speed, accuracy, and features. This professional-grade software addresses the limitations of Google Translate and allows users to obtain fast and accurate transcriptions and translations in 100+ languages. Here is a detailed explanation of why it’s better for transcription tasks.
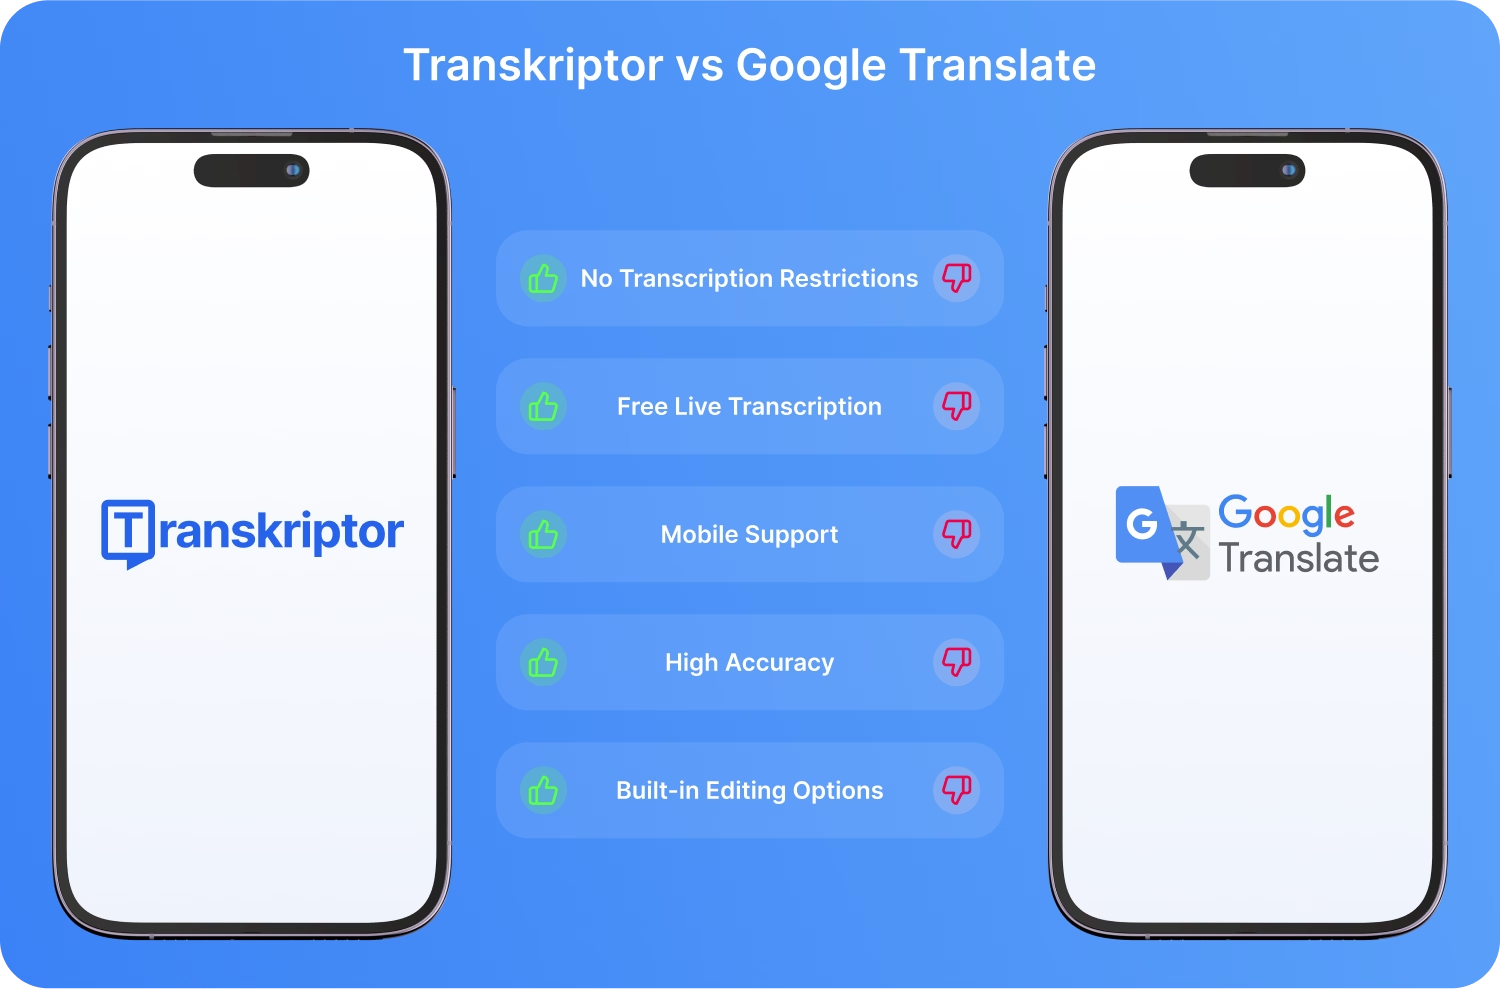
- No Transcription Restrictions: Unlike Google Translate’s audio file-to-text character limitations, Transkriptor offers uninterrupted transcription ability. You can use it to transcribe your lengthy meetings and client calls without any issues.
- Free Live Transcription: Transkriptor offers free live transcription so that you can take notes on the go. Transkriptor hasn’t set a character limit, unlike Google Translate, and you can directly upload or download the transcript.
- Mobile Support: The Transkriptor mobile app lets you easily record and transcribe audio straight from your phone without the hassle of sitting down at your desk to transcribe something.
- High Accuracy: Transkriptor has an accuracy of up to 99% accuracy, which is much better than Google Translate’s abilities. The accuracy remains unhinged even when audio involves multiple speakers, accents, or moderate background noise.
- Built-in Editing Options: Transkriptor offers a built-in editing feature that lets you adjust speaker labels for a multi-speaker conversation, change language, and adjust time stamps, if needed. It also has a search functionality and a playback feature that lets you perform quick edits.
What Should I Choose: Google Translate or Transkriptor?
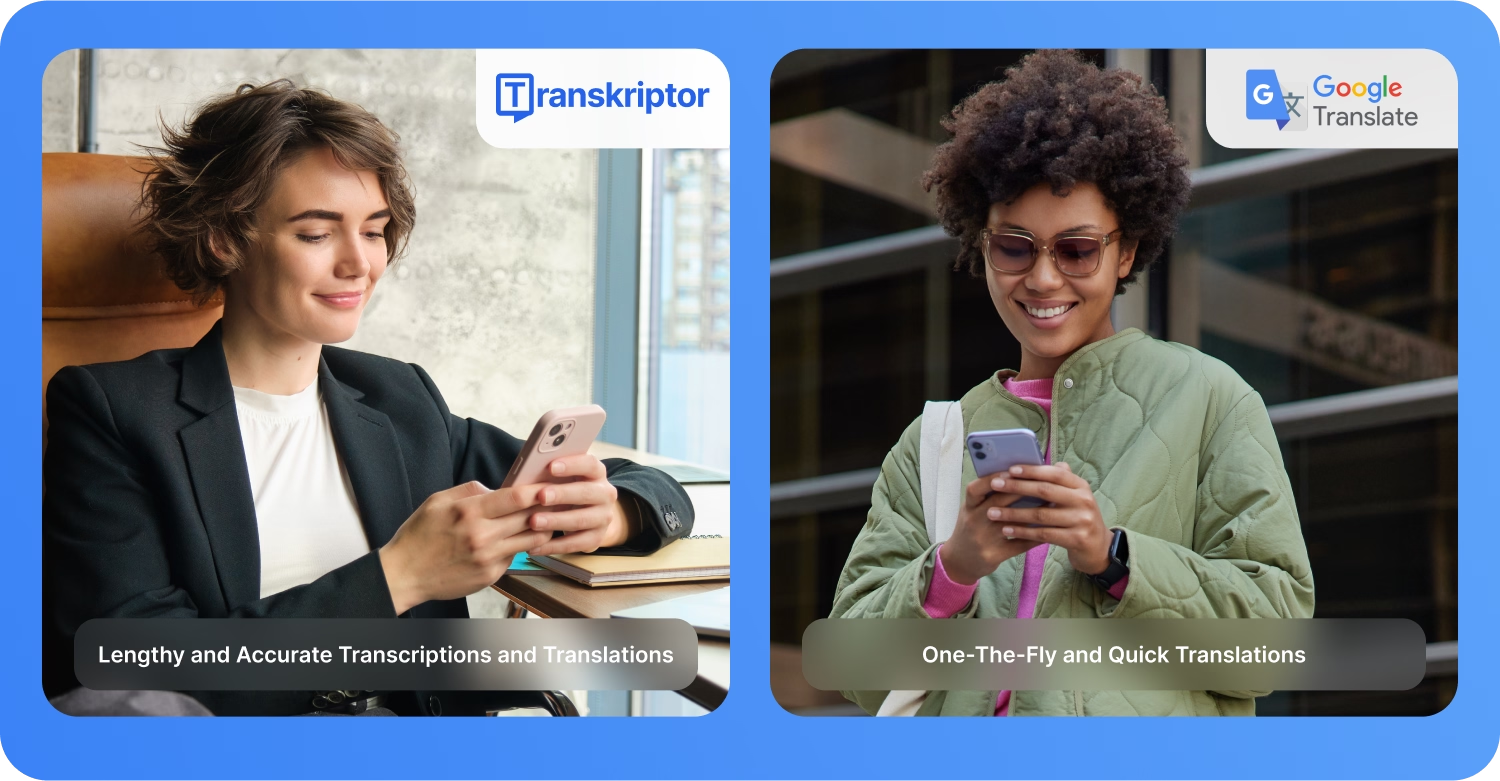
The decision to choose between Google Translate’s audio-to-text feature and Transkriptor depends on your transcription priorities. For example, if you want transcriptions for conversational snippets, choose Google Translate. Transkriptor can be a viable option if you need accurate transcriptions of lengthy audio quickly and in the language of your choice.
| Features | Transkriptor | Google Translate |
|---|---|---|
| Accuracy | Up to 99% | Good for simple speech |
| Character Limit | Unlimited | Up to 5,000 characters |
| Formats Supported | Works with most audio/video formats like MP3, MP4, WAV, AVI, etc. | Handles text, speech, and live conversations. |
| Speaker Identification | Yes | No |
| Pricing | Free Trial available Paid Plans | Free for personal use |
| Best For | Professional transcription | Quick translations |
Conclusion
Audio-to-text on Google Translate offers a simple way to transcribe and translate your audio files. Although convenient, it has several limitations, including inaccuracy, character limits, a lack of speaker identification, and storage constraints. Transkriptor provides accurate and free live transcription, complete with built-in editing features, multilingual support, and flexible export formats. Check out Transkriptor today for all your transcription needs!
Frequently Asked Questions
Yes, Google can turn audio into text. Google offers transcription services for different platforms. Google offers several transcription tools. You can transcribe on Google Meet (with a paid plan). Google Live Transcribe lets you transcribe audio on the go. For full recordings, Google Speech-to-Text API could work, but it requires some technical knowledge.
No, not all Google Transcription tools are free. Some tools like Google Docs allow free usage, but it's only limited to single-speaker functionality. For free and accurate multi-speaker transcription, you can try out Transkriptor.
No, ChatGPT cannot transcribe audio. You can input a transcript in ChatGPT and ask it to give you notes, pointers, or a summary.
Google's text-to-speech feature is fairly accurate, but it does not take diction, accents, or cultural nuances into account while transcribing audio.
Transkriptor is the best tool to transcribe audio-to-text with its excellent accuracy, speed, and multilingual translation abilities. It also offers in-app editing features that let you edit lengthy documents with ease.
