
Adding text to videos is an essential technique for enhancing communication, branding, and accessibility. Whether you’re creating subtitles for clarity, overlays for branding or dynamic text to emphasize key points, text can significantly elevate the impact of your video content. FFmpeg, a free and open-source video customization tool, is a go-to solution for achieving this. Its command-line video editing guide offers unmatched flexibility and customization, enabling users to fine-tune every detail of their text overlays.
In this FFmpeg text overlay guide, we’ll walk you through the process of adding text to videos using FFmpeg. From basic text overlays to advanced customizations and subtitle integration, we’ll cover everything you need to know.
Additionally, we’ll show how combining FFmpeg with tools like Transkriptor can simplify the process of generating accurate and formatted text for your projects. Whether you’re a content creator, educator, or business professional, this guide will equip you with the skills to add text seamlessly and effectively to your videos.
Why Use FFmpeg for Adding Text to Videos?
Here are the reasons to use FFmpeg for adding text to videos:
Open-Source and Free
FFmpeg is an open-source software tool, meaning it is freely available for anyone to download and use without any licensing fees or subscription costs. This makes it accessible for both personal and professional use. Unlike many commercial video editing tools, FFmpeg offers full functionality at no cost.
Additionally, being open-source allows developers to inspect, modify, and contribute to its codebase. For users looking to edit videos on a budget or incorporate advanced features without financial barriers, video editing with FFmpeg is an excellent choice.
Highly Customizable
One of FFmpeg’s standout features is its advanced customization. Users can control virtually every aspect of how text appears on a video. This includes selecting specific fonts, adjusting sizes, modifying colors, setting positions, and adding effects like shadows, borders, and opacity adjustments.
In addition, FFmpeg allows for advanced customization such as animating text. Animating text customization includes making it fade in or out, move across the screen, or rotate. While this level of detail requires familiarity with its syntax, it provides users with the flexibility to create highly professional and polished results.
Lightweight and Efficient
FFmpeg is designed to be lightweight, making it a practical option. Users with limited hardware resources or those working on older systems can easily use FFmpeg. FFmpeg performs efficiently across all major operating systems, including Windows, macOS, and Linux. It doesn't require the installation of heavy software suites or consume excessive disk space.
The tool runs directly through the command line, which eliminates the need for bulky graphical interfaces and speeds up operations. Additionally, optimized algorithms allow it to process tasks such as text overlays in videos using FFmpeg or video rendering quickly, even on large files.
Perfect for Automation
For those managing multiple videos or repetitive editing tasks, FFmpeg is a perfect tool for automation. Its command-line interface supports scripting. This means users can write batch scripts to perform identical edits on multiple videos without manual intervention.
For example, if you need to add a watermark or text overlay to hundreds of videos, FFmpeg can execute the task in one go. Additionally, its integration with programming languages such as Python enables even more sophisticated automation. This makes FFmpeg particularly valuable for workflows involving large-scale content creation, such as social media campaigns, educational projects, or corporate video libraries.
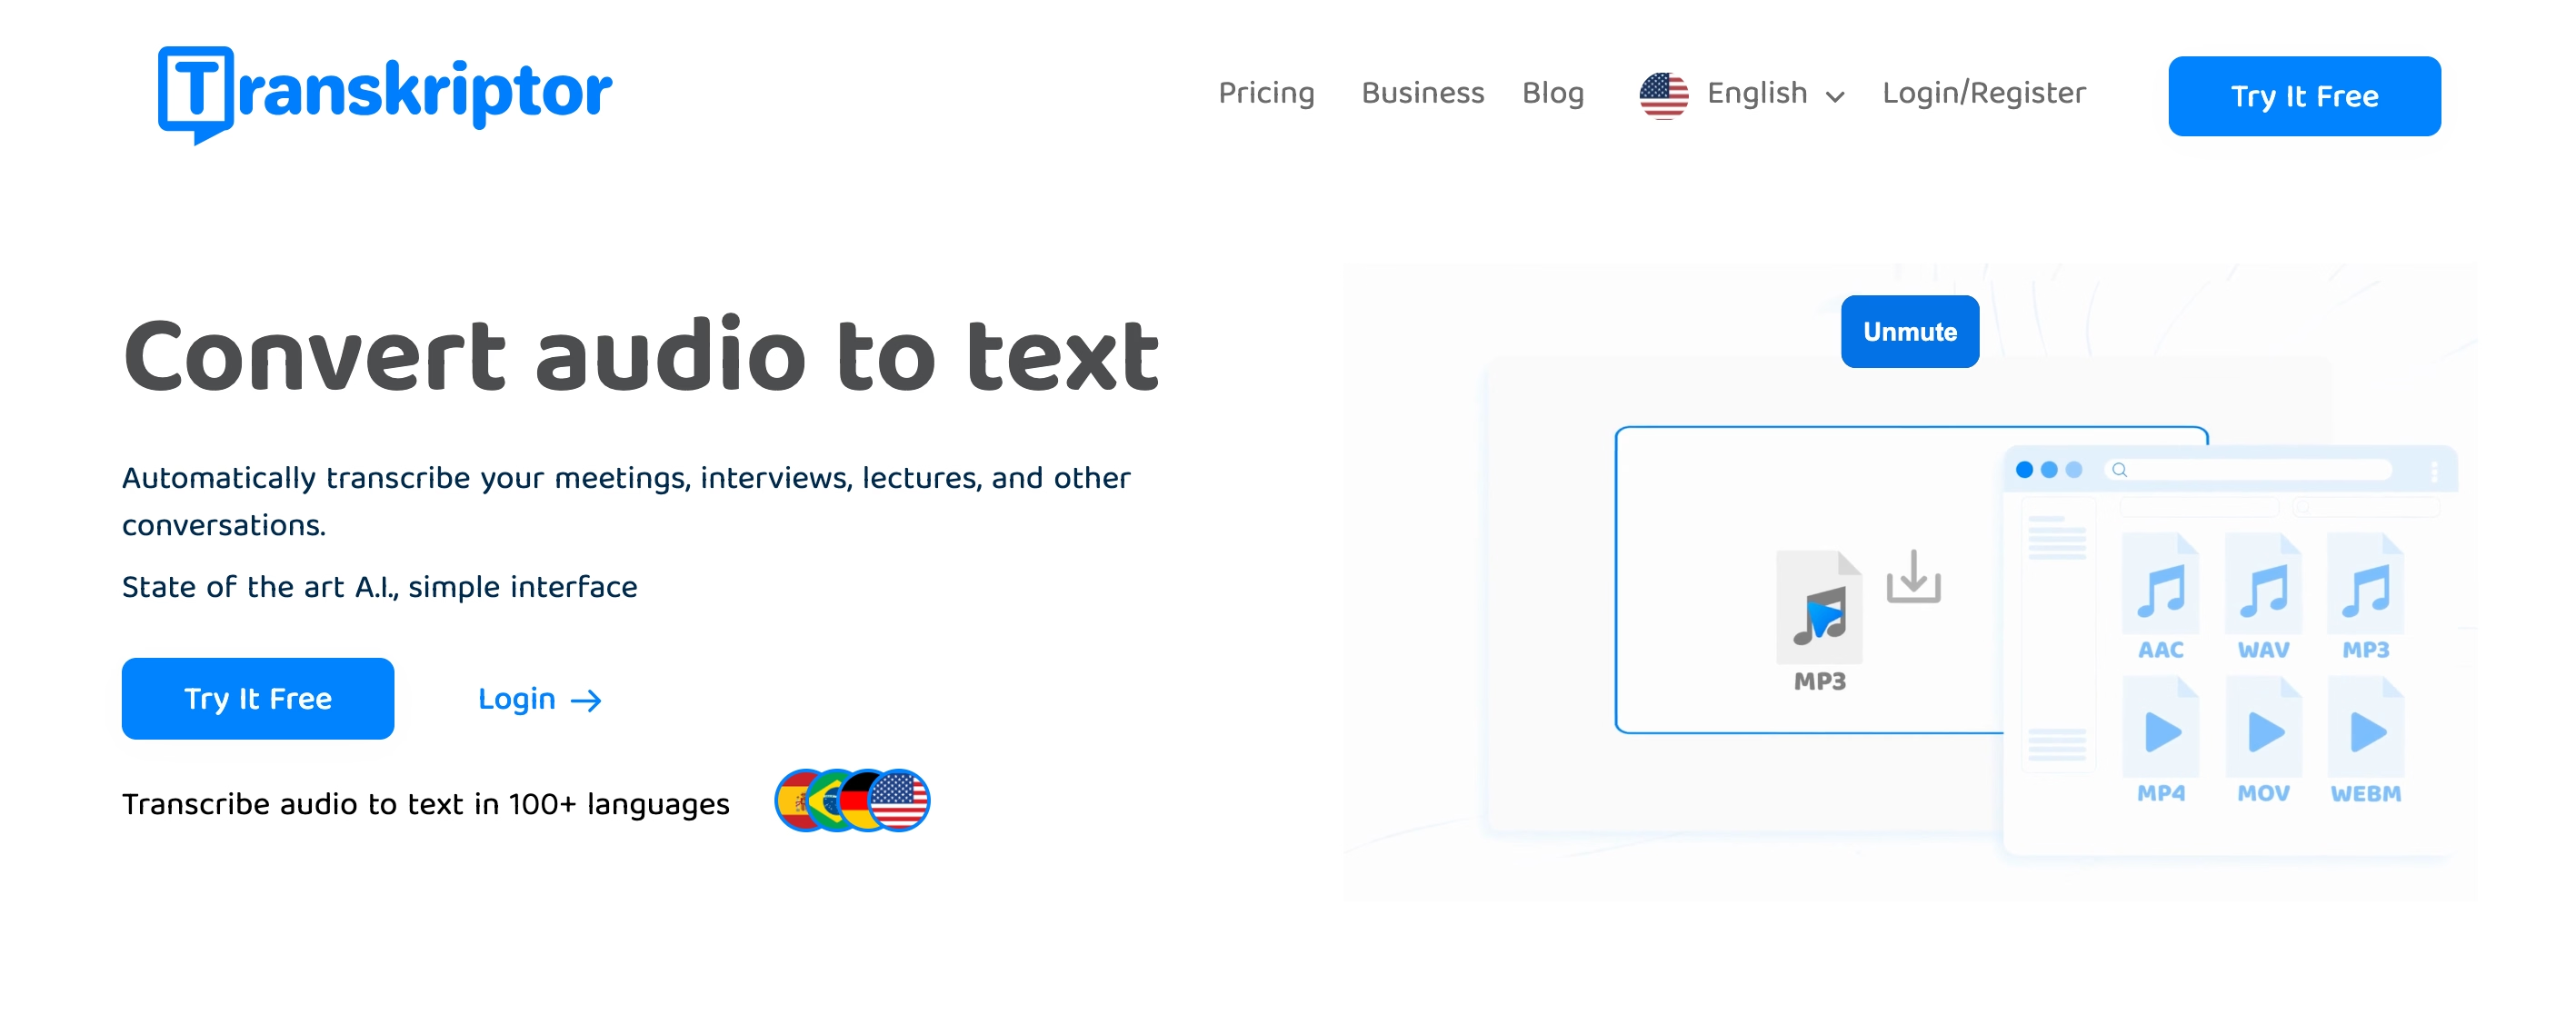
Generate Text for FFmpeg Using Transkriptor
Before adding text to your video, you’ll need accurate and well-formatted text content. Transkriptor simplifies this process with its intuitive tools and AI-driven transcription capabilities.
Here’s how Transkriptor streamlines the process:
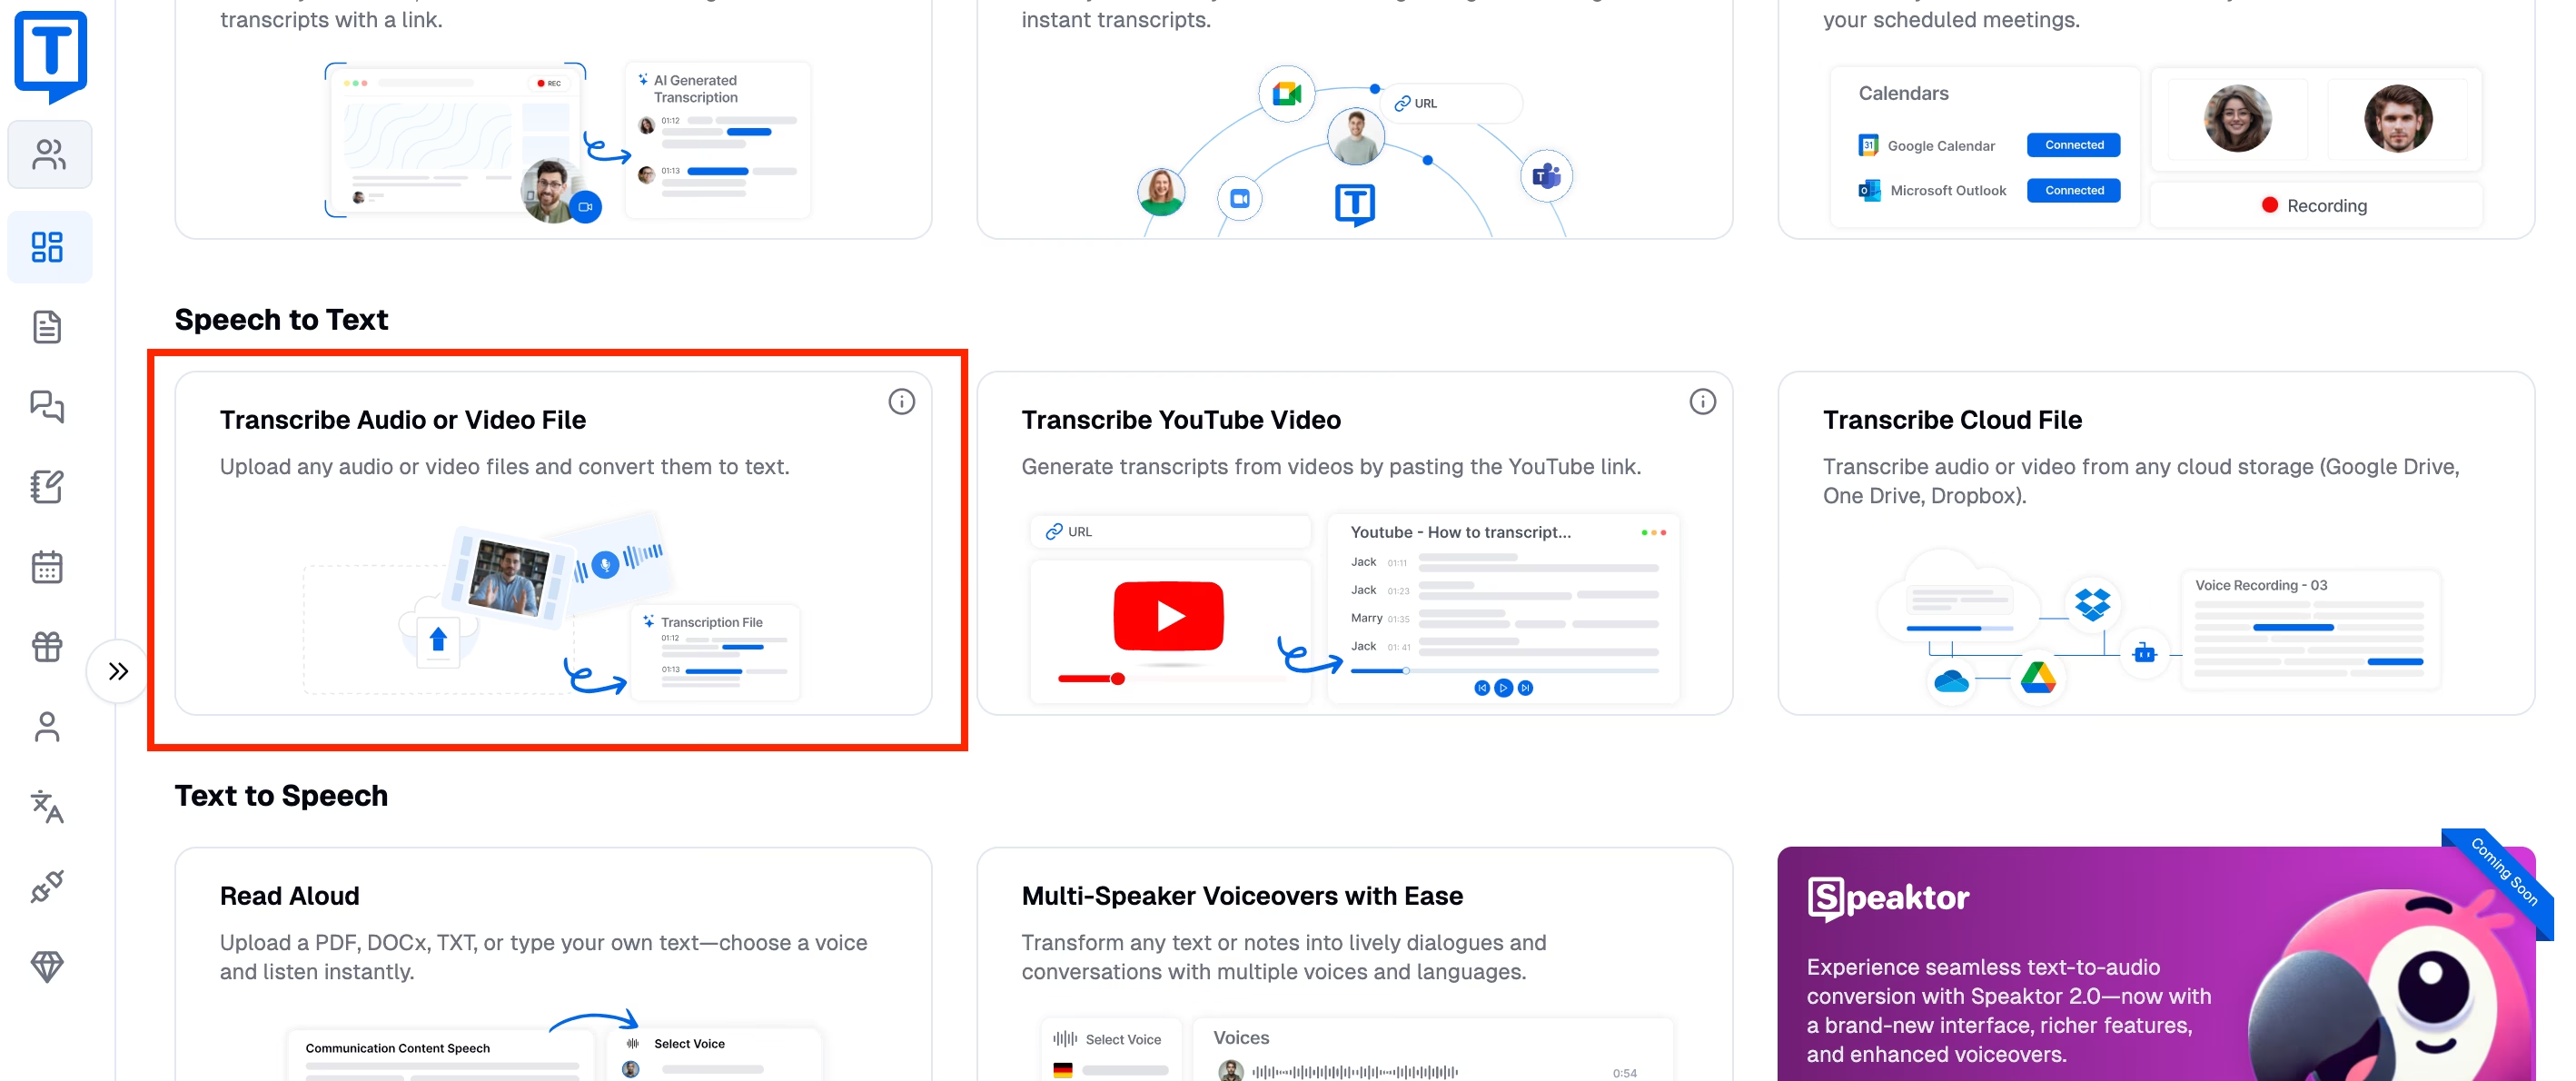
Step 1: Upload Your Audio or Video File
Start by uploading your media file to Transkriptor. The platform supports various popular formats, including MP3, WAV, and MP4, ensuring compatibility with your audio or video content. The upload process is straightforward, and you can use files from interviews, presentations, or any recorded material you want to enhance with text.
Step 2: Generate the Transcript
Transkriptor’s AI starts the process by analyzing the audio to generate a transcript. The process is quick and efficient, saving you the time and effort of manual transcription. Transkriptor ensures a high degree of accuracy by leveraging advanced natural language processing (NLP) technology to detect speech patterns and differentiate between speakers when necessary.
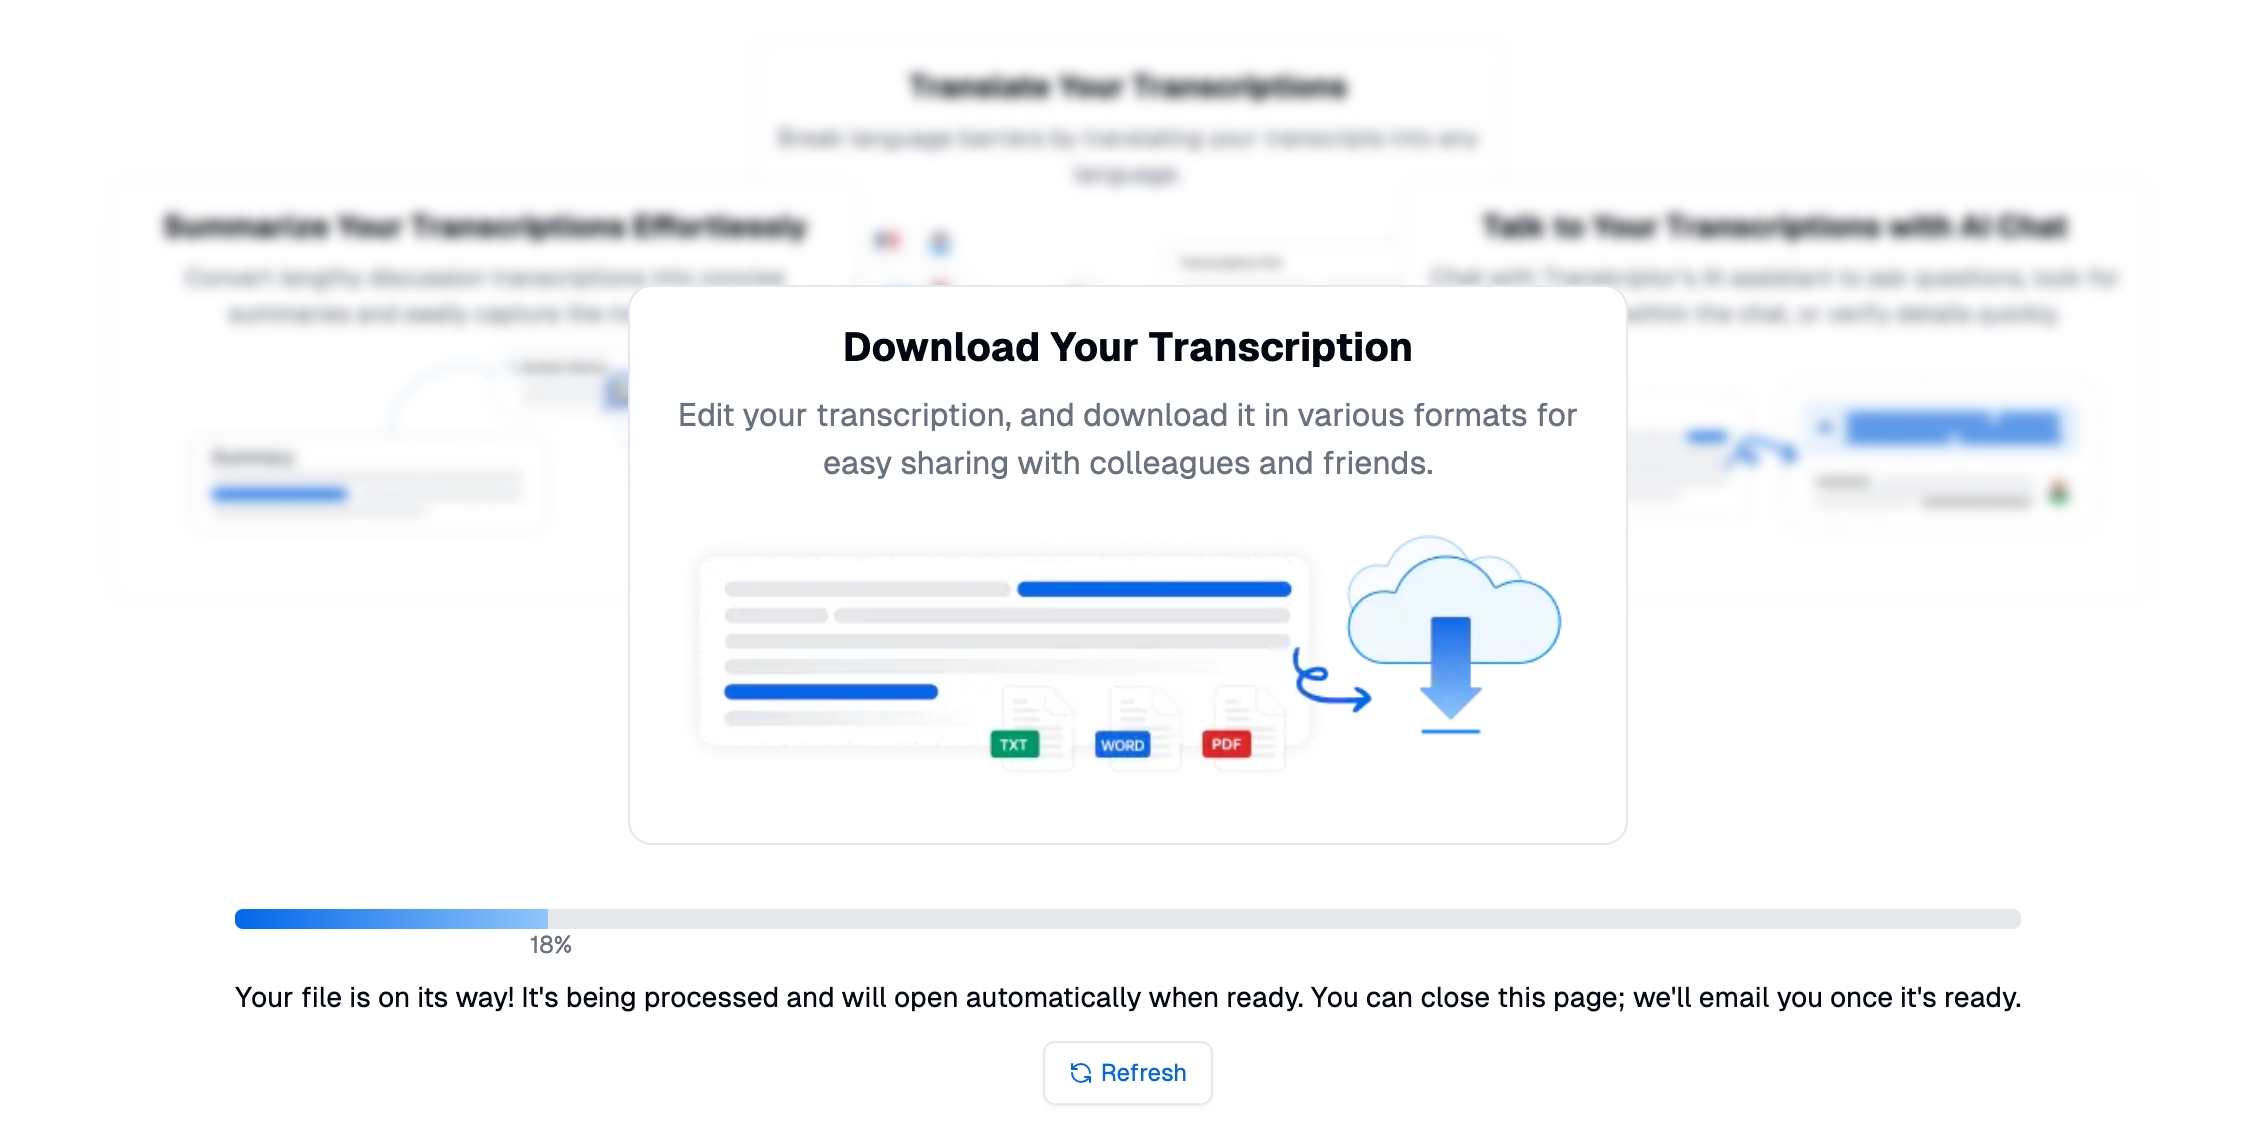
Step 3: Edit and Format the Text
After the initial transcription, you can use Transkriptor’s built-in editor to refine the text. This editor allows you to correct any inaccuracies, adjust punctuation, and format the text to suit your needs. You can also sync the text with timestamps, especially for subtitles or precise text overlays in FFmpeg. Transkriptor’s user-friendly interface ensures this step is both efficient and intuitive.
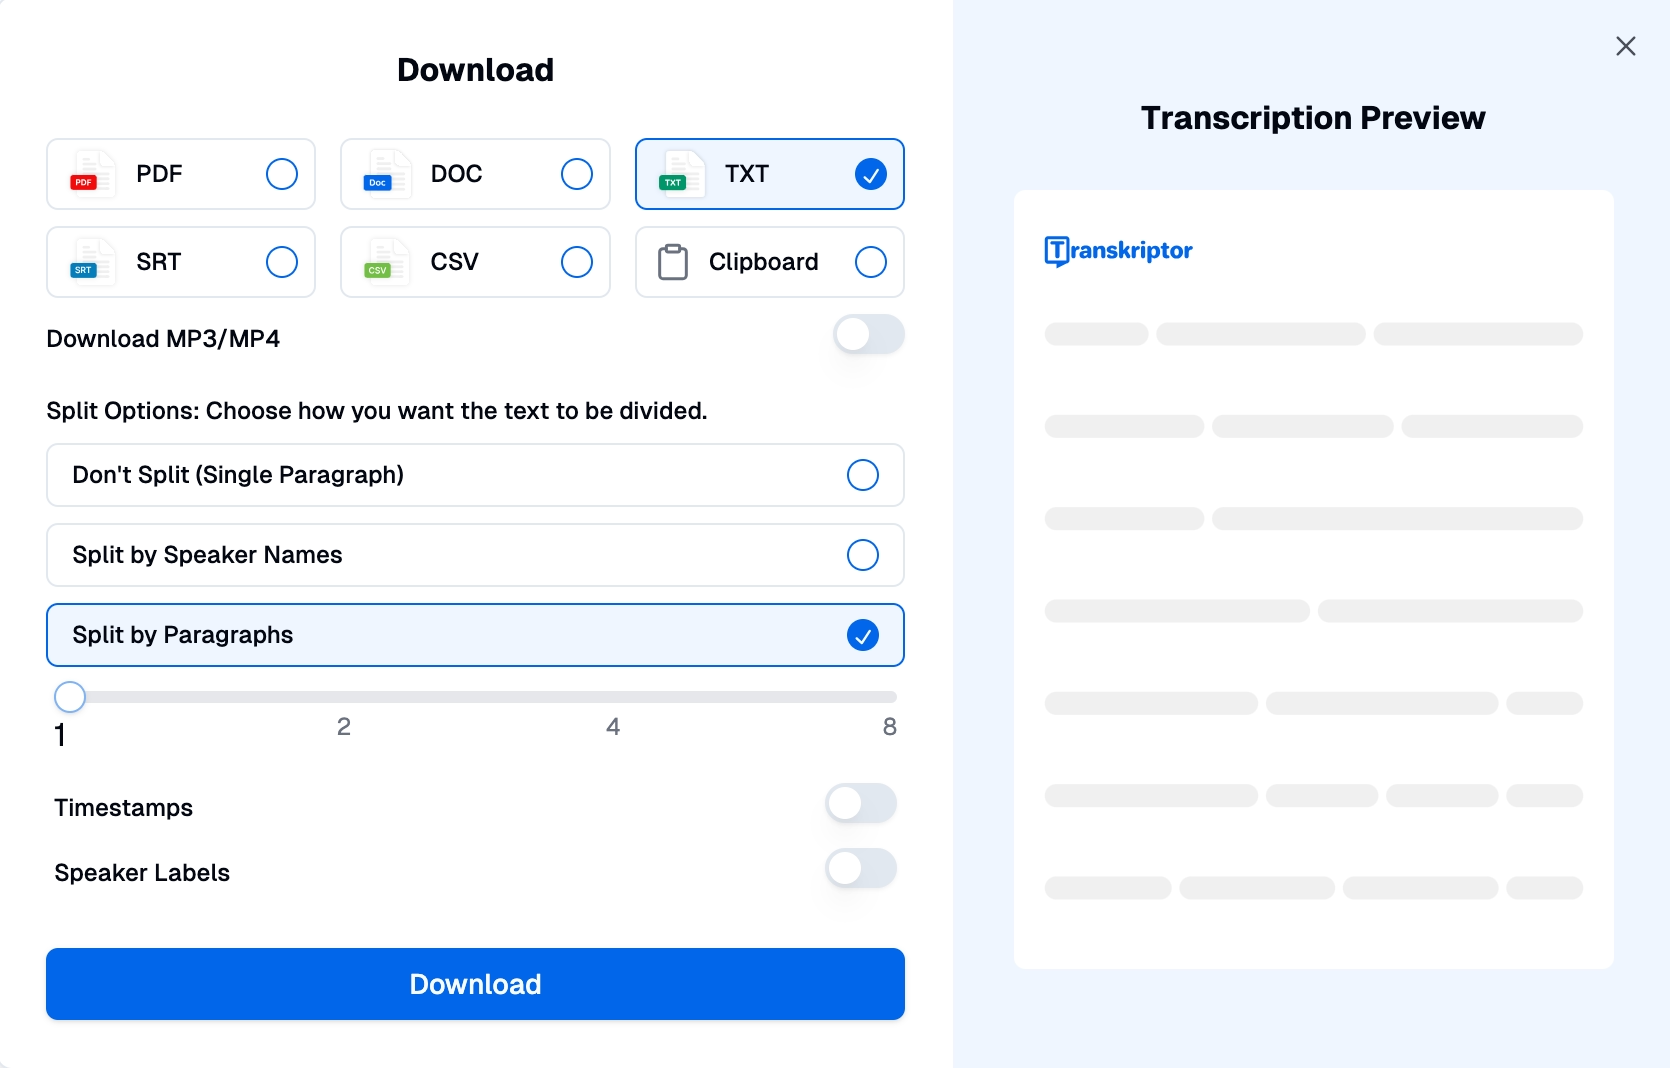
Step 4: Export in SRT or Text Format
When your transcript is ready, export it in a format compatible with FFmpeg. For adding subtitles using FFmpeg or time-synchronized text, choose the SRT (SubRip Subtitle) format. If you prefer plain text for general overlays, export the file as a simple text document.
Step-by-Step Guide to Adding Text to Videos with FFmpeg
Here is a step-by-step guide on how to add text to a video with FFmpeg:
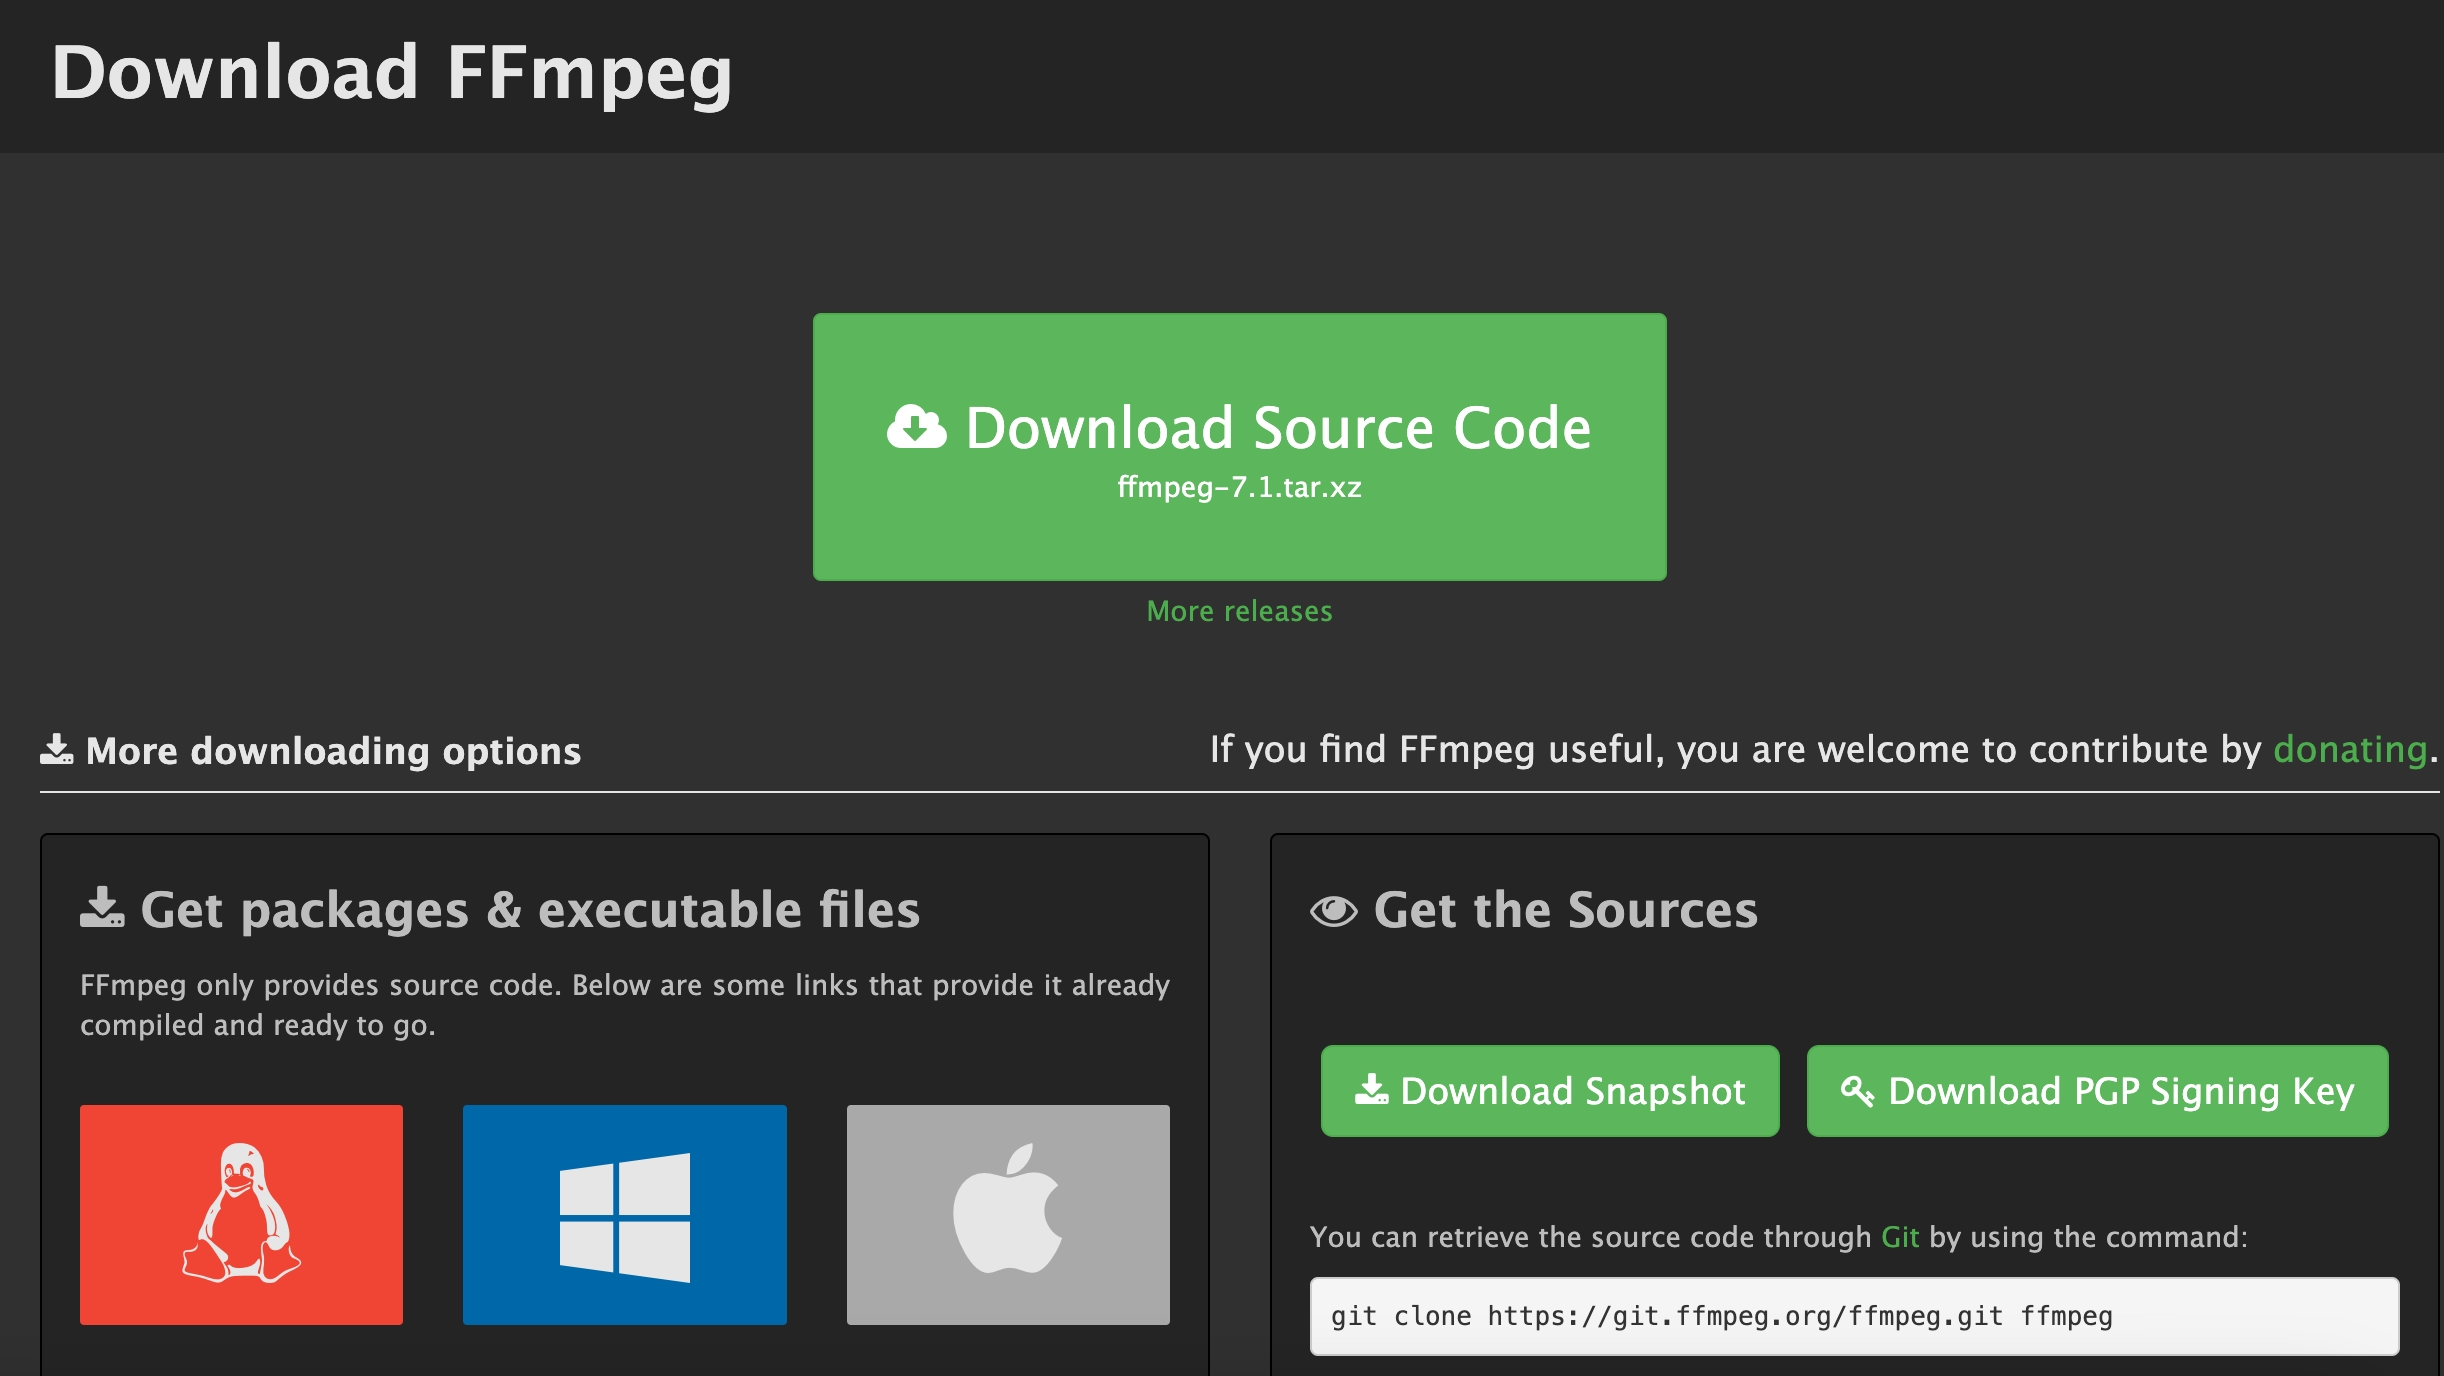
Step 1: Install FFmpeg
Begin by downloading and installing FFmpeg from itsofficial website. Follow the instructions for your operating system. For Windows, use the precompiled binaries and add FFmpeg to your system's PATH for easy access. For macOS, install FFmpeg using Homebrew or download the binaries, and for Linux, use your distribution's package manager.
Step 2: Prepare Your Text or Subtitle File
Use Transkriptor to create and format your text content. Transkriptor will provide you with accurate and fast transcriptions for you to use as subtitles for your video. For subtitles, save the file in the SRT format for compatibility. Ensure your text is properly synchronized with timestamps for smooth integration into your video. Transkriptor offers timestamps so that you know who speaks when exactly.
Step 3: Use FFmpeg to Add Text Overlays
Run the following basic command to add static text:
ffmpeg -i input.mp4 -vf "drawtext=text='Your Text Here':fontcolor=white:fontsize=24:x=(w-text_w)/2:y=(h-text_h)/2" -codec:a copy output.mp4
Explanation of the code:
drawtext=text='Your Text Here': The text to display.
fontcolor=white: Text color.
fontsize=24: Font size.
x=(w-text_w)/2:y=(h-text_h)/2: Positions the text in the center of the video.
Step 4: Add Subtitles Using an SRT File
Use the following command to add subtitles from an SRT file:
ffmpeg -i input.mp4 -vf subtitles=subtitles.srt -c:a copy output.mp4
Explanation of the code:
subtitles=subtitles.srt: Adds subtitles from the SRT file.
Step 5: Customize Text Appearance
Customizing videos with FFmpeg is an easy process. Modify text attributes like font, size, color, and position using drawtext options. Here is a code example:
ffmpeg -i input.mp4 -vf "drawtext=text='Custom Text':fontfile=/path/to/font.ttf:fontsize=36:fontcolor=yellow:x=10:y=50" -codec:a copy output.mp4
Step 6: Preview and Refine Your Video
Once the video is processed, play the output file to verify that the text appears as intended. Use a media player like VLC or your default video player.
If adjustments are needed, modify the FFmpeg command for better alignment, size, or color. You can also reprocess the video with the updated command. Repeat this step until you achieve the desired result.
Tips for Effective Text Customization in FFmpeg
Text customization in FFmpeg is an important step as it will change the whole appearance of your video content, which is crucial for your brand’s or individual project engagement. Here are some FFmpeg video processing tips:
Use Custom Fonts
Enhance the visual impact of your video by specifying custom fonts using the font file parameter. This allows you to move beyond default system fonts and match the text style to your brand or video theme.
Download free or licensed fonts from platforms like Google Fonts or Adobe Fonts. Ensure the chosen font is legible and complements your video's aesthetic.
Optimize Positioning
Experiment with the x and y coordinates to position text in the desired location. This flexibility lets you align text to specific objects, the top or bottom of the frame, or even off-center for creative effects. Use preview players or tools to test placement before finalizing.
Here are some positioning examples:
- Top-Left Corner: x=10:y=10
- Bottom-Right Corner: x=w-text_w-10:y=h-text_h-10
- Centered: x=(w-text_w)/2:y=(h-text_h)/2
Add Dynamic Effects
Make your text visually engaging by animating it with FFmpeg. Use features like scrolling, fading, or keyframes for effects such as moving text or gradual appearance. Here is an example code for fading text:
ffmpeg -i input.mp4 -vf "drawtext=text='Fading Text':alpha='if(lt(t,2),0,if(lt(t,4),(t-2)/2,1))':fontsize=24:fontcolor=white:x=50:y=50" -codec:a copy output.mp4
Adjust the alpha parameter for transparency effects over time.
Ensure Readability
Guarantee your text is easy to read on all devices and screen sizes. Use colors that stand out against the video background. For example, white text on a dark background or black text with a white shadow. Adjust the font size to be large enough for visibility without overwhelming the frame. Add text-shadow or border color options for better distinction.
Benefits of Combining Transkriptor and FFmpeg
By integrating Transkriptor and FFmpeg, you can achieve a seamless, efficient, and professional approach to video editing with text.
Here’s why this combination is a game-changer:
Streamlined Workflow
Transkriptor’s AI-driven transcription tools eliminate the time-consuming process of manually creating text for videos. Once you’ve generated and formatted your transcript, FFmpeg allows you to integrate the text seamlessly into your video. This integration significantly accelerates the editing process, especially for projects with repetitive tasks or large amounts of content.
This integration is possible because Transkriptor provides outputs in SRT format. Upload your media to Transkriptor and let it generate an accurate transcript. Export the text in a format compatible with FFmpeg (e.g., SRT for subtitles). Use FFmpeg’s powerful text overlay features to finalize the video.
Professional-Quality Results
Combining Transkriptor’s transcriptions with FFmpeg’s robust text editing tools enables the creation of highly polished videos. Whether you're producing captions, subtitles, or on-screen text, this pairing ensures that the text is both accurate and visually appealing.
Transkriptor ensures transcriptions are synchronized with your video’s dialogue. FFmpeg allows you to style text with custom fonts, colors, animations, and precise positioning for a professional touch. This combination is ideal for both small-scale projects and large productions requiring batch processing.
Accessibility Made Easy
With Transkriptor generating synchronized transcripts and FFmpeg overlaying them onto videos, your content becomes more accessible to a broader audience, including viewers with hearing impairments or those who prefer consuming content without sound.
Transkriptor supports multiple languages, allowing you to create subtitles for global audiences. Captions created with transcriptions enhance understanding in noisy environments or when the audio quality is poor. Adding captions to videos meets accessibility standards and improves engagement on social media platforms where silent autoplay is common.
Cost-Effective Solution
Both Transkriptor and FFmpeg offer affordable and accessible options for professional video editing. Transkriptor provides an affordable subscription model, eliminating the need for expensive transcription services. Additionally, as an open-source tool, FFmpeg is completely free to use, making it a valuable resource for individuals and businesses on a budget.
This combination empowers creators to produce high-quality, professional videos without incurring significant costs. Thus, using two tools together is ideal for freelancers, educators, small businesses, and content creators.
Conclusion
With this step-by-step FFmpeg text addition guide, you can find a versatile and cost-effective way to elevate the quality of your video content. By learning how to add subtitles with FFmpeg and its capabilities, you can achieve an unparalleled level of customization. Its lightweight nature and support for automation make it ideal for a wide range of users.
By integrating FFmpeg with Transkriptor’s AI-driven transcription and text generation tools, the process becomes even more seamless and efficient. Transkriptor helps you generate accurate, time-synchronized text, whether for subtitles or on-screen overlays, significantly reducing the effort required for manual transcription and formatting.
This combination not only ensures professional-quality videos with visually appealing and well-placed text but also enhances accessibility. Start leveraging the capabilities of FFmpeg and Transkriptor today.