Thanks to lecture video transcription tools like Transkriptor, converting audio from lectures into accurate text is easier than ever. These tools simplify the transcription process, offering quick and reliable solutions for both educators and students.
This blog delves into the benefits of converting lecture audio to text, explores the top transcription tools available, and provides a step-by-step guide to help you get started. Whether you're looking to improve accessibility, streamline study efforts, or repurpose educational content, transcription can transform the way you teach and learn.
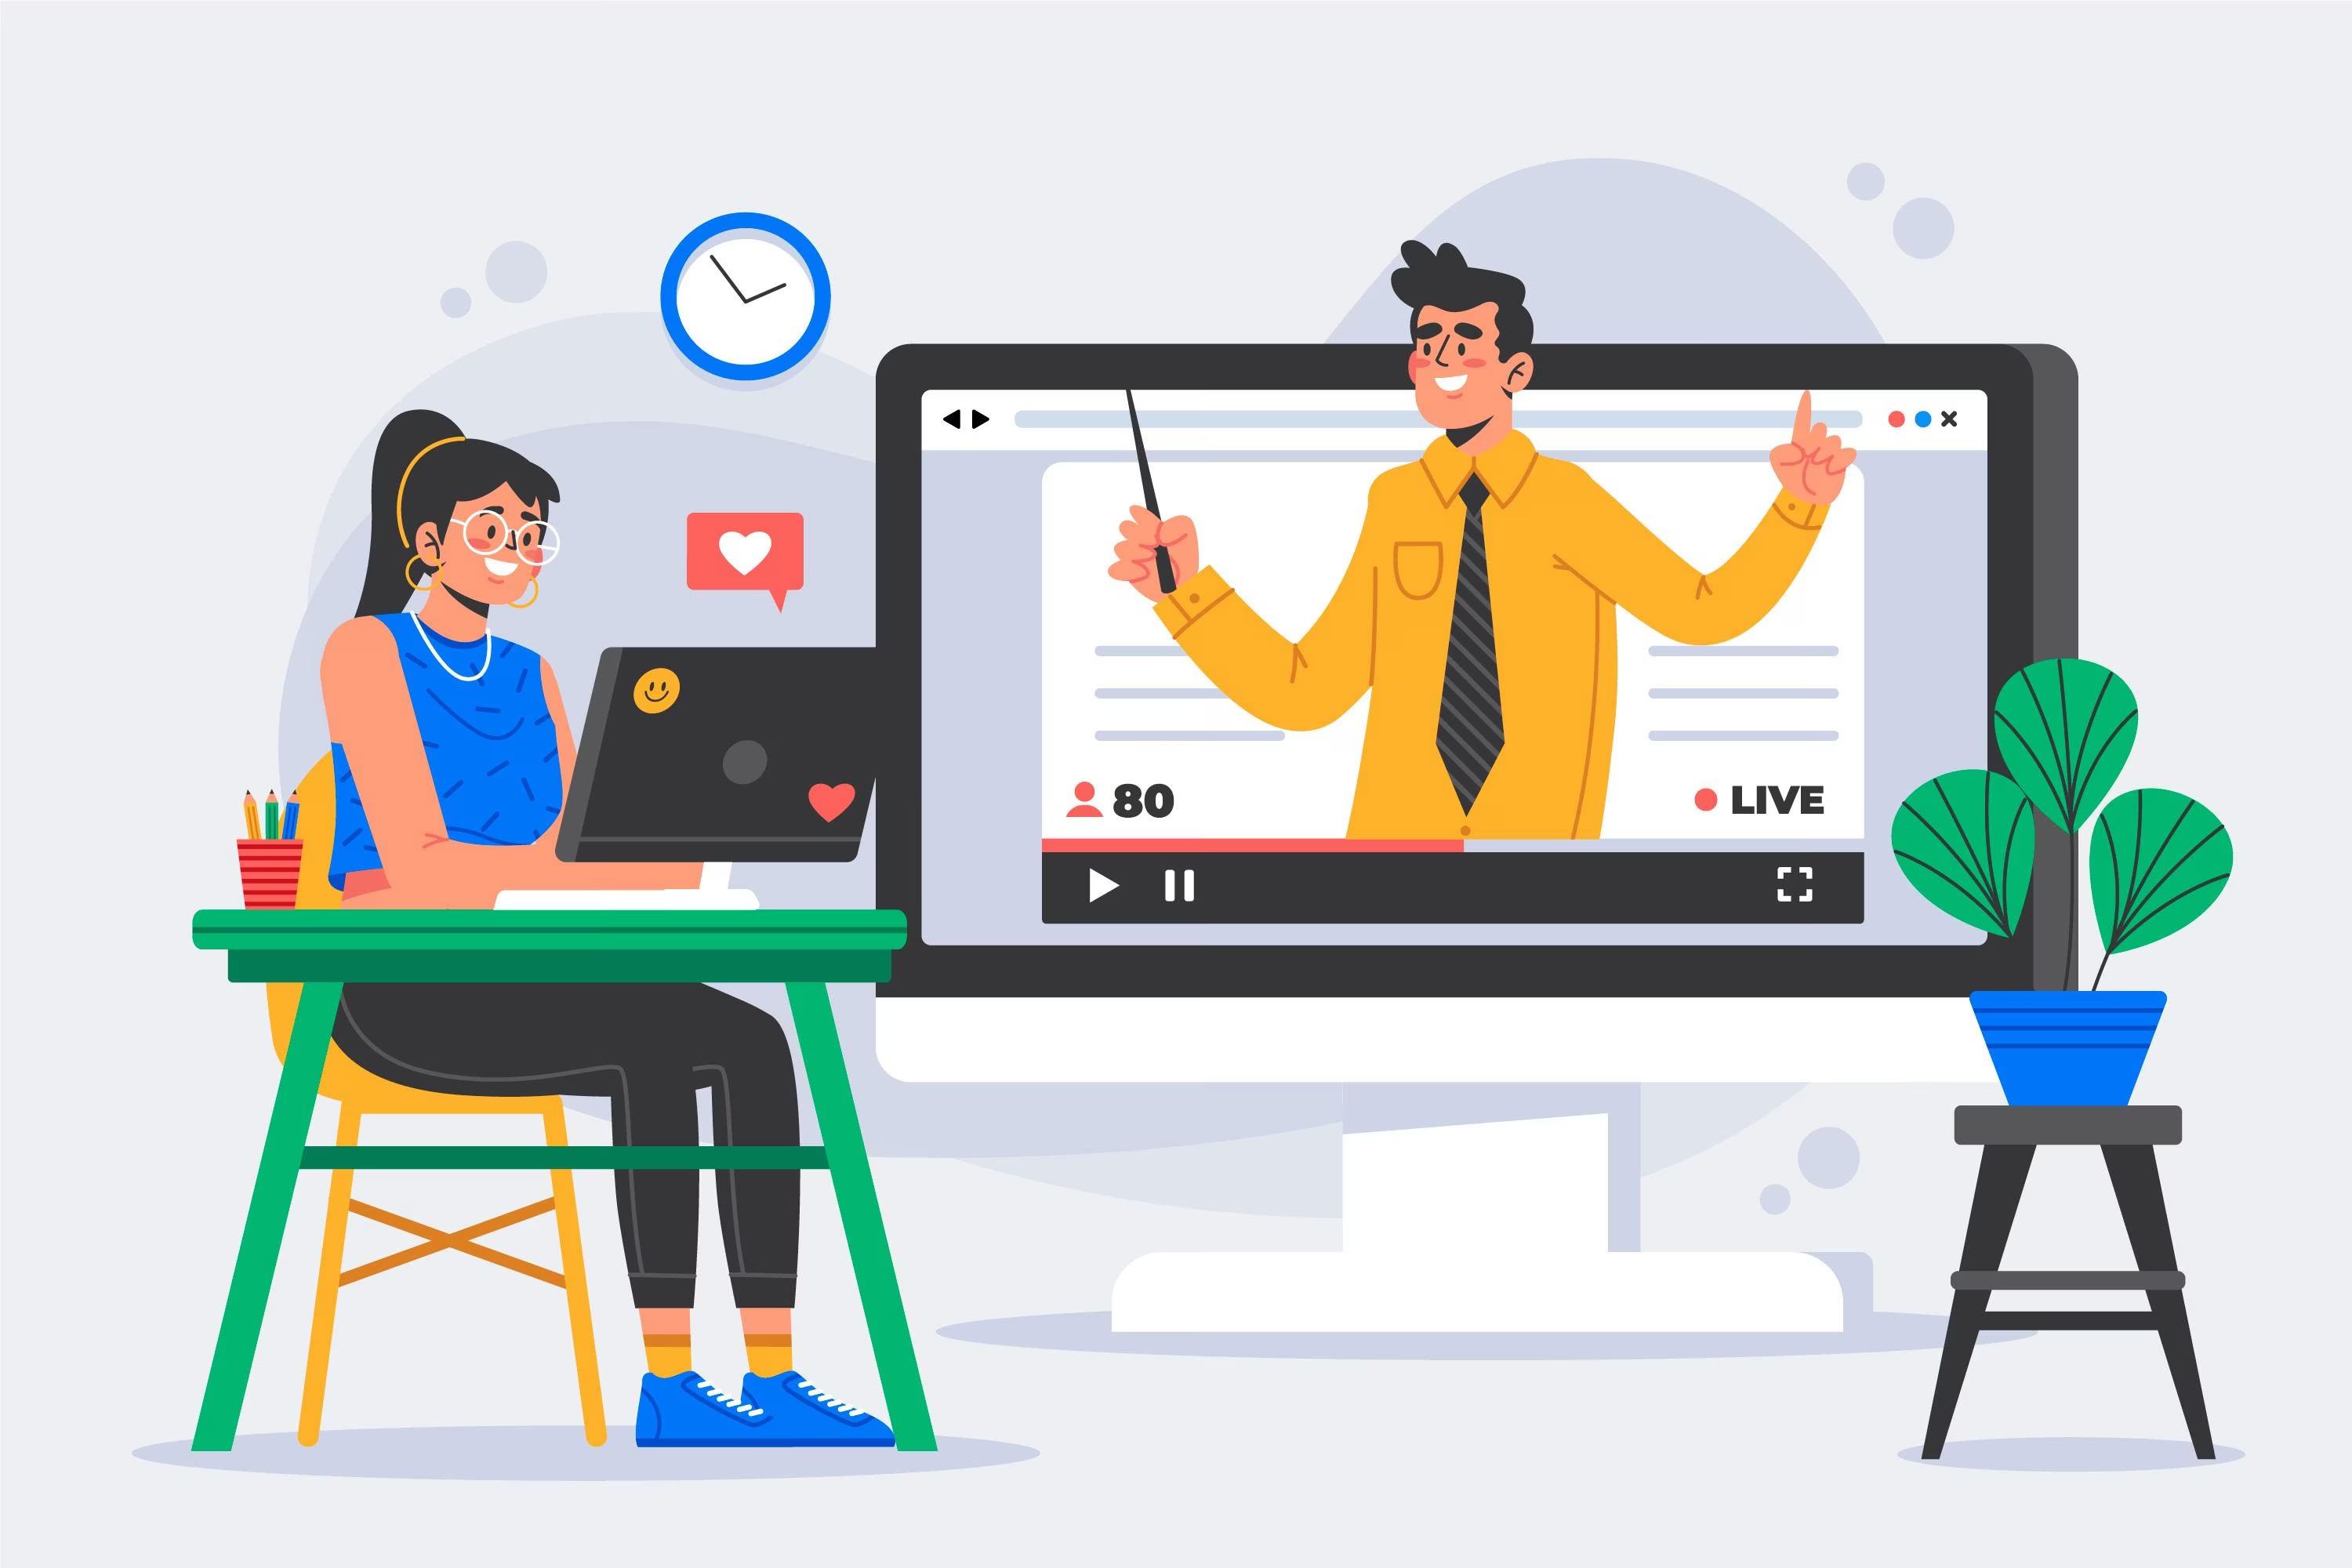
Why Transcribe Lecture Videos?
Transcribing lecture videos is important for various reasons. It improves accessibility for all learners, enhances study and review sessions, and makes it possible to share educational content across platforms.
Here is a closer look at each benefit of lecture audio-to-text tools:
Improve Accessibility for All Learners
Transcripts help students with hearing impairments or non-native language skills access the content easily. Students with hearing impairments cannot access the audial content, thus they can benefit from the written version of it. Video-to-text conversion for education creates accessible lecture notes.
Additionally, it is easier to translate the written content rather than the audial content. Students can use the translated versions of the content to improve their non-native language skills. This also improves the accessible educational content for students.
Enhance Study and Review Sessions
Written transcripts allow students to review key points, take notes, and understand complex topics. It is easier to navigate through written content and highlight the key points.
Reading transcripts and taking notes on them enhances study sessions for students. By taking notes from written content, students can understand complex topics better.
Share Educational Content Across Platforms
Transcriptions make it easier to repurpose lectures for blogs, ebooks, or educational repositories. Students can use the lecture transcripts in blogs or other platforms to share them with other students.
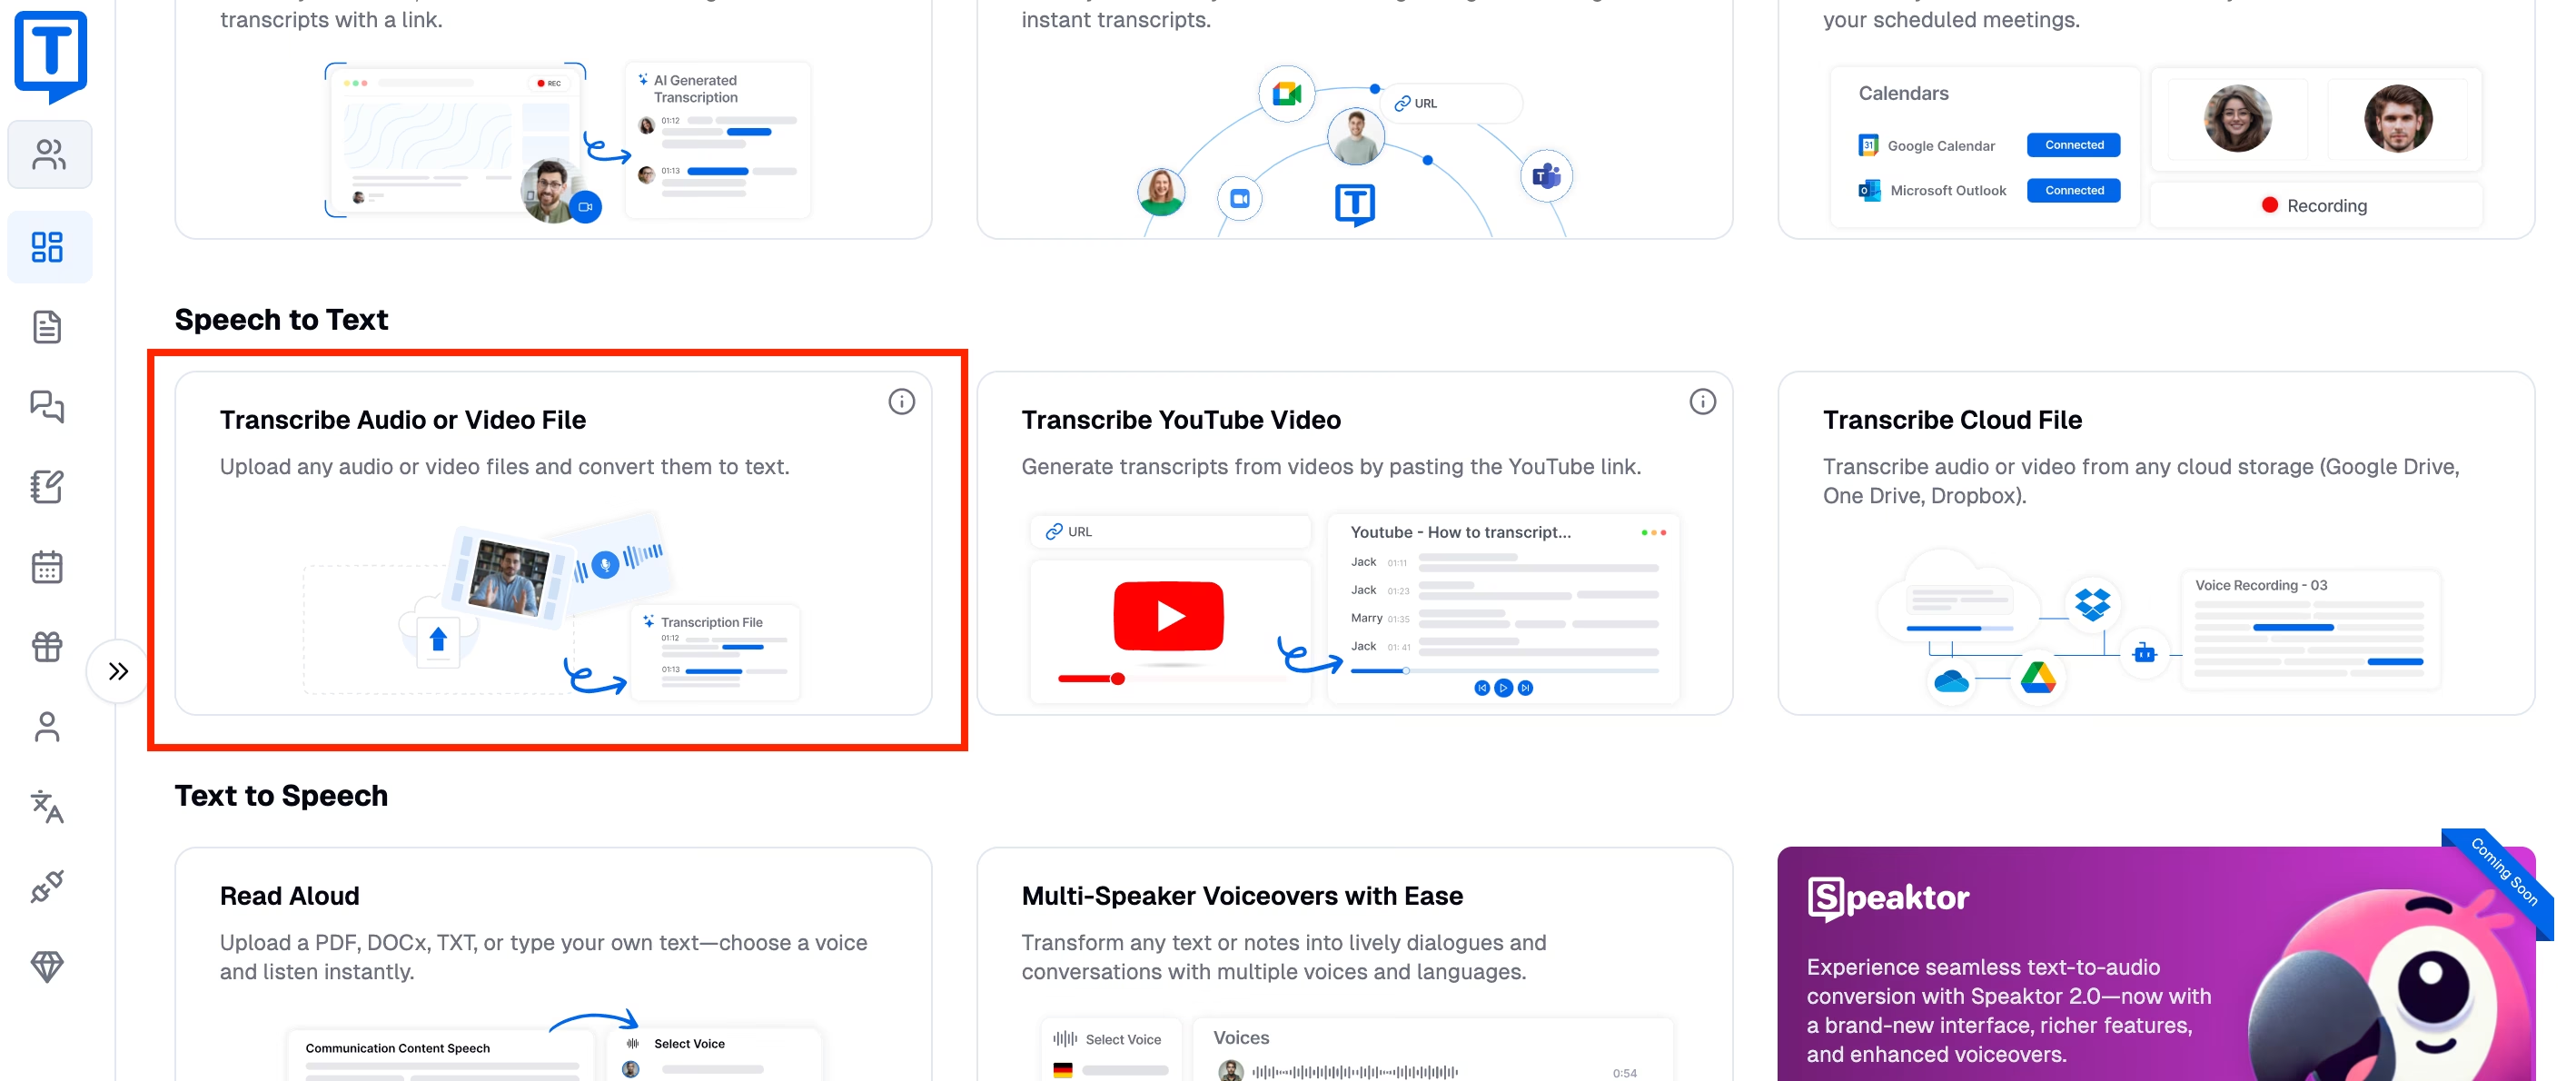
Tools for Transcribing Lecture Videos
Here are the best tools for lecture captioning solutions:
-
Transkriptor:
is a perfect AI-powered tool with high-accuracy transcriptions and affordability. -
Otter.ai:
perfect for real-time transcriptions. -
Sonix:
is a great choice for projects with multiple languages. -
Rev:
provides human-assisted AI transcriptions. -
Descript:
offers great editing tools for audio and video files.
1. Transkriptor: Best Overall for Lecture Transcription
Transkriptor is an AI-powered transcription tool that excels in accuracy and affordability. It’s a great transcription software for lectures, supporting technical and academic terms and offering a range of exporting options.
Key Features
-
High accuracy
: Accurately transcribes lectures, even with specialized terminology. -
Multi-language support
: Supports over 100 languages, making it suitable for diverse academic environments. -
Speaker identification
: Differentiates speakers in group discussions or multi-participant lectures.
Why it stands out
-
User-friendly
: Its simple interface ensures ease of use for students and educators alike. -
Budget-friendly
: Offers affordable pricing and a free trial, making it accessible to students.
2. Otter.ai: Best for Real-Time Transcription
Otter.ai is a leading transcription tool known for its real-time capabilities. It’s perfect for live lecture transcripts, with features that support collaboration and interactive learning.
Key Features
-
Live transcription
: Converts speech to text in real-time during lectures. -
Collaboration tools
: Allows team members to add comments and highlight key points. -
Searchable notes
: Makes it easy to find and reference important sections.
Why it stands out
-
Interactive
: Great for group projects and active classroom participation. -
Seamless integration
: Works well with popular meeting platforms like Zoom and Teams.
3. Sonix: Best for Multilingual Lecture Videos
Sonix is a transcription and translation tool designed for global academic needs. It provides quick, accurate transcripts and translations, making it an ideal choice for multilingual course content.
Key Features
-
Language support
: Transcribes and translates in over 30 languages. -
Editing tools
: Includes features to refine and polish transcripts. -
Export options
: Supports multiple formats, including text and subtitle files.
Why it stands out
-
Global reach
: Ensures accessibility for international students and multilingual teams. -
Efficiency
: Saves time by combining transcription and translation in one platform.
4. Rev: Best for Human-Assisted Accuracy
Rev combines AI with human editing to deliver highly accurate transcriptions. It’s well-suited for lectures with complex terminology or sensitive content that requires precision.
Key Features
-
Human editing
: Ensures near-perfect accuracy by adding a manual review layer. -
Specialized transcriptions
: Handles complex academic fields like medicine or law. -
Secure platform
: Maintains confidentiality for sensitive lecture materials.
Why it stands out
-
Dependable
: Provides the highest accuracy among transcription tools. -
Versatile
: Ideal for detailed and technical lecture content.
5. Descript: Best for Video and Audio Integration
Descript is a comprehensive platform that combines transcription with audio and video editing tools. It’s perfect for educators creating interactive lecture materials.
Key Features
-
Integrated editing
: Allows simultaneous transcription and media editing. -
Collaboration-friendly
: Enables teams to work together on transcripts and projects. -
Customizable formats
: Exports in various formats, including video with subtitles.
Why it stands out
-
All-in-one tool
: Combines transcription and editing in a single platform. -
Engaging output
: Ideal for producing polished, interactive educational content.
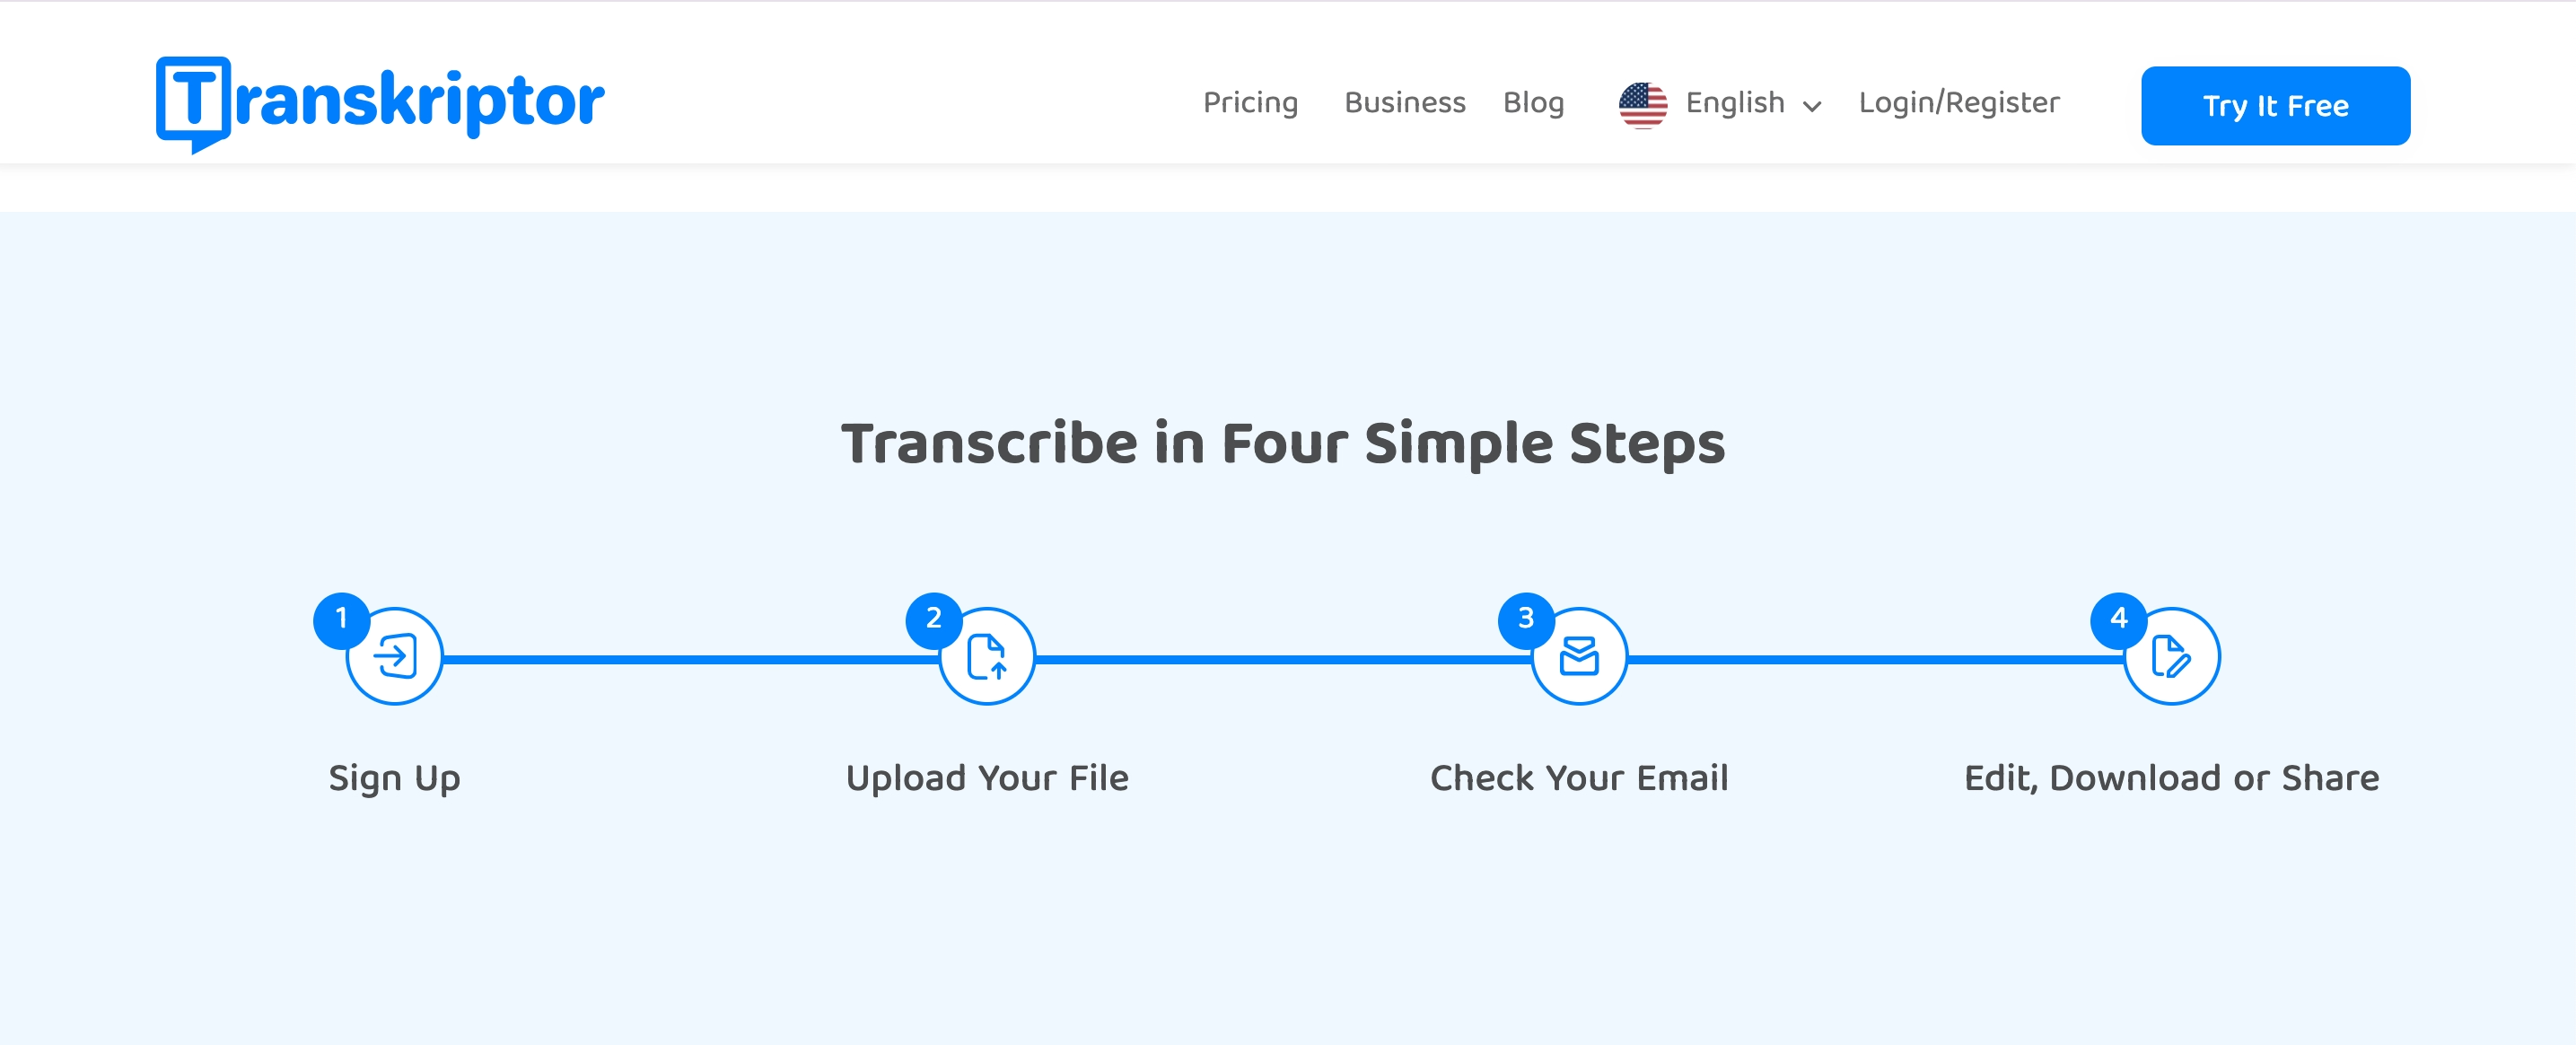
Step-by-Step Guide: How to Transcribe Lecture Videos with Transkriptor
Follow this guide to easily transcribe your lecture videos using Transkriptor as an educational video transcription software:
-
Record or Save the Lecture Video:
Record a lecture in a supported file format. -
Go to Transkriptor’s Website:
Open your Transkriptor account to upload your file. -
Upload Your Lecture File or Use the Meeting Bot:
Upload the prerecorded lecture or record a live lecture. -
Choose Your Transcription Settings:
Customize the settings according to your needs. -
Generate and Edit the Transcript:
Proofread the transcription after it is done. -
Export Your Transcript:
Export the transcription file in the desired format.
Step 1: Record or Save the Lecture Video
Begin by recording your lecture using a recording device, camera, or video conferencing software. Save the lecture in a supported format like MP3, MP4, or WAV.
For online lectures, use Transkriptor’s Meeting Bot to join the session and record the audio directly. This saves time and ensures a high-quality recording for transcription. Make sure the audio is clear, free from excessive background noise, and captured at a steady speaking pace.
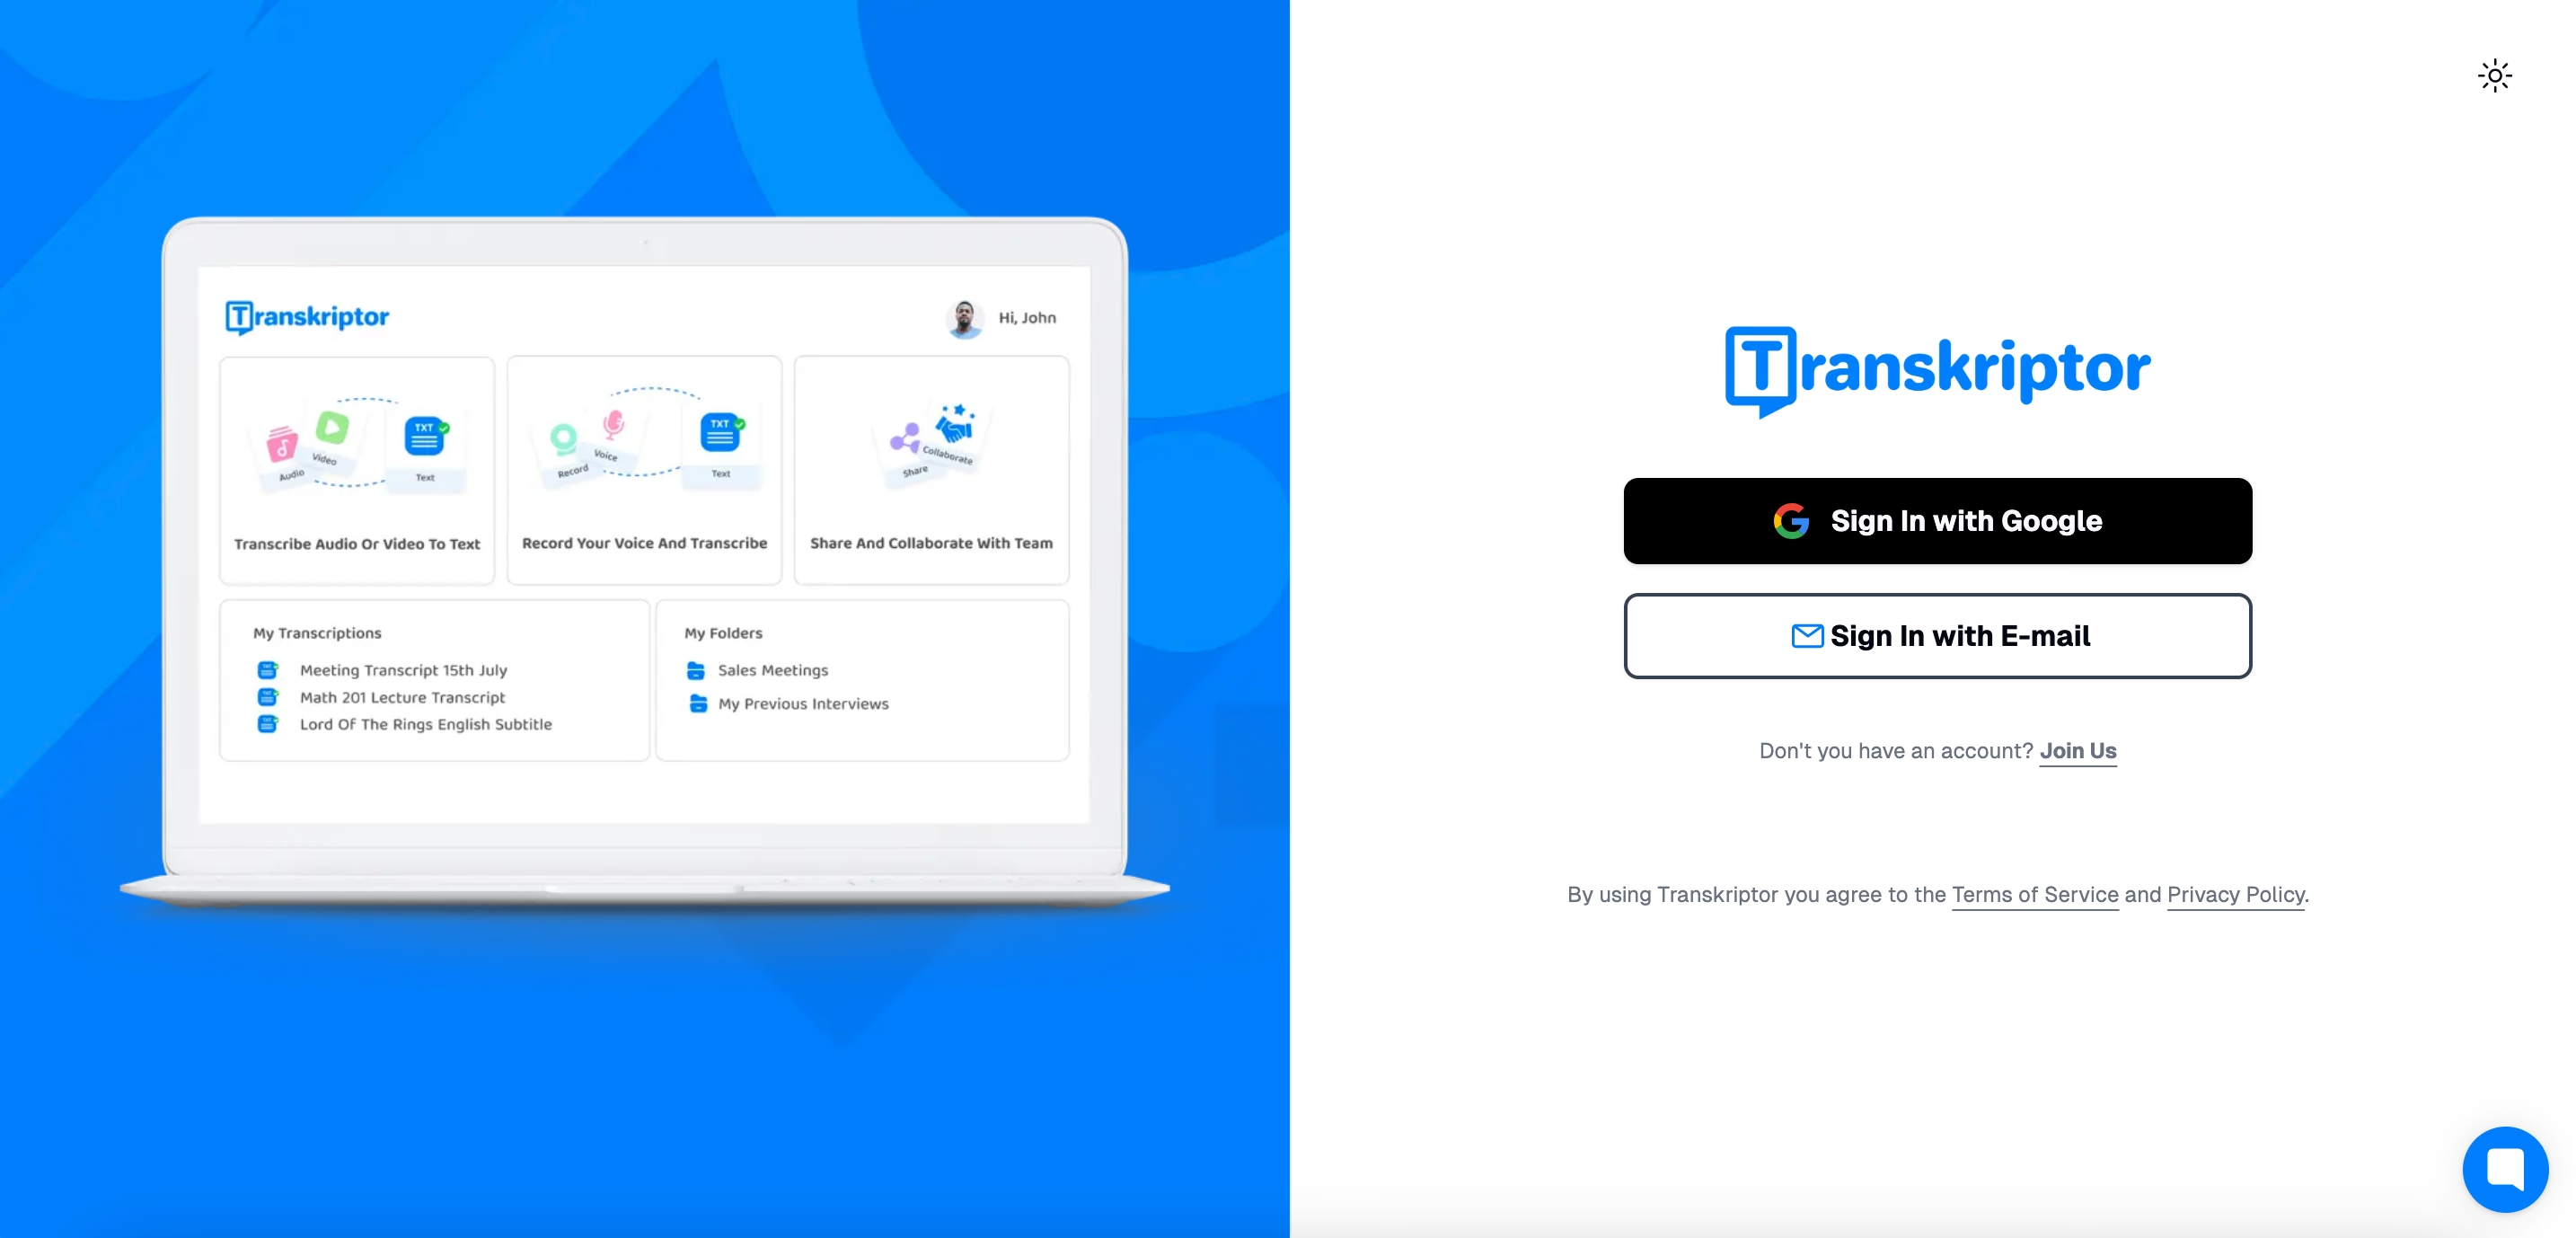
Step 2: Go to Transkriptor’s Website
Open your preferred web browser and navigate to the Transkriptor website. Log in to your account, or create one if it’s your first time.
You can also download the Transkriptor app from the App Store or Google Play for a mobile-friendly experience.
Step 3: Upload Your Lecture File or Use the Meeting Bot
Once logged in, you can either upload a pre-recorded lecture file or schedule the Meeting Bot for real-time transcription. For pre-recorded files, click the “Upload File” button and select your lecture file. Ensure the recording is of good quality to maximize accuracy.
For live sessions, schedule the Meeting Bot to join your online lecture on platforms like Zoom, Google Meet, or Microsoft Teams. The bot will automatically record and transcribe the session as it unfolds.
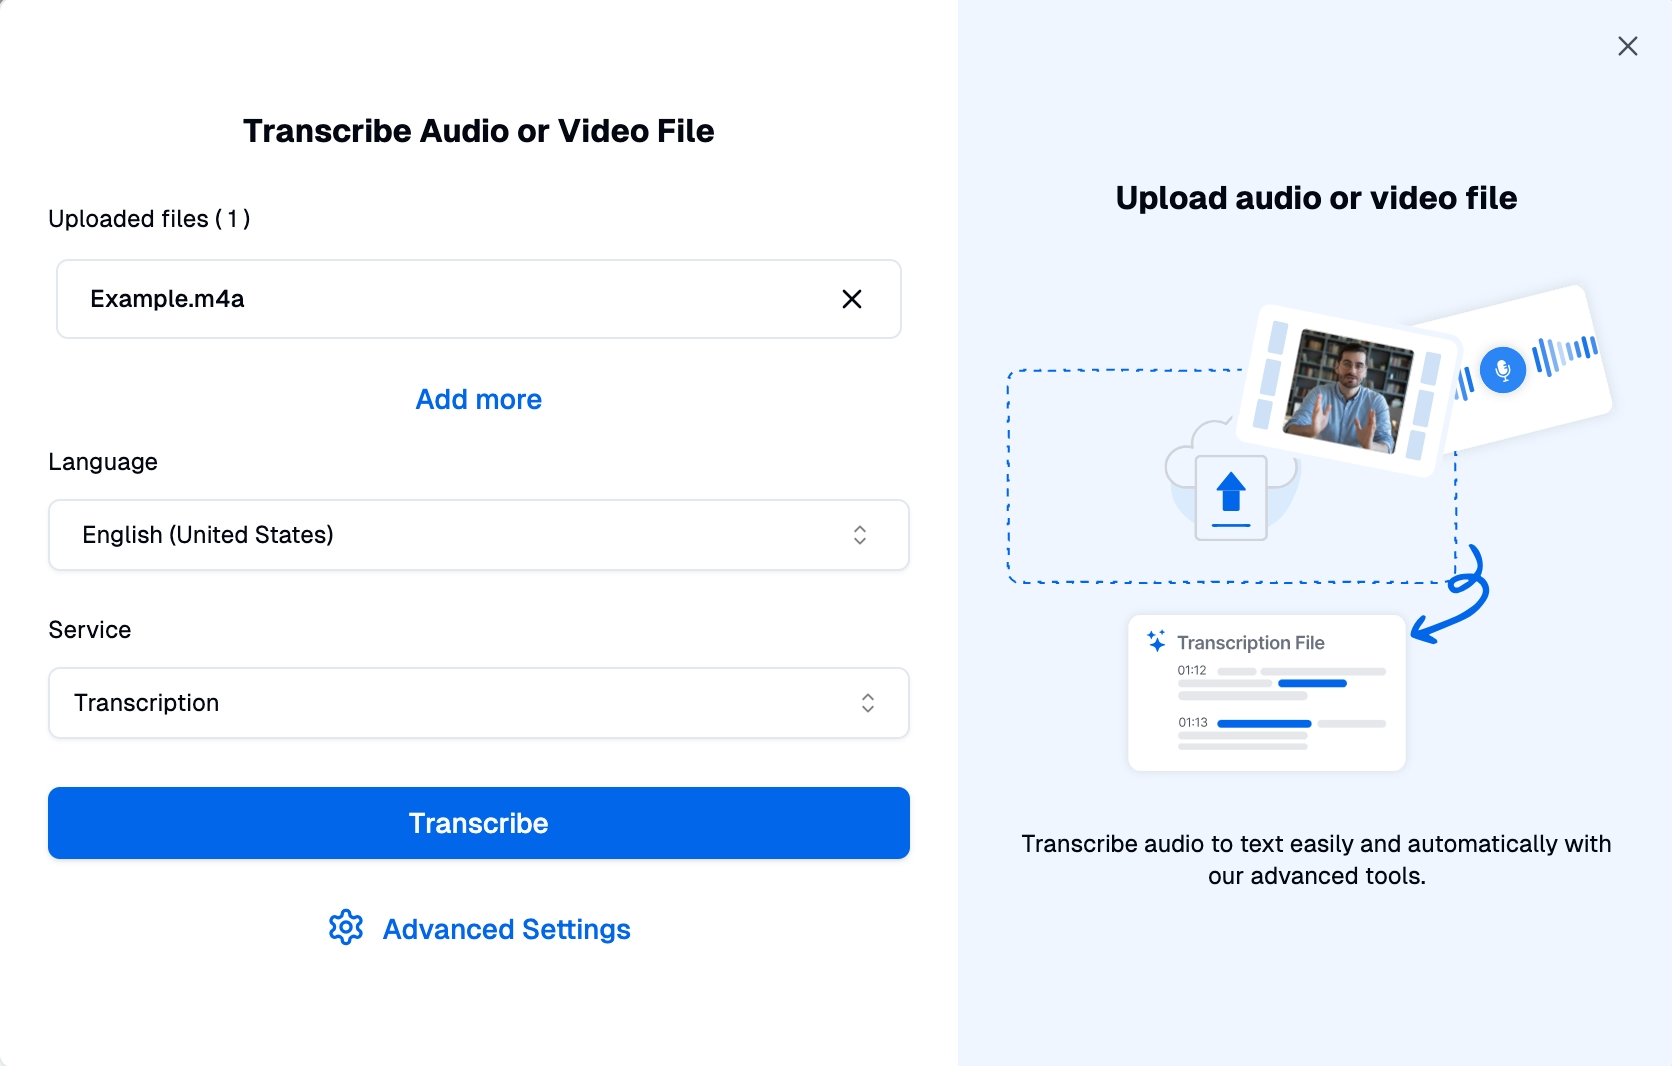
Step 4: Choose Your Transcription Settings
Before initiating transcription, customize the settings. Select the language spoken in the lecture for accurate results. Additionally, optional features include timestamps, speaker identification, and verbatim transcription if needed for detailed analysis.
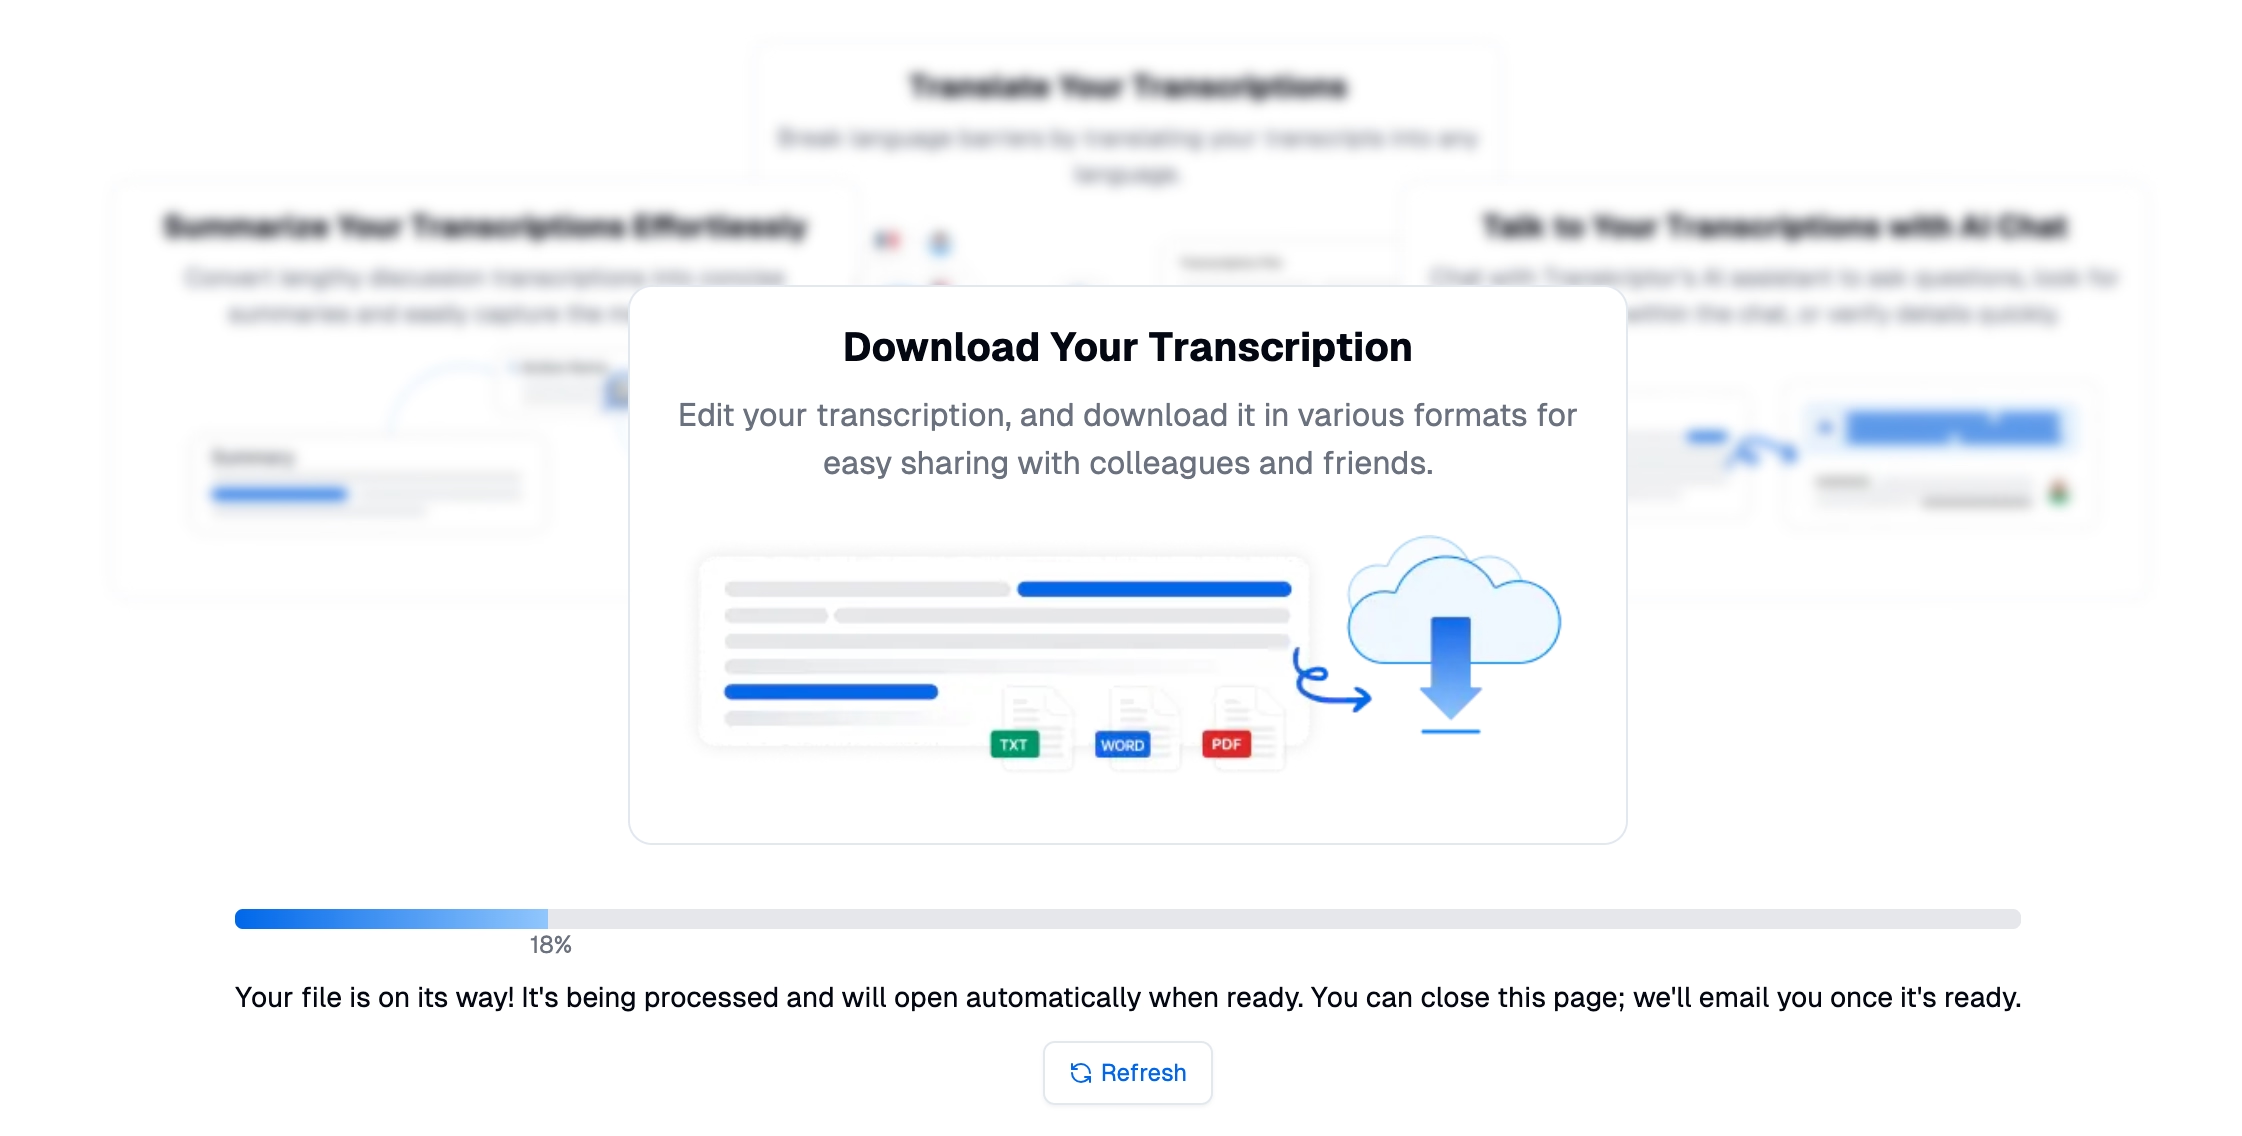
Step 5: Generate and Edit the Transcript
Click “Transcribe” to start the process. Transkriptor’s AI will quickly convert the audio into text. Use the built-in text editor to review and refine the transcript. Correct minor errors, clarify technical terms and format the text to suit your needs.
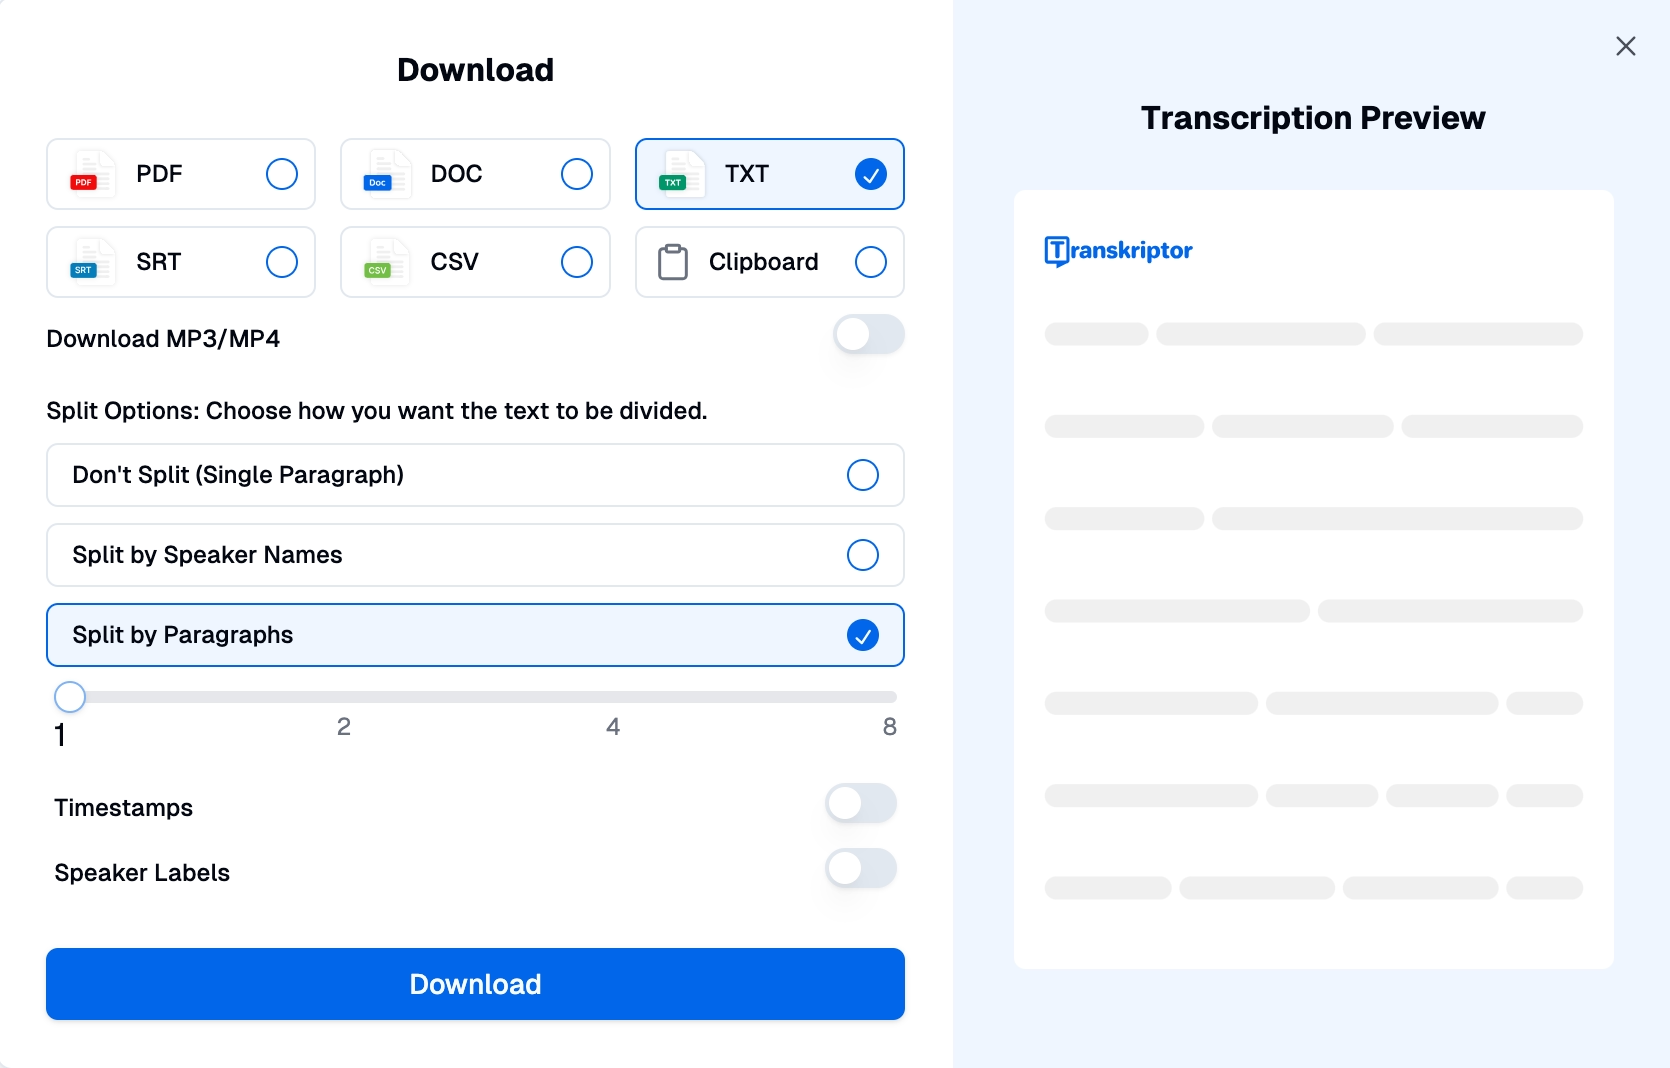
Step 6: Export Your Transcript
Once you’ve finalized the transcript, export it in your preferred format, such as DOCX, PDF, TXT, or SRT. Your transcript is now ready for use in creating study materials, sharing notes, or integrating with captions for lecture videos.
Tips for High-Quality Lecture Transcriptions
Follow these practical tips to improve the accuracy and efficiency of your lecture transcriptions:
-
Use High-Quality Recording Equipment:
Use a reliable microphone or recording device. -
Minimize Background Noise During Recording:
Make sure that you record your audio in a quiet environment for the best results. -
Speak Clearly and at a Moderate Pace:
Try not to speak too slowly or too fast. -
Proofread the Final Transcript:
Review the transcript to fix the minor errors.
Use High-Quality Recording Equipment
Clear, high-quality audio is essential for precise transcription . Invest in a reliable microphone or recording device that minimizes distortion and captures all nuances of the speaker’s voice.
External
microphones often outperform built-in options on laptops or cameras, offering superior clarity. Use tools such as recording software with noise reduction features to further enhance audio quality. Test your equipment beforehand to ensure everything is working properly and that the audio levels are consistent throughout the lecture.
Minimize Background Noise During Recording
Background noise is one of the biggest challenges for transcription tools. It can obscure important words and reduce the overall quality of the transcript. Conduct lectures in quiet, enclosed spaces with minimal external distractions.
Avoid areas with echo or ambient noise, such as busy offices, open classrooms, or outdoor environments. For online lectures, encourage participants to mute their microphones unless speaking to reduce unnecessary noise.
Speak Clearly and at a Moderate Pace
Transcription tools are designed to capture speech patterns and convert them into text. Speak at a steady, moderate pace to allow the tool to recognize each word accurately.
Avoid rapid speech or excessive pauses, as they can confuse the transcription software. Pronounce technical terms, names, and specialized vocabulary clearly, especially in academic lectures where precision is crucial.
Proofread the Final Transcript
Even the most advanced transcription tools may occasionally misinterpret words, especially in technical or noisy contexts. Proofreading ensures your transcript is error-free and polished.
Focus on correcting technical terms, proper nouns, and specialized phrases that may not have been captured correctly. Use the transcription tool’s built-in editor, which often highlights uncertain phrases for easier review.
Adjust the formatting to make the transcript more readable and user-friendly, such as breaking up text into paragraphs or adding headings for clarity.
Conclusion
Transcribing lecture videos is a game-changer for modern education. By improving accessibility, enhancing learning outcomes, and enabling effortless sharing of content, academic transcription software empowers students and educators alike.
Transkriptor stands out as an ideal solution for transcribing lecture videos. With its quick, accurate, and cost-effective services, it simplifies the transcription process, making it accessible for all students. Whether you’re preparing study materials, creating subtitles, or organizing notes, transcription tools like Transkriptor can streamline your workflow and promote more inclusive learning experiences.
Ready to enhance your educational content? Try transcription tools today and take a step toward more accessible, efficient, and impactful learning.