
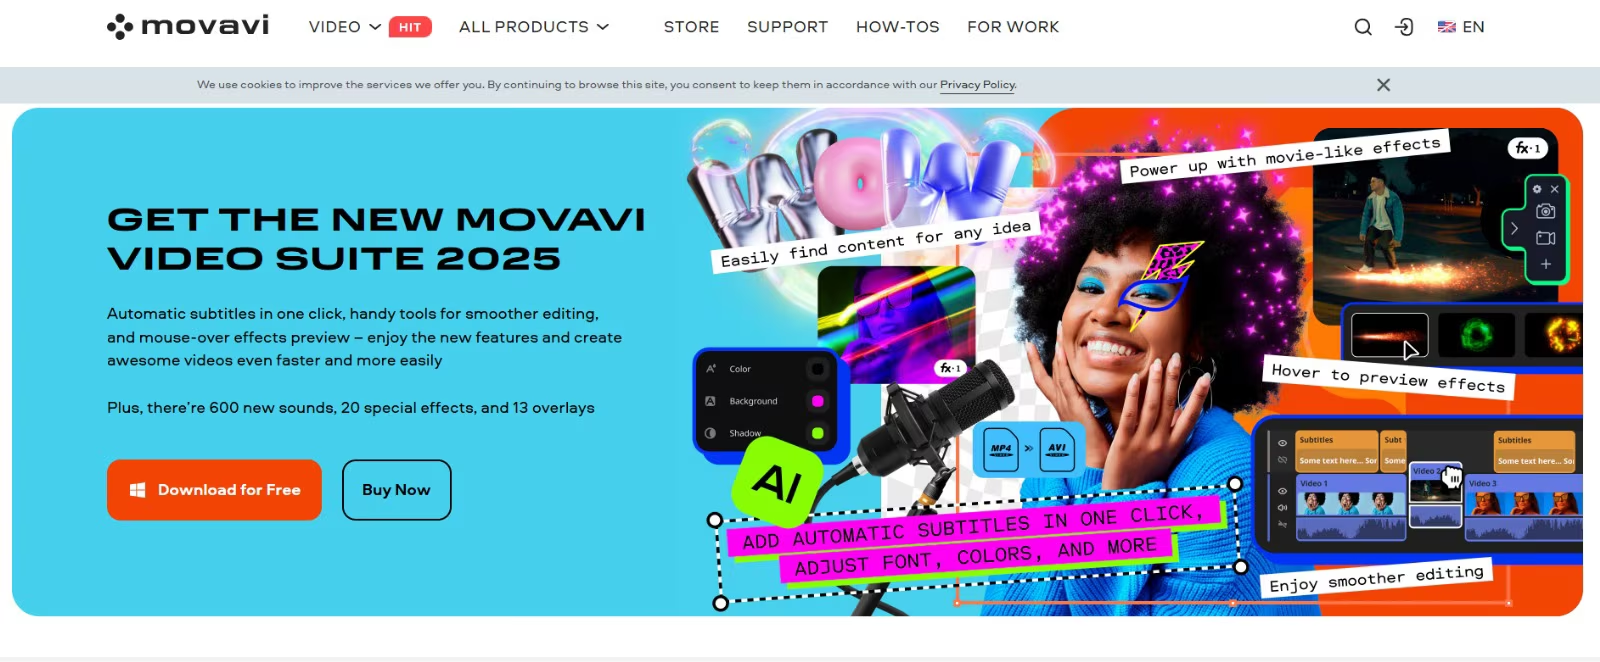
Text can make a world of difference in your videos. It clarifies your message, highlights key points, and makes your content more accessible to everyone. Movavi Video Editor is a great choice for adding text because it’s simple enough for beginners yet powerful enough to deliver professional results. With features like text animation, subtitle integration, and various video creation tools, Movavi streamlines the entire process of transforming raw footage into polished video.
In this post, we’ll explore how to use Movavi for text-based enhancements. You’ll learn everything from adding text effects with Movavi for visual impact to creating subtitles seamlessly—especially if you pair Movavi with Transkriptor, an automated speech-to-text service.
Why Use Movavi for Text-to-Video Creation?
Movavi Video Editor shines due to its intuitive interface and robust features that cater to a wide variety of content creators. Here’s why it stands out among similar software:
1. Intuitive Interface
Movavi’s drag-and-drop functionality allows users to simply import video clips, images, and audio, then place them onto a streamlined timeline. Adding text is equally straightforward—just pick a text preset, drag it to the desired spot on your timeline, and start typing. This user-friendly approach is perfect for beginners who might be intimidated by more advanced editing software, yet it remains flexible enough for experienced editors seeking quick, efficient workflows.
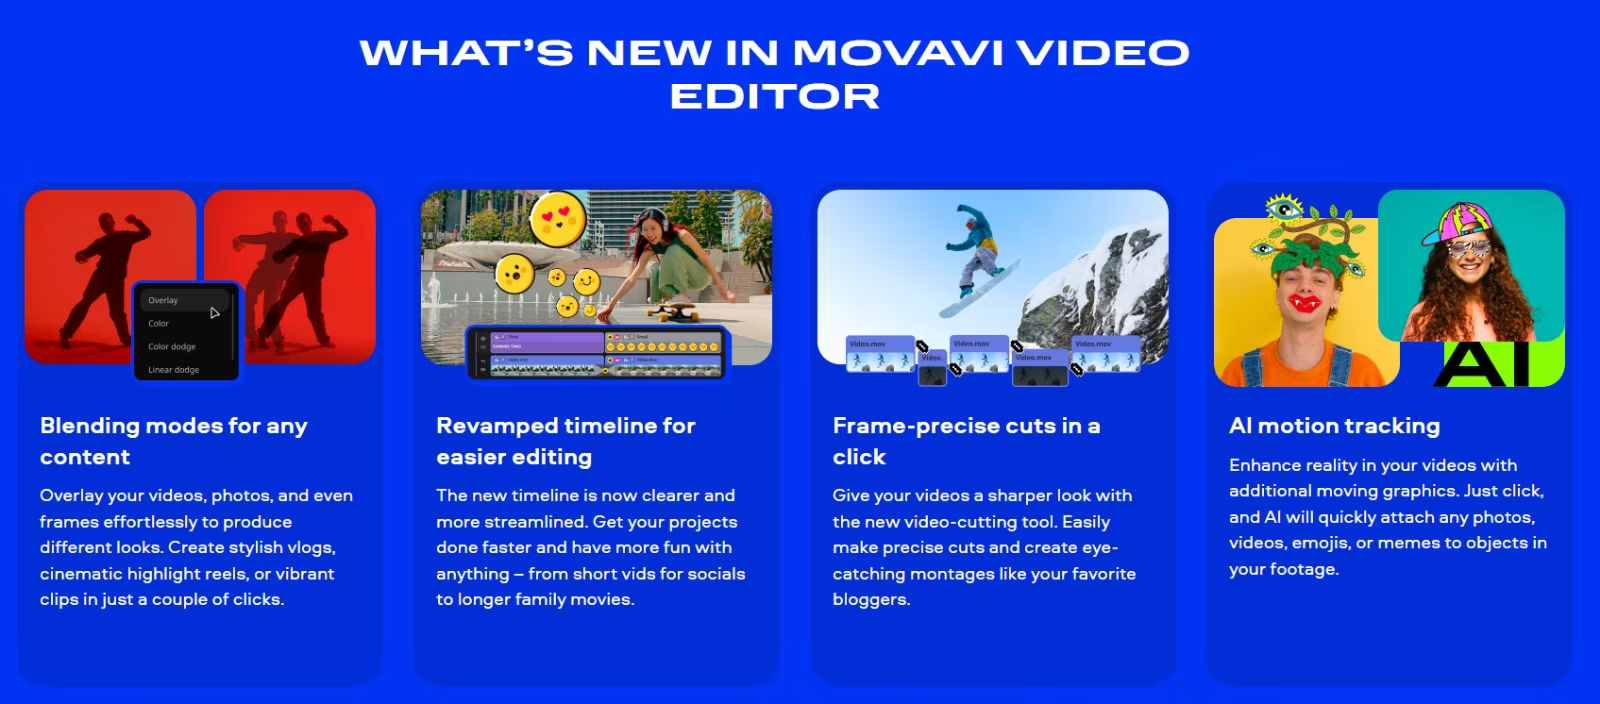
2. Dynamic Text Animation Options
One of Movavi’s strongest selling points is its range of text animation features. Whether you need a gentle fade-in for a lower third, a high-energy zoom for a social media clip, or a bold type-on effect for emphasis, using Movavi Video Editor for text animation can elevate your message dramatically. These animations help hold viewers’ attention, ensuring your text doesn’t just blend into the background.
3. Versatile Tools for All Content Types
From marketing videos and YouTube tutorials to online courses and social media ads, Movavi’s feature set accommodates a variety of video formats and styles. The software supports common video resolutions and aspect ratios, making your final projects compatible with multiple platforms—a widescreen YouTube upload or a vertical Instagram Reel. Movavi strikes the right balance between capability and ease if you aim for professional results with minimal fuss.
How to Add Text to Video Using Movavi
Here is the step-by-step guide to text to video in Movavi. These steps cover basic text overlays, but you can easily apply the same concepts to other text enhancements like titles, captions, or lower thirds.
Step 1: Import Your Video Clips
- Open Movavi Video Editor on your computer.
- Start a new project, then click the “Import” or “Add Media” button to load your AVI or other video files (like MP4).
- Drag these files onto Movavi’s timeline, where you can reorder or trim them before adding text elements.
Step 2: Access the Text Tool
- Look for the “Titles” or “Text” tab in the Movavi interface (the exact wording can vary by version).
- Browse through text templates, from minimalist lower-thirds to animated headings.
- Drag the chosen template onto the timeline, aligning it with the part of the video where you want the text to appear.
Step 3: Customize Your Text
- Double-click the text clip on your timeline to enter editing mode.
- Edit the default text, then adjust fonts, colors, and sizes to match your brand or video theme.
- Position the text overlay by dragging it around the preview window, ensuring it doesn’t block important on-screen elements.
Step 4: Add Animation Effects
- Within the text editing panel, explore Movavi’s text animation features (e.g., fade, slide, zoom).
- Time the animations to sync with on-screen actions or voiceovers—this can significantly improve viewer engagement.
- Preview your text effects to ensure they align with your video’s pacing and style.
Step 5: Preview and Export Your Video
- Click Play to preview your entire video from start to finish.
- Verify that the text appears at the correct intervals, with minimal typos or alignment issues.
- When satisfied, export your project to your desired format, choosing from presets for platforms like YouTube or Instagram if needed.
Using Transkriptor to Generate Subtitles for Movavi
While Movavi Video Editor excels at adding text effects, you might also want fully accurate subtitles or captions, especially for longer videos or multi-speaker projects. Below is a quick guide on how to create subtitles with Transkriptor and integrate them into Movavi.
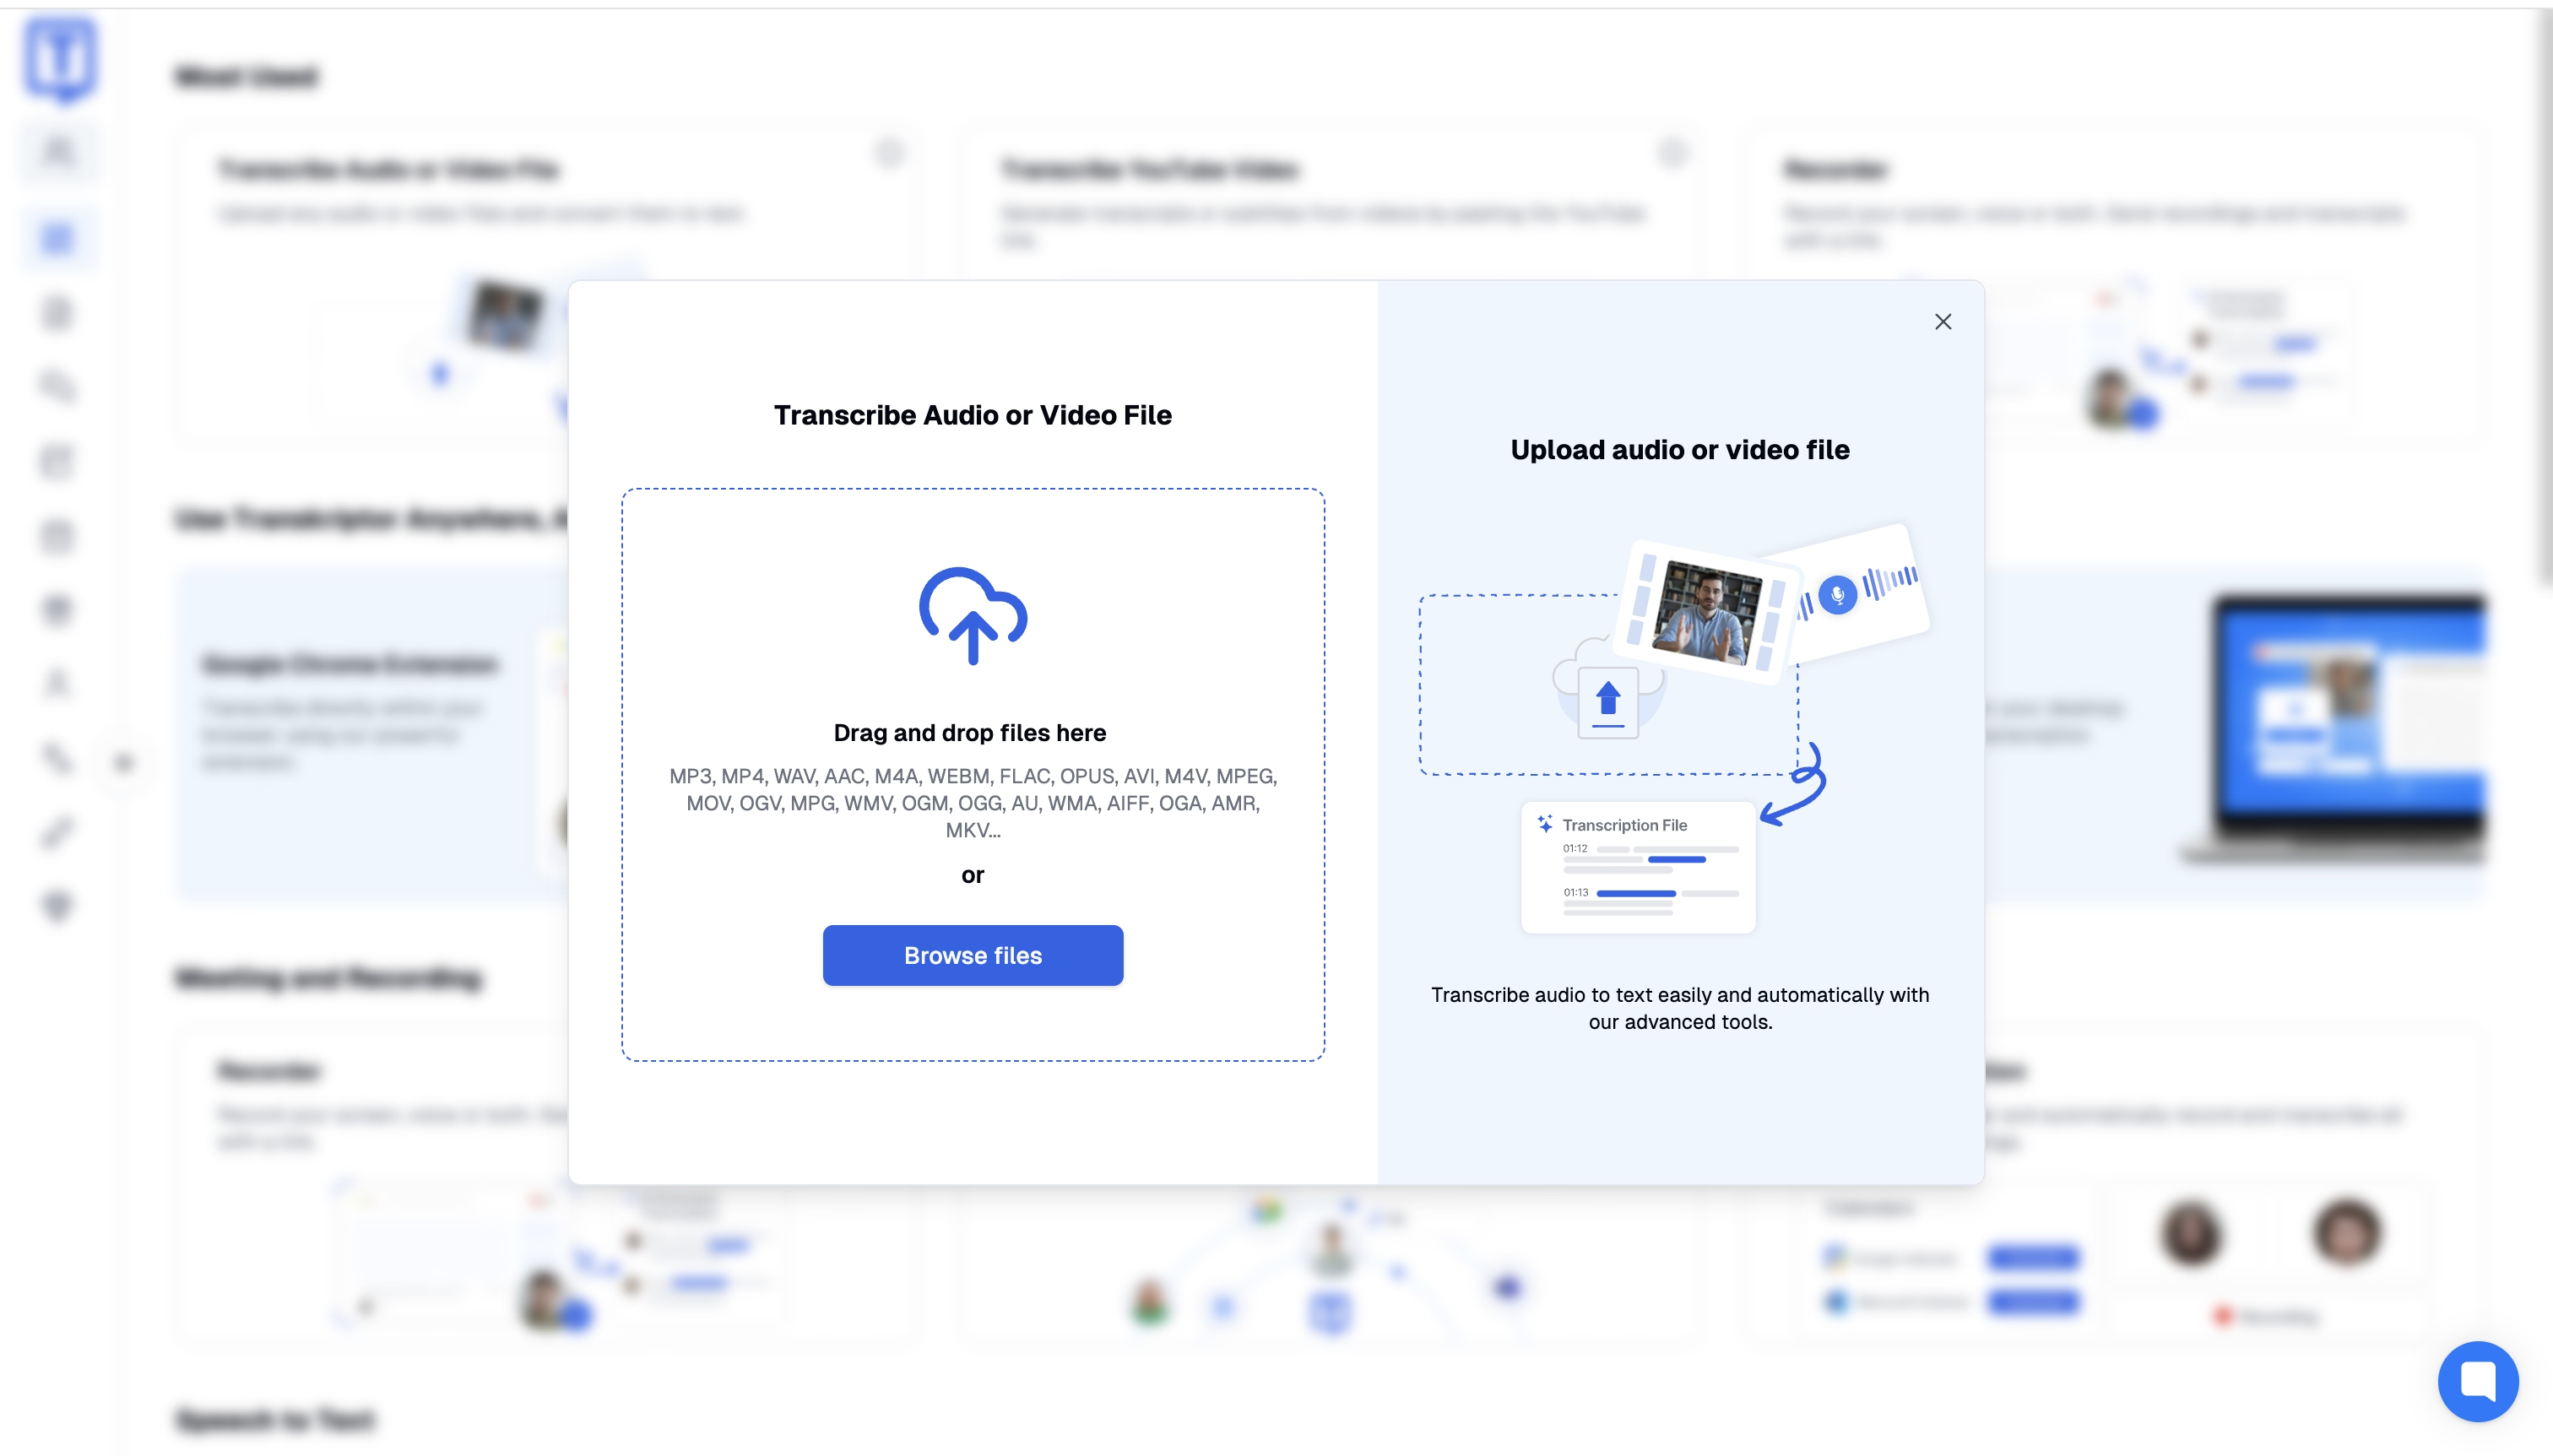
Step 1: Upload Your Video to Transkriptor
Go to Transkriptor’s website and sign in (or create a new account). Upload your video file—whether AVI, MP4, or MOV. Transkriptor’s servers then prepare to analyze the audio track.
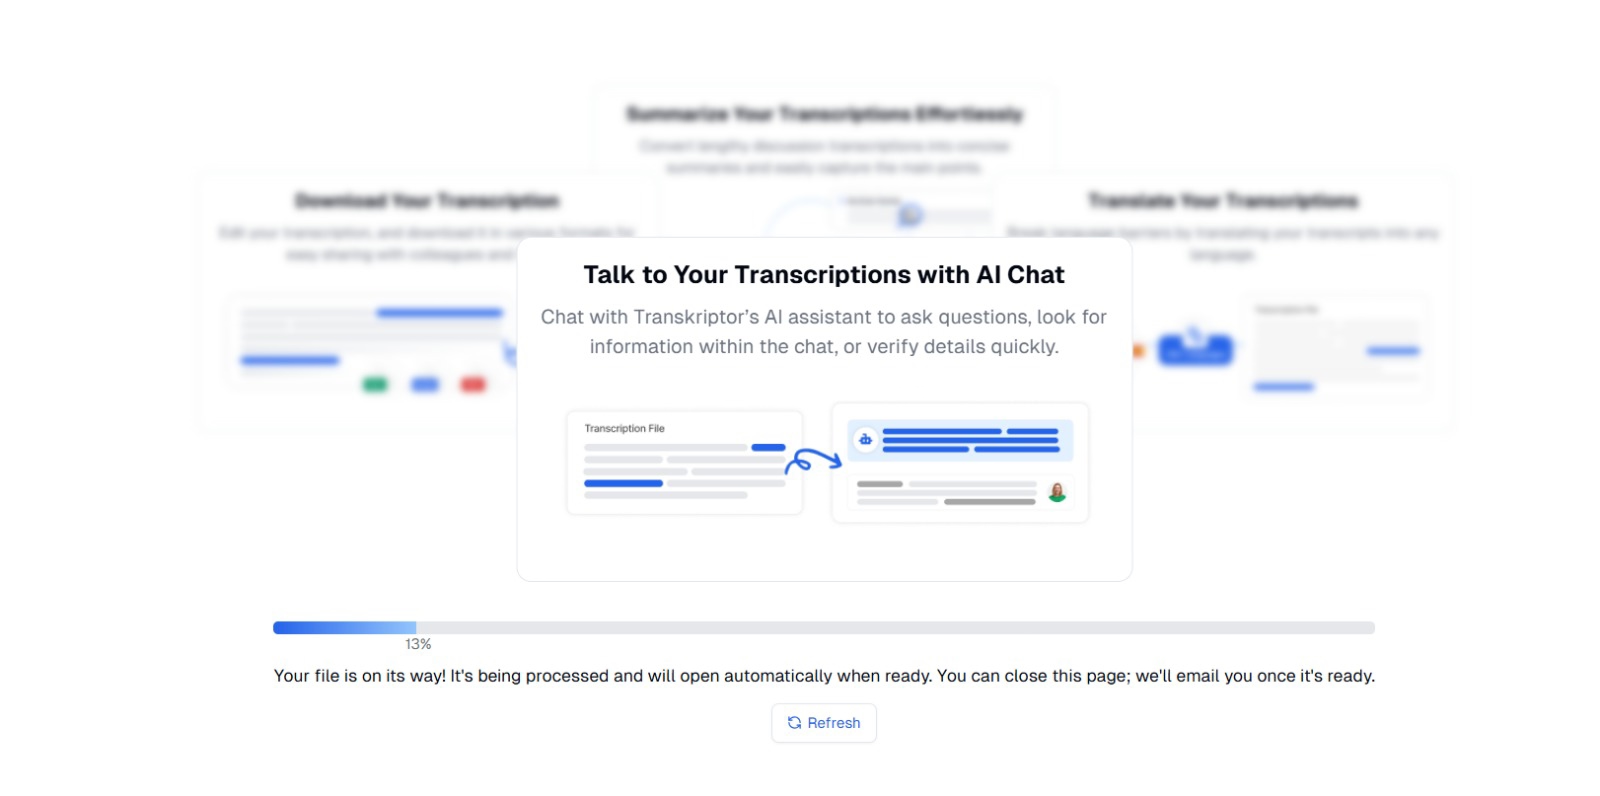
Step 2: Generate the Transcript
Click the “Transcribe” button to start the speech-to-text process. Depending on the video length, this can take a few minutes. Transkriptor’s AI scans the audio, converting spoken words into text with impressive accuracy rates.
Step 3: Review and Edit the Transcript
Once generated, a text editor will let you review and edit the transcript. Listen for any misinterpretation of jargon, names, or brand terms. Even the best AI can benefit from a quick human check.
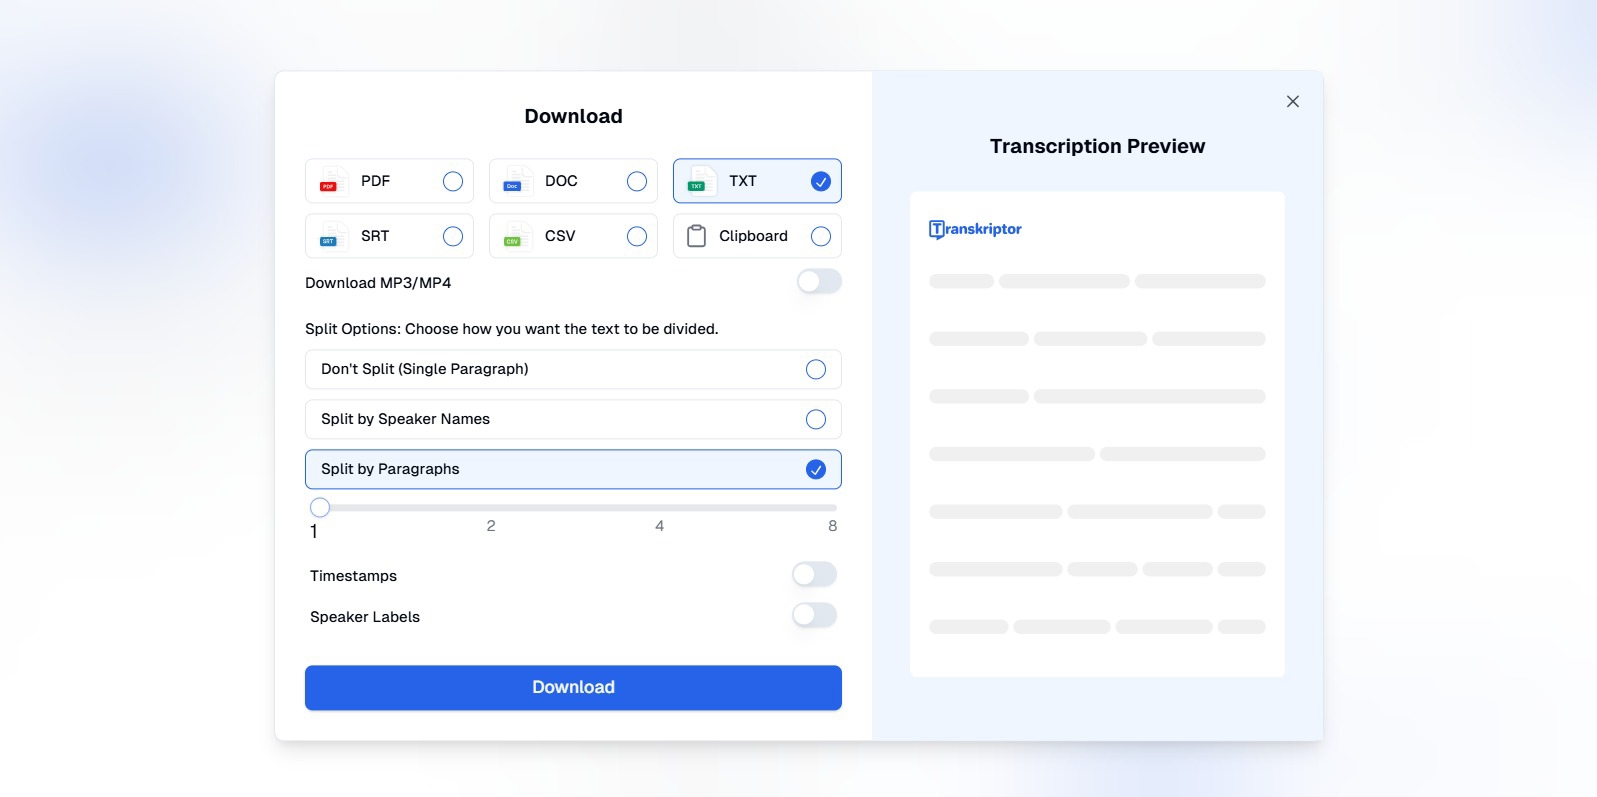
Step 4: Export the Subtitles in SRT Format
After refining the transcript, export it as an SRT file—the standard format for most editing software. Movavi easily accepts SRT for subtitles, making integration painless.
Step 5: Import Subtitles into Movavi
- Return to your Movavi project.
- Find the “Import Subtitles” or similar menu options.
- Upload the SRT file. Movavi aligns these captions with the existing video timeline, letting you fine-tune timing or styling.
Tips for Effective Text-to-Video Creation with Movavi
To get the most out of using Movavi Video Editor for text animation and subtitles, keep these pointers in mind:
1. Keep It Simple and Clear
Avoid cluttering the screen with too many text overlays or chaotic animations. A well-placed title or lower third can do wonders without overwhelming the viewer.
2. Match Text Style to Video Theme
Fonts, color schemes, and transitions should complement the video’s subject, brand colors, or target audience. For instance, a corporate training video might use more subdued fonts, while a TikTok ad can play with bolder colors.
3. Use Animation Sparingly
While Movavi boasts exciting text animations, it’s best to reserve them for key moments—like introducing a new segment or highlighting crucial information. Overusing animations can appear unprofessional or distract from your main message.
4. Sync Subtitles Perfectly
If you’re creating subtitles with Movavi or importing them from Transkriptor, ensure the text perfectly aligns with the spoken audio. Double-check for timing lags or abrupt cutoffs, especially if multiple speakers are involved.
Why Movavi and Transkriptor Make a Perfect Pair
Combining Movavi’s visual editing power with Transkriptor’s automated subtitle generation creates a seamless workflow that benefits beginners and pros alike. Here’s why:
1. Simplify Video Editing
Movavi’s learning curve is gentle, helping you produce professional-looking videos quickly. With its drag-and-drop, timeline-based approach, you spend less time figuring out the software and more time on creative storytelling.
2. Save Time with Automated Subtitles
Manual transcription is a laborious process. Transkriptor automatically converts speech to text, slashing hours from your production cycle, especially for longer recordings, interviews, or educational talks.
3. Ensure Professional Results
Clean, consistent subtitles from Transkriptor merge neatly with Movavi’s design tools, yielding high-quality video outputs. Whether you’re releasing a course, sharing on social media, or submitting content to clients, the final product looks polished.
4. Affordable and Accessible Solutions
Both Movavi and Transkriptor offer cost-effective plans accessible to freelancers, small businesses, and educators. Rather than outsourcing your video projects or buying expensive software, you can keep everything in-house on a reasonable budget.
Conclusion: Enhance Your Videos with Movavi and Transkriptor
By leveraging Movavi Video Editor’s straightforward interface and dynamic text features, you gain the ability to create visually compelling videos without spending months mastering advanced editing suites. Movavi’s text effects, animations, and built-in subtitling options are perfect for content creators, educators, and marketers alike.
Meanwhile, pairing Movavi with Transkriptor streamlines the entire process of adding accurate captions or subtitles to your projects. Rather than transcribing hours of footage by hand, let Transkriptor handle the heavy lifting so you can focus on the creative aspects of storytelling.