
Transcribing audio files is essential for many individuals and organizations looking to make their content more accessible, searchable, and easily repurposed. Whether you’re a student aiming to capture lecture notes, a business professional needing meeting summaries, or a content creator turning interviews into blog posts, having a text version of your audio saves time and broadens your audience.
One of the most popular tools for playing and managing media files is VLC Media Player. Free and open-source, VLC is beloved for its ability to handle nearly any audio or video format you throw at it. However, despite its many features—from streaming to file conversion—VLC does not include a built-in transcription function.
In this comprehensive guide, you’ll learn why transcribing VLC audio is beneficial, how to prepare your files for transcription.
What is VLC Media Player?
VLC Media Player, developed by the VideoLAN project, is a free, open-source multimedia player that runs on all major operating systems, including Windows, macOS, Linux, iOS, and Android. Thanks to its robust compatibility, VLC can handle virtually any media format—from MP3 and MP4 to specialized or outdated file types that other players might struggle with.
VLC’s popularity stems from its user-friendly interface, minimal resource consumption, and robust feature set. You can adjust playback speed, enhance audio quality, add subtitles, and convert files into different formats without additional software. However, VLC’s capabilities stop short of transcription: there is no direct way to generate text from audio or video using VLC alone. This limitation drives many people to pair VLC with a dedicated transcription tool like Transkriptor.
Why Transcribing VLC Audio is Important
Transcribing your audio files offers a range of benefits beyond mere text conversion, making it a vital process for various use cases.
Improves Accessibility
Transcribing audio content allows people who are deaf or hard of hearing to read and understand what’s being said. It also benefits non-native English speakers who may find it easier to follow along with text rather than listening to rapid speech. By providing transcripts, you not only comply with accessibility best practices but also expand your potential audience considerably.
Enhances Searchability
Audio recordings are inherently challenging to search through. Finding a specific phrase or topic can be tedious if you have hours of recorded lectures, podcasts, or interviews. Once an audio file is transcribed, however, you can perform keyword searches on the text, quickly pinpointing the exact location of the information you need.
Boosts Productivity
Manual transcription is a time-consuming, detail-oriented task. By using automated speech-to-text solutions, you can drastically reduce the time it takes to prepare your transcripts. Whether you’re a podcaster who needs show notes, a journalist who needs interview transcripts, or a business professional needing minutes from a recorded meeting, automation significantly streamlines your workflow.
How to Transcribe VLC Audio: Step-by-Step Guide
Below is a step-by-step process for extracting and transcribing audio from VLC using the powerful AI-driven transcription tool Transkriptor.
Step 1: Play Your Audio in the VLC Media Player
Open VLC and load the audio or video file you wish to transcribe. Ensure the file is audible, has minimal distortion, and plays smoothly without skipping. If you notice audio issues, you can use VLC’s built-in audio adjustments (like the equalizer) to improve clarity before transcription.
Step 2: Extract Audio from Your File (Optional)
If your file is a video and you’d prefer to transcribe only the audio portion, you can use VLC to convert (or “rip”) the video into an audio-only file. This reduces the file size and often speeds up the transcription process. Here’s how:
- In VLC, click on Media, then select Convert/Save.
- Choose Add to load your video file.
- Click Convert at the bottom.
- Under Profile, select an audio format like MP3 or WAV.
- Provide a destination file name and click Start to begin the conversion.
Now, you have a dedicated audio file ready for transcription.

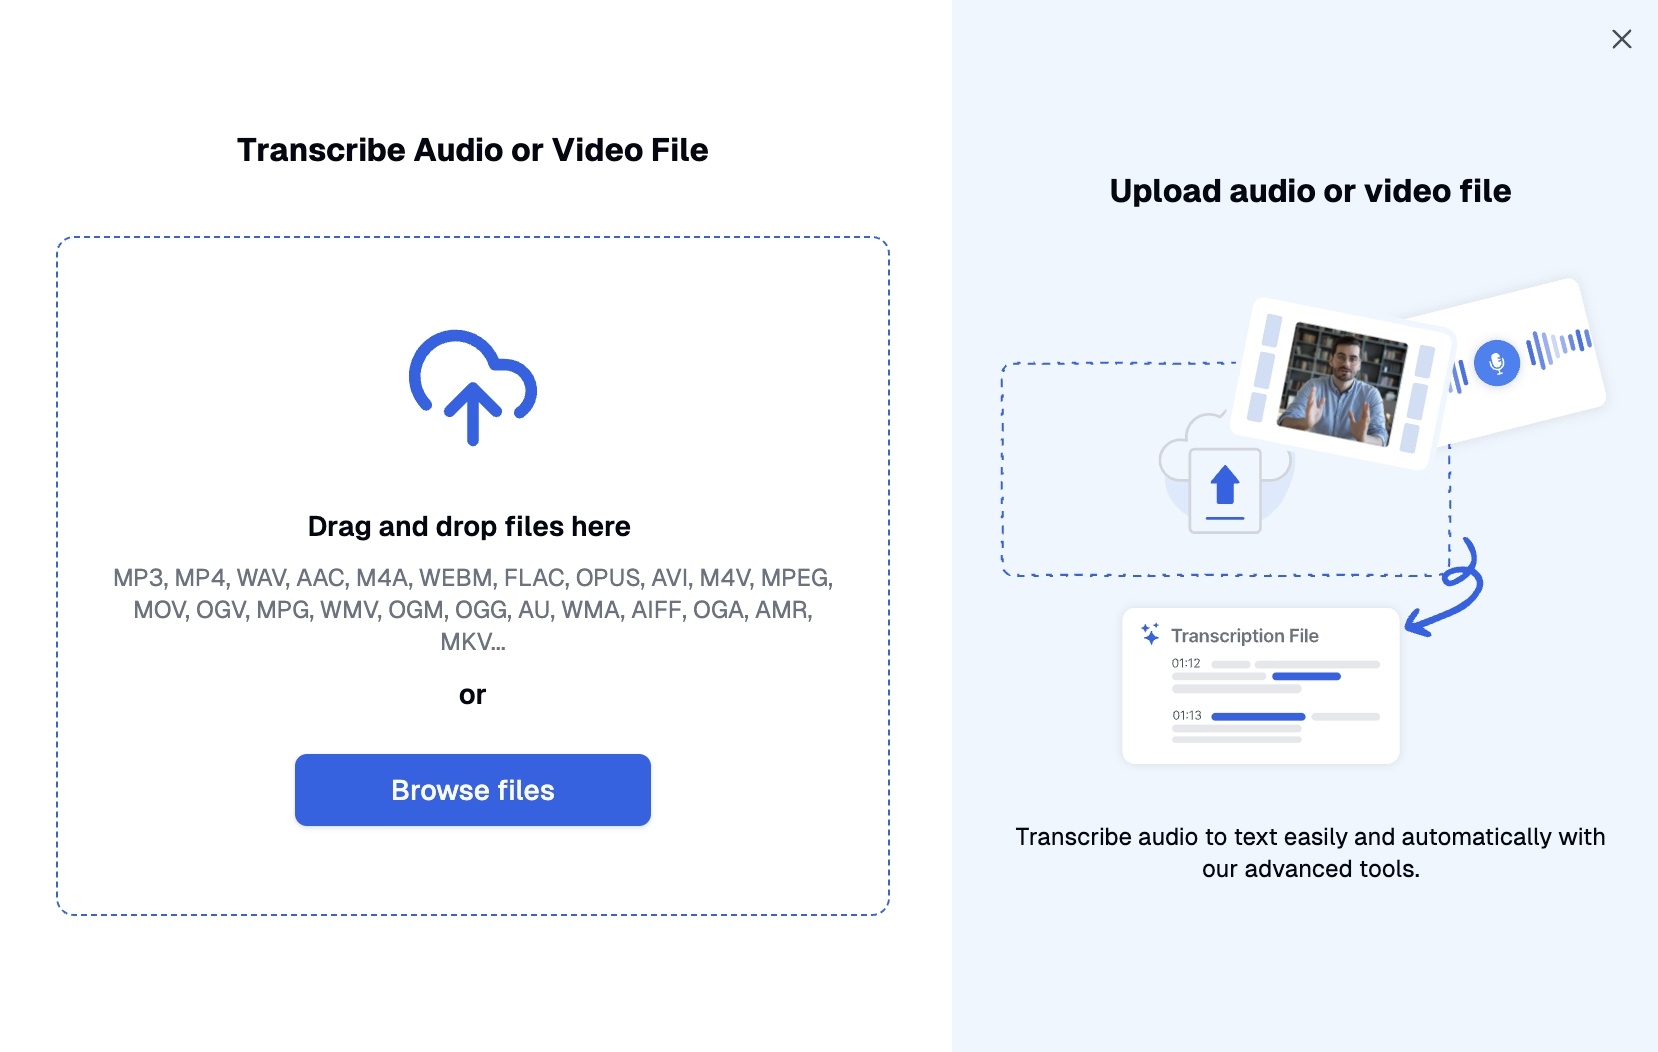
Step 3: Upload Your Audio File to Transkriptor
Visit Transkriptor’s official website and log in or create a new account. From your dashboard, select the option to Upload File. Drag and drop your newly created audio file (or the original audio file if you didn’t need to extract it from the video) into Transkriptor.
Step 4: Let Transkriptor Generate the Transcription
Once your file is uploaded, Transkriptor’s AI-powered engine automatically starts processing it. The duration of this step depends on the file’s length and clarity—short recordings may be transcribed in seconds, while longer or more complex files could take a few minutes.
Step 5: Edit and Fine-Tune the Transcription
After the tool completes the initial transcription, you’ll receive an editable text file in Transkriptor’s built-in editor. Look for misspellings, incorrect words, or omissions, mainly if the recording contains technical jargon, multiple speakers, or heavy accents. The editing process ensures you achieve the highest accuracy possible.
Step 6: Export Your Transcription
Finally, export your polished transcript in the format of your choice—TXT, DOCX, PDF, etc. From here, you can store it, share it with collaborators, or repurpose it into other forms of content (like articles, social media posts, or study materials).
Common Challenges in VLC Audio Transcription and Solutions
Although VLC is straightforward, some common obstacles exist when converting audio to text.
Poor Audio Quality
Challenge: If your audio is recorded in a noisy environment or with low-end equipment, the sound might be unclear or distorted, hindering accurate transcription.
Solution: Use VLC’s equalizer or external noise reduction tools to filter out background noise and enhance vocal clarity. Always aim to record in a quiet space and use a decent microphone for the best results.
Unfamiliar Accents or Dialects
Challenge: Strong regional accents, dialects, or rapid speech can reduce the accuracy of automated tools.
Solution: Opt for transcription software like Transkriptor, which is known for its ability to handle various accents. You may need additional manual review or speaker labeling to ensure the final text is correct.
Managing Long Audio Files
Challenge: Lengthy recordings—lectures, conference keynotes, or day-long workshops—can be time-consuming to transcribe.
Solution: Split long files into smaller segments using VLC’s Convert/Save feature or an external audio editor. Shorter clips expedite both the upload and the editing process, making transcription more manageable.
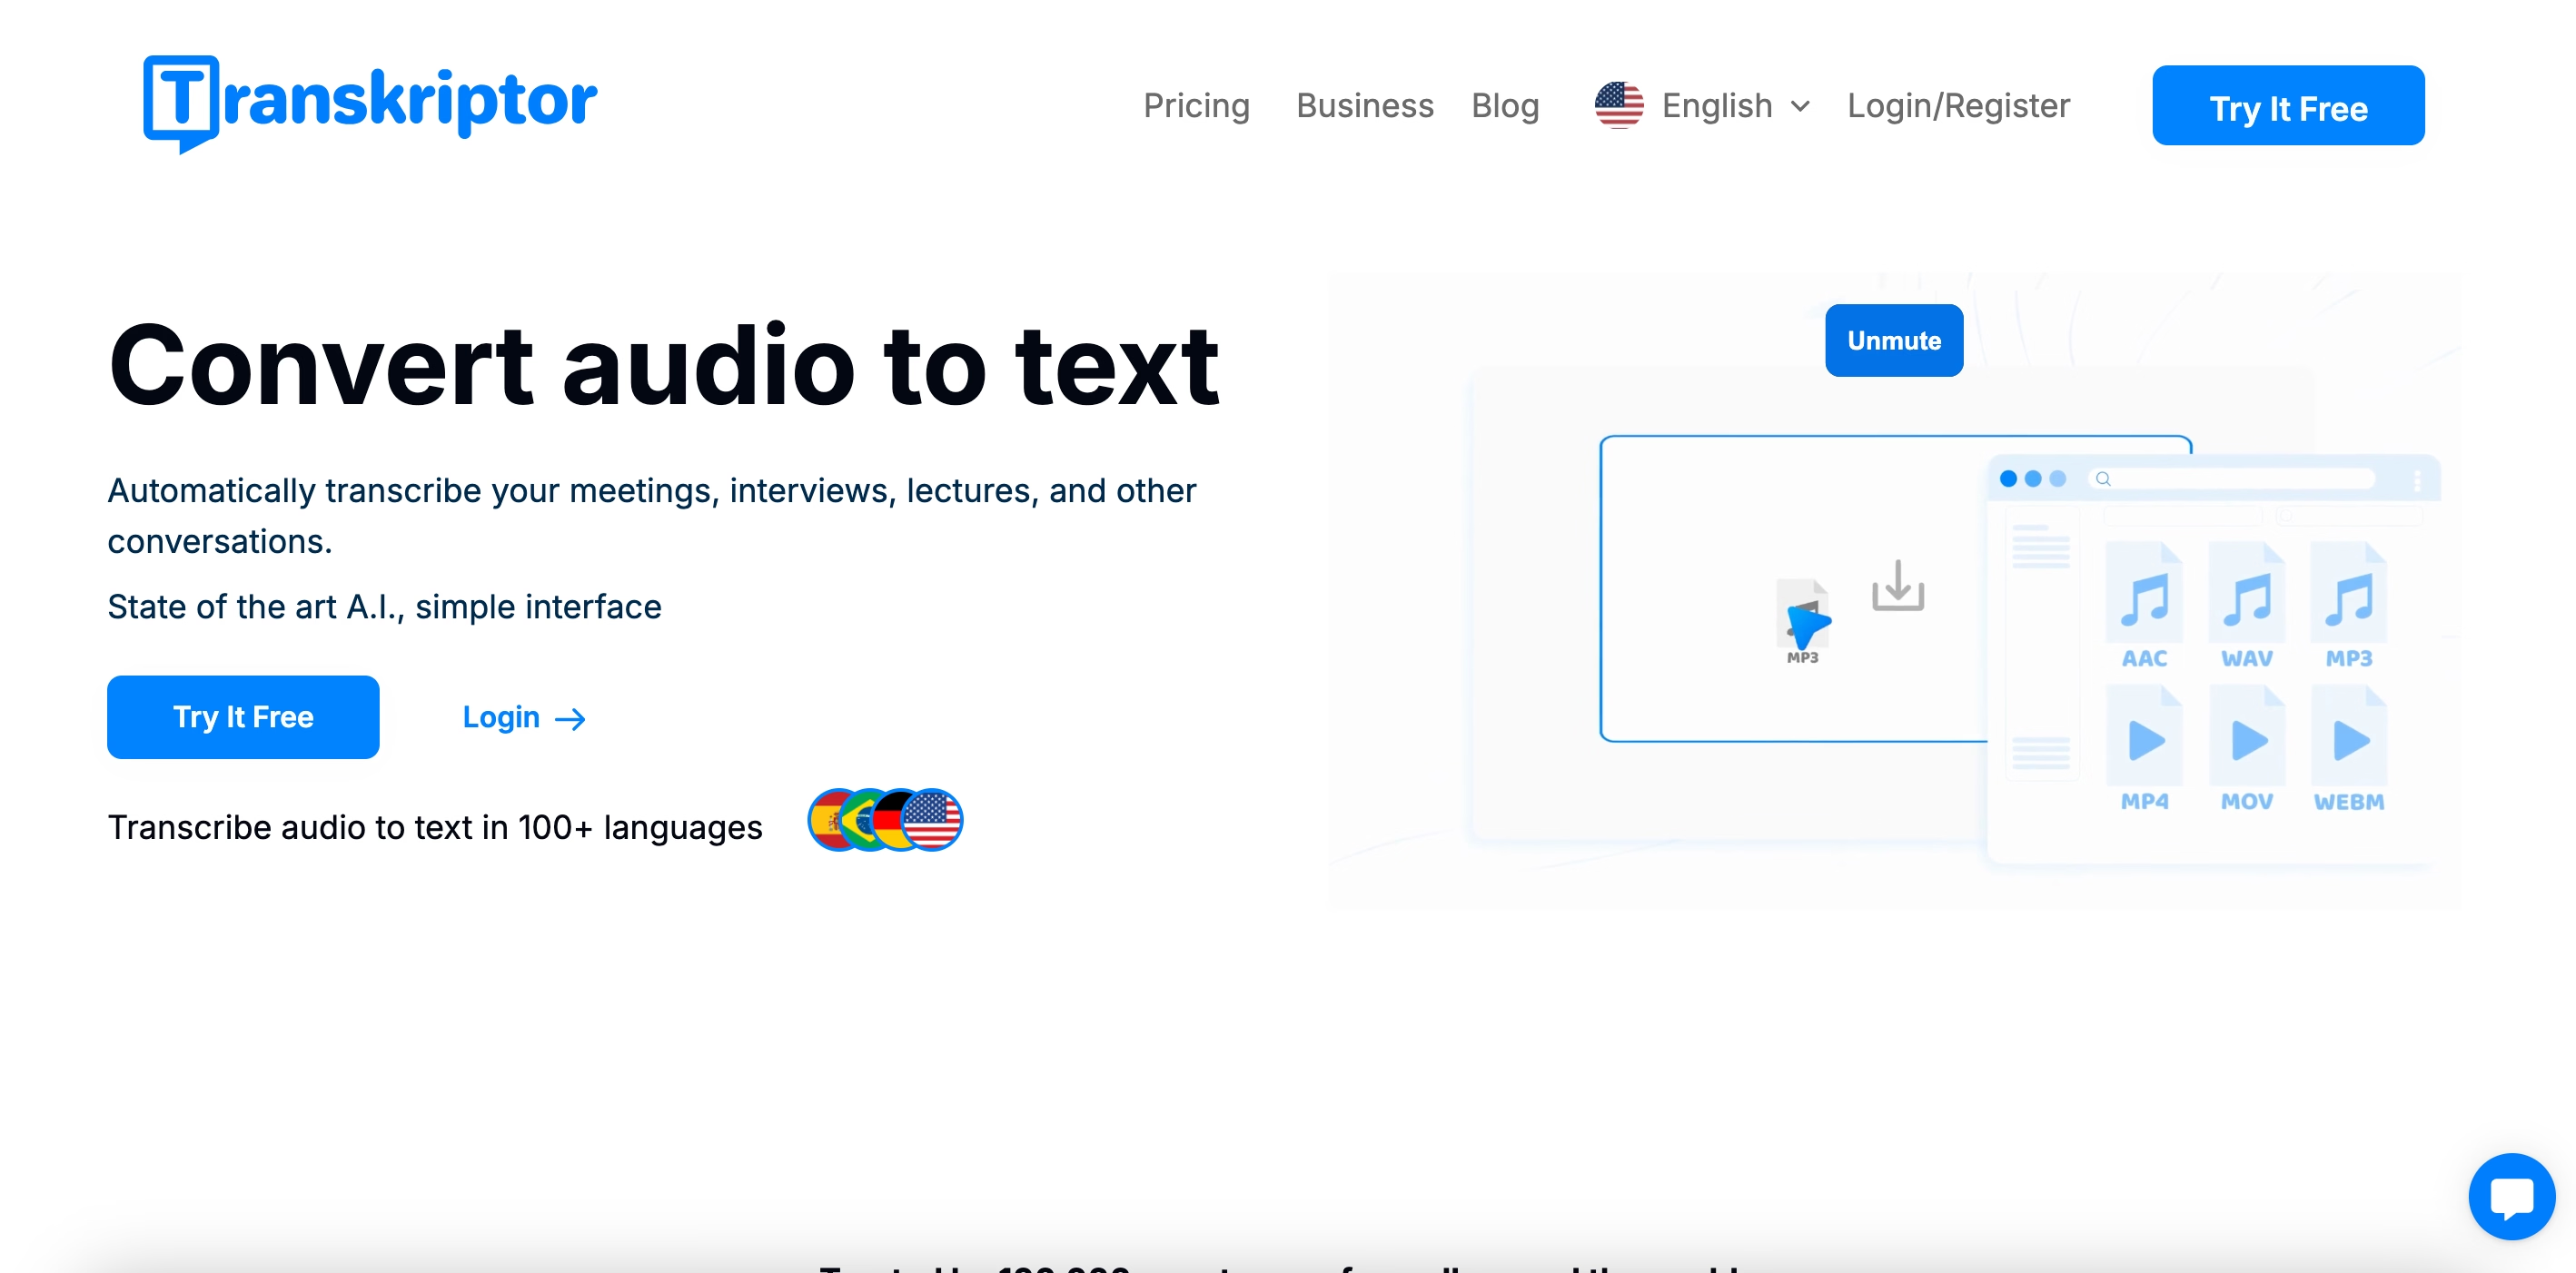
How Transkriptor Simplifies VLC Audio Transcription
Transkriptor is a specialized tool that works well alongside VLC. It offers reliable and user-friendly features tailored to various transcription needs.
Fast and Accurate Transcriptions
By leveraging advanced AI and machine learning algorithms, Transkriptor can rapidly convert your VLC audio into text while maintaining high accuracy. This saves considerable effort compared to manual transcription.

Multiple File Format Support
Transkriptor supports various file formats (MP3, WAV, AAC, etc.), making it a perfect partner for VLC exports. You won’t have to worry about compatibility issues when transferring files between VLC.
Easy Editing Tool
Once your audio is transcribed, you can edit it using Transkriptor’s online interface. You can correct mistakes, add punctuation, and label speakers in a streamlined editor highlighting each text portion in sync with the audio.
Multi-Language Support
If you’re dealing with multilingual content or non-English audio, Transkriptor offers language support beyond English. This is especially useful for global organizations, researchers, or content creators who cater to diverse audiences.
Best Practices for Audio Transcription
Even with automated tools, following best practices can significantly boost the quality and efficiency of your transcriptions.
Preparing High-Quality Audio
- Record in a quiet environment. Background chatter, echo, or poor acoustics hinder clarity.
- Use a decent microphone. Built-in laptop microphones often pick up unwanted noise, so consider an external mic for essential recordings.
- Adjust VLC’s settings. If you notice uneven volume or noise, use VLC’s built-in equalizer to enhance the audio before uploading for transcription.
Organizing Files and Workflow
- Adopt clear file naming. Descriptive labels with dates or topics (e.g., “TeamMeeting_Jan2025.mp3”) make it easy to find the correct files.
- Create folders. Keep your original audio and transcribed files in separate, clearly named folders to avoid confusion.
- Use version control. If you make multiple edits, keep track of the final version of the transcript.
Speaker Identification and Time Stamps
- Label different speakers. If you have multiple voices, identify who is speaking. This is valuable in interviews, meetings, or panel discussions.
- Insert timestamps. Many transcription tools can automatically generate timestamps. These help readers quickly reference a specific moment in the recording.
Proofreading and Review
- Plan for a quick review. No automated tool is flawless. Reading over the transcript to catch errors ensures the accuracy of your final text.
- Delegate if possible. If the audio is particularly lengthy, enlist help from a colleague or friend. Splitting up the work can lead to fresher eyes and more accurate transcripts.
Use Cases for VLC Audio Transcription
Many individuals and organizations benefit from converting audio to text with VLC using advanced VLC audio transcription tools. By leveraging automated transcription for VLC media, content creators and educators can quickly achieve speech-to-text for VLC audio, thus ensuring accessibility through audio transcription for a wide array of audiences and requirements.
Accessibility and Education
Educational institutions frequently record lectures, guest speaker sessions, and seminars. Transcribing these materials makes them accessible to students with hearing impairments and offers additional study aids to all learners. Students can read along while listening, improving comprehension.
Content Creation and Repurposing
Podcasters, vloggers, and YouTubers can benefit immensely from transcription. They can produce blog posts, show notes, or captions by converting audio into text. This process helps with SEO, makes content more shareable, and opens it to audiences who prefer reading over listening.
Professional and Business Needs
Meetings, interviews, and conferences are often recorded for internal review in business settings. Transcribing these sessions enhances record-keeping, ensures everyone can reference key decisions, and supports compliance in regulated industries. Text-based archives are also quicker to search through when you need a specific quote or piece of data.
Conclusion
Transcribing VLC audio is a powerful way to enhance accessibility, drive productivity, and create a rich archive of searchable, reusable content. Although VLC doesn’t offer transcription tools, it excels at playing and exporting media files in versatile formats. With a dedicated platform like Transkriptor, VLC becomes part of an efficient workflow that quickly and accurately transforms your audio into text quickly and accurately.
Whether you’re a student, educator, content creator, or professional, these steps will give you the confidence to tackle any VLC audio file. Get started by installing VLC (if you haven’t already), signing up for an account with a reliable transcription service like Transkriptor, and exploring just how much more valuable your media becomes once it’s accessible in written form.