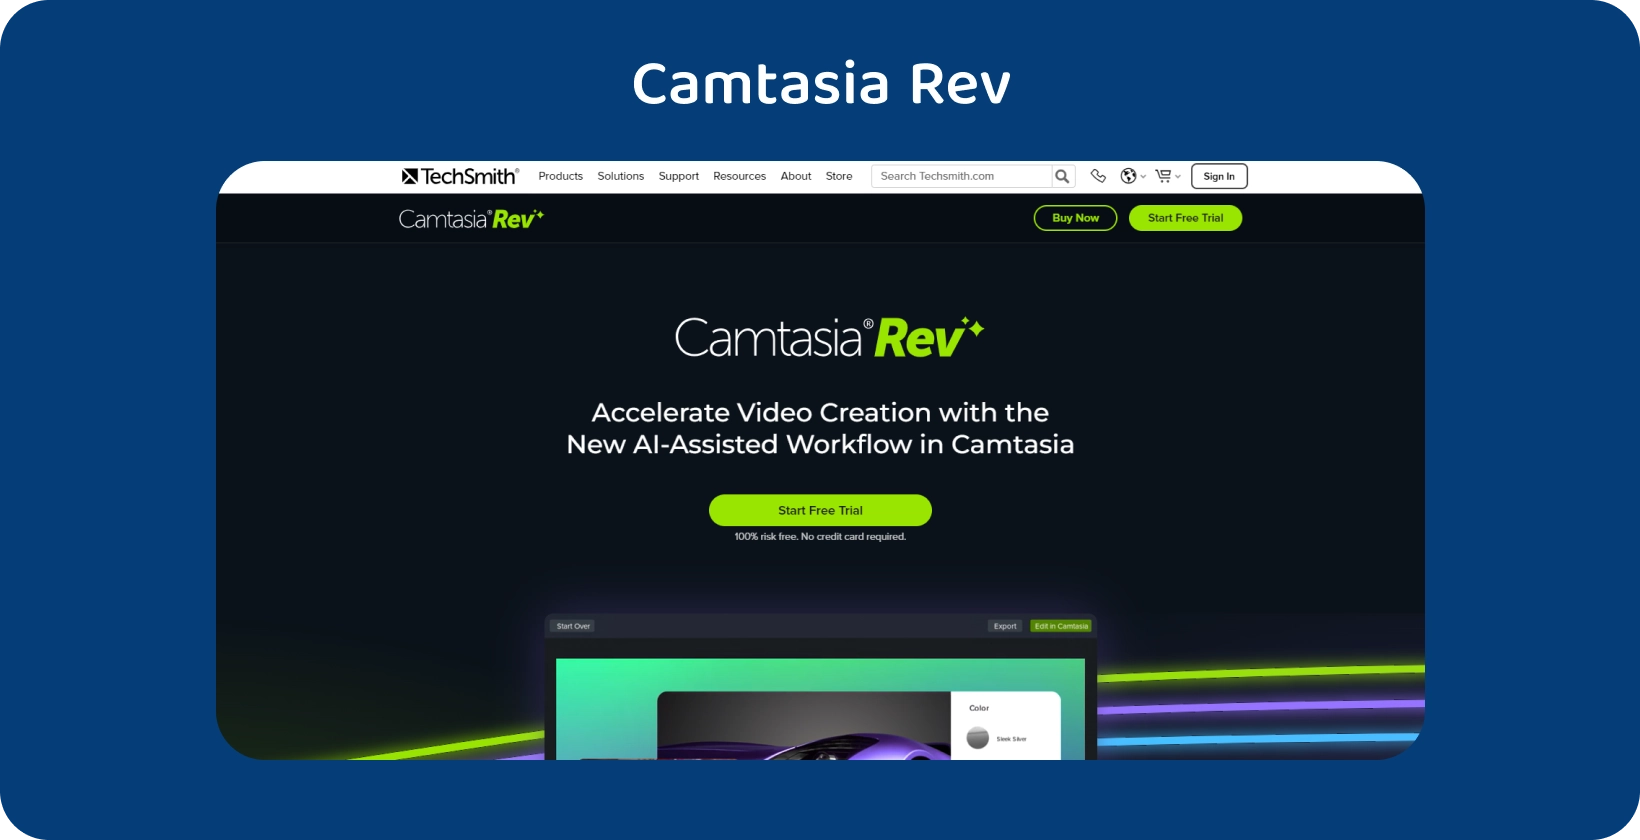
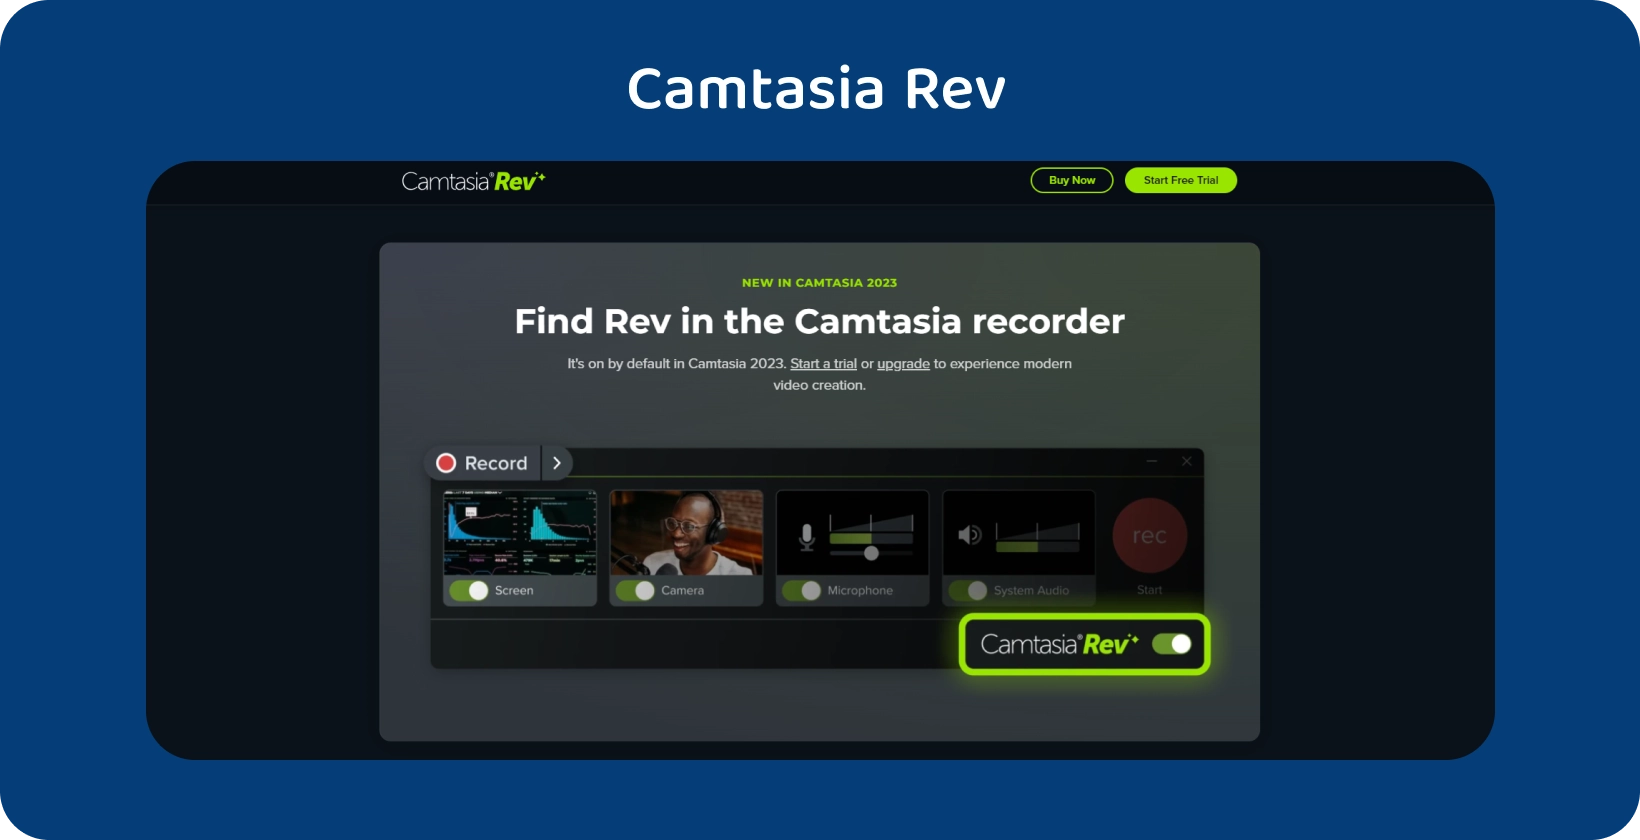
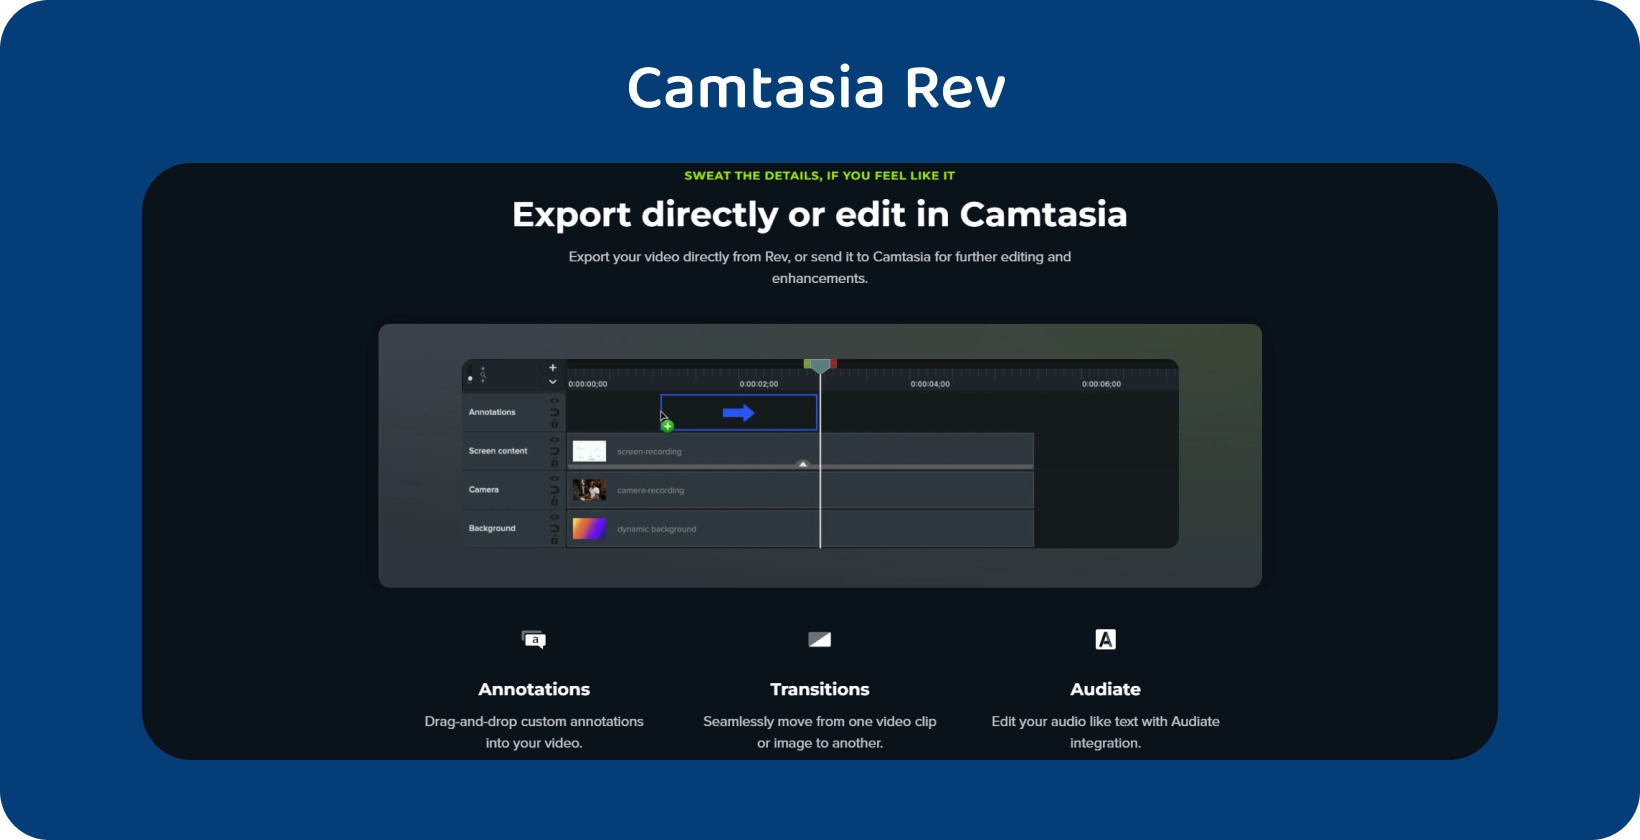
Camtasia's major focus is video editing and offers audio transcription facilities. However, Camtasia may not be accurate enough for audio transcription, users can use Transkriptor to get more accurate transcription.
The 8 steps to transcribe audio with Camtasia are listed below.
- Import Audio to Camtasia: Open Camtasia and create a new project. Import the audio file by clicking on the "Import Media" button.
- Add Audio to the Timeline : Drag and drop the imported audio file onto the timeline.
- Listen and Transcribe in a Text Editor: Play the audio in Camtasia. Simultaneously, open a text editor (e.g., Notepad, Word) to transcribe the spoken words.
- Sync with the Timeline : Pause and play the audio in Camtasia to synchronize the transcription with the timeline.
- Use Camtasia's Text Annotations: Utilize Camtasia's text annotation features to input the transcription directly into the video. Choose the "Annotations" tab and select "Text."
- Add Timestamps (Optional): Add timestamps to the transcription to indicate when each section of the text is spoken in the audio.
- Review and Edit for Accuracy: Carefully review and edit the transcription for accuracy. Adjust the timing of text annotations if needed.
- Export Transcriptions: Export the project with the transcribed text included. Choose the appropriate format and settings.
1. Import Audio to Camtasia
Open Camtasia and start a new project or open an existing one. Locate the "Import Media" button on the toolbar. Click on it to start the import process. Select it and then click the "Open" or equivalent button to import an audio file into Camtasia.
Now, drag and drop the audio file onto the timeline to continue editing.
Camtasia supports several audio file formats, including MP3, WAV, and AIFF. It lets users import several audio files, which is useful for more complex applications.
2. Add Audio to the Timeline
Once the audio file is in the media bin or library, go to the timeline at the bottom of the Camtasia screen. The timeline is where users organize and modify the many components of the project, including audio and video tracks. To add audio to the timeline, drag and drop the imported audio file from the media bin or library onto the timeline.
Opt to place it on the audio track reserved for sound elements. After dropping the audio onto the timeline, move it left or right. This controls when the audio begins playing in relation to the other items on the timeline.
Utilize the handles at the ends of the audio clip on the timeline to adjust the audio duration. Drag the handles to stretch or reduce the audio as desired. This allows for perfect synchronization with video material.
3. Listen and Transcribe in a Text Editor or Transkriptor
Locate Camtasia's playback controls on the timeline or toolbar. Press the play button to start listening to the audio. Pay close attention to the spoken information. Open the preferred text editor simultaneously.
As the audio plays, enter the spoken words into the text editor. Pay attention to the timing of the uttered words. Ensure that the text corresponds to the audio moments on the timeline. If you want to use a more accurate service for transcription, you can try Transkriptor for free .
Using Transkriptor is quite easy thanks to its user-friendly and modern interface. To use Transkriptor, first, upload the audio or video file to the Transkriptor after registering for an account. The platform accepts various file formats, making it easy to start the transcription process.
Once uploaded, Transkriptor automatically transcribes the content, which users can then review and edit for accuracy directly on the site. After making any necessary adjustments, users can export the transcript in several formats, such as .txt, Word or .srt.
4. Sync with the Timeline
Begin by playing the audio through Camtasia. Keep an eye on the timeline for key instances when specific words or phrases are stated as the audio plays. Pause audio playback at critical points where synchronization is required.
Compare the uttered words to their respective areas on the timeline. Fine-tune the timing of the transcription by moving the transcribed text around on the timeline. Drag the text annotations to coincide with specific audio points.
Maintain consistent time throughout the transcription. Check that the transcribed text accurately reflects the spoken words and that the synchronization is intact.
5. Use Camtasia’s Text Annotations
Open the Camtasia project and go to the toolbar or menu to find the "Annotations" tab. Navigate to the Annotations tab and select the "Text" annotation option. This action allows users to create a text box to enter the transcribed information. Click on the timeline at the location to put the transcribed text after selecting the Text annotation.
A text box will display on your screen. Enter the transcribed text in the text box. Change the size, font, and formatting settings to match preferences and the overall look of the video.
Drag the text box to its desired place on the screen. Resize and reposition it to give the best exposure and synergy with the video content.
6. Add Timestamps (Optional)
Identify key points where to include timestamps. These are often pivotal moments, shifts in topics, or other information that viewers may find useful. Go to the "Annotations" tab and select from a variety of annotation choices, including text annotations. Select the "Text" annotation option.
Some Camtasia versions provide a timestamp annotation option. Enter the timestamp in the text box that displays on the screen. This can be in hours, minutes, seconds, or any other suitable format (for example, "0:02:30" for two minutes and thirty seconds).
Drag and drop the timestamp text box onto the desired spot on the screen. Consider positioning it in a non-intrusive location that does not block vital views. Adjust the font, size, and color to ensure that it is visually consistent with your overall design.

7. Review and Edit for Accuracy
Play the audio with Camtasia while examining the transcribed text. Compare the written words to the spoken material to detect any differences. Pay particular attention to nuances, accents, and variances in speech.
Make sure that the transcription appropriately conveys these subtleties. Look for any missing words or phrases in the transcript.
Check the transcription for spelling and grammar mistakes. Ensure that the text is clear, coherent, and adheres to proper linguistic rules. Maintain consistent formatting, punctuation, and style throughout the transcribing.
8. Export Transcriptions
Camtasia lets users export captions directly. Go to the "File" menu, then "Export," and then "Captions" to use the transcriptions as video captions. Follow the on-screen directions to save the caption file.
Right-click on the desired text annotations and select "Export" or "Save As" to export the transcriptions as a text file. Choose a destination on the computer and a text file format (for example, .txt).

What is Camtasia?
Camtasia is a versatile software application created by TechSmith Corporation that is most recognized for its ability to record screens and edit videos. Camtasia, which is available for both Windows and macOS, offers a comprehensive set of tools for making professional-looking movies, lessons, presentations, and other multimedia content.
Camtasia allows users to record their computer displays, making it excellent for creating software lessons, demonstrations, and other content that involves displaying on-screen activity. The software features an easy-to-use video editing interface as well as a variety of editing capabilities. Users edit video clips by trimming, cutting, splicing, and adding transitions, animations, and audio effects.
What is the Purpose of Camtasia?
The purpose of Camtasia includes creating educational content, professional presentations, and online lessons. Its major function is to capture computer displays, making it extremely useful for educators, trainers, and content creators who want to visually explain processes or demonstrate software functions.
The software's user-friendly video editing capabilities allow users to improve recordings, add annotations, and create polished, compelling material. Camtasia is suitable for a wide range of industries and makes it easier to create instructional materials, training videos, and interactive learning modules. Its adaptability extends to business applications, allowing for the development of marketing videos, product demos, and content for Internet platforms.
What is the Importance of Camtasia?
Camtasia is an important tool for screen recording and video editing that is both strong and easy to use. Its adaptability meets a variety of needs, including educational, professional, and internet content development. Camtasia is vital for educators in creating compelling instructional materials and online courses that promote effective remote learning experiences.
Professionals use it to create sophisticated presentations, product demonstrations, and marketing movies, which improve communication and engagement. The software's impact extends beyond training and development, enabling businesses to create high-quality training videos and onboarding materials. Furthermore, Camtasia's ability to facilitate interactive learning through features such as quizzes adds another dimension of engagement to instructional content.
What is the Advantage of Camtasia Transcription?
The advantages of Camtasia transcription are listed below.
- Enhanced Accessibility: Camtasia enhances accessibility by providing a text representation of audio content. Individuals with hearing impairments use Camtasia transcription to access the content.
- SEO Optimization: Camtasia transcription improves the discoverability of the content by incorporating relevant keywords into the transcription.
- Learning Enhancement: Transcriptions aid learners in comprehending and revisiting spoken information. Camtasia allows students to read along with the audio.
- Subtitle and Caption Generation: Camtasia enhances video accessibility and engagement in noisy environments or for viewers who watch the video with the sound turned off.
- Improved Searchability: Viewers easily locate specific information or topics of interest by searching within the transcribed text.
What is the Disadvantage of Camtasia Transcription?
The disadvantages of Camtasia transcription are listed below.
- Accuracy: Transcription accuracy is sometimes compromised when dealing with complex terminology and accents.
- Time-Consuming: Transcribing audio content is a time-consuming process.
- Limited Editing: Camtasia’s built-in transcription tools offer limited options for editing the transcribed text.
- Dependence on Audio Quality: The accuracy of transcription depends on the quality of the audio recording.

How to Add Subtitles in Camtasia?
Follow the steps below to add subtitles in Camtasia.
- Import the Video. Launch Camtasia and start a new project. Import the video file by dragging it into the media bin.
- Enable Auto-Captioning. Right-click on the media in the timeline. Select “Captions” and choose “Enable Auto-Captioning”.
- Customize Caption Styles. Customize the appearance of the captions. Adjust the font, size, color, and positioning.
- Manually Add/Edit Captions. Manually add or edit captions by selecting the “Caption” tool and placing text boxes on the timeline.
- Review. Play back the video to review the subtitled content. Ensure that captions are accurate and well-timed.
- Export. Export the video. Camtasia allows users to include captions in the exported file.
- Save. Save the Camtasia project to preserve the subtitled version.
Does Camtasia Support Automatic Audio Transcription?
Yes, Camtasia supports automatic audio transcription. Open Camtasia and start a new project. Import the audio file to transcribe.
Select the file in the media bin and click on the “Tools” button on the top toolbar. Select “Transcription” from the dropdown menu.
Does Camtasia Have a Free Trial?
Yes, Camtasia has a free trial. Camtasia offers a three-day free trial. The free trial includes full use of the software.
Elevate Content with Transkriptor's Accurate Transcription
Transkriptor revolutionizes the way we approach content accessibility, offering an unmatched transcription solution that combines speed with accuracy. It’s an invaluable asset for content creators, educators, and professionals, ensuring that their spoken material is transformed into accurate written text. This level of accuracy in transcription not only enhances accessibility for individuals with hearing impairments but also significantly benefits those who prefer or require text over audio for comprehension. With Transkriptor , you can unlock a higher level of accessibility and inclusivity, making your content more approachable and engaging for a diverse audience.

